Pop Tarts or Pastilitos

final.tarts.jpg


When I was growing up we mostly ate homemade food, and even homemade desserts. Between my mom and grandmothers, cooking and baking were daily activities. Going out to dinner or buying already prepared items was a rarity, and if you could believe it, considered a treat. Funny, how the tides have turned. The trick was on us, since now, a home cooked meal is something to be cherished. (In my mind, it always was and still is.) We went out to dinner on special occasions, like New Year’s Day. But mostly we gathered at our kitchen table for meals. As far as desserts, my grandmother who lived with us would bake some of her specialties. We did however from time to time indulge in some packaged goodies. I must admit that when I was a kid I ate, and enjoyed a few of those artificial treats, including pop tarts.  Back then we didn’t pay much attention to labels. So reading a label to ensure it was good for us just wasn’t in our active consciousness. I cannot attest to how much crap might have been in them way back when, but given how shelf stable they were I would imagine quite a lot.  They probably were not great for us then. I do know that now I wouldn’t let those chemical enhanced things touch my lips.  But that doesn’t mean I don’t reminisce about the dough filled treat. So, when I realized that I had cream cheese and fig jam that needed to be used up, I immediately thought of pop tarts.  I guess pop tarts didn’t have cream cheese so these might be more in line with a Cuban pastelito.  For some reason pop tarts popped to mind first.  I always have puff pastry in my freezer.  And this is the exact reason why.  You never know when you might need or want a little ‘something something’.  And I’ve found that puff pastry has often come to my rescue.

These couldn’t be simpler.  Really, I mean it.

Just 3 ingredients: Puff pastry, cream cheese and jam

Ingredients 

3/4 c approx. Cream Cheese

1/2 c approx. Jam (I used fig jam)

Puff Pastry Sheet*

* You can also use pie crust. I would imagine that that dough will be an even closer taste and feel to the original pop tart.  Either puff pastry or pie crust will do the trick.

Instructions

  1. Thaw out the puff pastry.  Once at room temperature, dust the board with flour and gently roll it out to approximately 16” x 12”.  Cut the pastry into 2” wide strips, then cut those strips in half. 

Roll out the dough, and be sure to sprinkle the board with some flour so it doesn’t stick.

Roll out the dough, and be sure to sprinkle the board with some flour so it doesn’t stick.

2. Spread approx. 1.5 - 2 tsp of jam onto the middle of each strip. Then dollop approx. 1 tbsp of cream cheese on one end.

Spread the jam in the center making sure to not go to the edges.

Spread the jam in the center making sure to not go to the edges.

A nice dollop of cream cheese is always a good thing.

A nice dollop of cream cheese is always a good thing.

3. Brushing the edges with water before folding over the dough, then fold the dough over in half.

A simple fold is all you need to do.

A simple fold is all you need to do.

4. Then using a fork, crimp around all the edges to seal.  Place them on a tray with parchment paper and let them chill in the refrigerator for 15 minutes.

Crimping the edges seals the deal, and the pastry, of course.

Crimping the edges seals the deal, and the pastry, of course.

Lined up little treats.

Lined up little treats.

Love, lined up and ready for baking.

Love, lined up and ready for baking.

5. Bake in a 375-400 degree oven for 15-20 minutes until golden brown.

These look and taste better than a pop tart.  I promise.

These look and taste better than a pop tart. I promise.

Golden brown, flaky, sweet goodness.

Golden brown, flaky, sweet goodness.

And just like that you have a tasty, sweet and savory pop tart or pastelito. Whatever you call it, just make sure to include the word delicious. 

Sure you can stack them up on a plate.  Then watch the plate empty out.

Sure you can stack them up on a plate. Then watch the plate empty out.

Note:  If you like it a tad sweeter and more like a traditional pop tart, drizzle a glaze over top.  (To make a glaze, mix 3 Tbsp confectioner’s sugar with 1 tbsp milk and whisk until you get a nice glaze.)

That’s a whole lotta LOVE.

That’s a whole lotta LOVE.

Egg Salad with Zing

egg.salad.final3.jpg

As we approach the summer months, tentative thoughts of picnics, BBQs and the like twinkle in our minds. Conjured up images of burgers and buns alongside heaps of summer salads; macaroni, potato and the ubiquitous egg salad. Sure this Memorial Day celebration and seasonal BBQ’s may look different this year, but one thing is certain, we still need to eat. And we definitely need to celebrate and rejoice in life, in being healthy, and any and all good fortunes.

No matter how you decide to celebrate this upcoming Memorial Day, adding a little twist to an old salad standby might be a welcomed change. Although mayo based salads are often the usual accompaniment to BBQs, they rarely grace my table. I seldom, or should say, almost never eat them. Egg salad, most of all. Two main reasons, really. For a long time, I’ve had a food sensitivity to eggs, so I guess that’s a pretty good, and I would venture to say, big rationale. Then, of course, there is the mayo portion, which naturally is made with eggs. The other salads can easily be reinvented/reworked using a blend sour cream and yogurt. But when it comes to egg salad, there’s no getting around the egg portion, and the globs of mayo. Given that eggs make a double appearance in this traditional dish, I’ve steered clear for quite some time. But recently, I starting introducing these shelled wonders back into my diet, and things seem to be ok. With the weather finally showing signs of Spring, Summer and warmth, I figured now was the right time to give a twist to a traditional lunch salad.

I like texture, and I like zing… And I especially like them in my food. When thinking about the typical egg salad neither of those come to mind. In true ‘what do I have’ fashion, I pulled out of the fridge the following line up to answer the call to texture and zing.

Eggs | Mayo | Mustard | Pickles | Capers | Olives | Celery | Lemon

The line up; pickles, capers, mayo, eggs, celery, olives, mustard and lemon.

The line up; pickles, capers, mayo, eggs, celery, olives, mustard and lemon.

Ingredients

Yields 1.5 c | approx. 3-4 servings

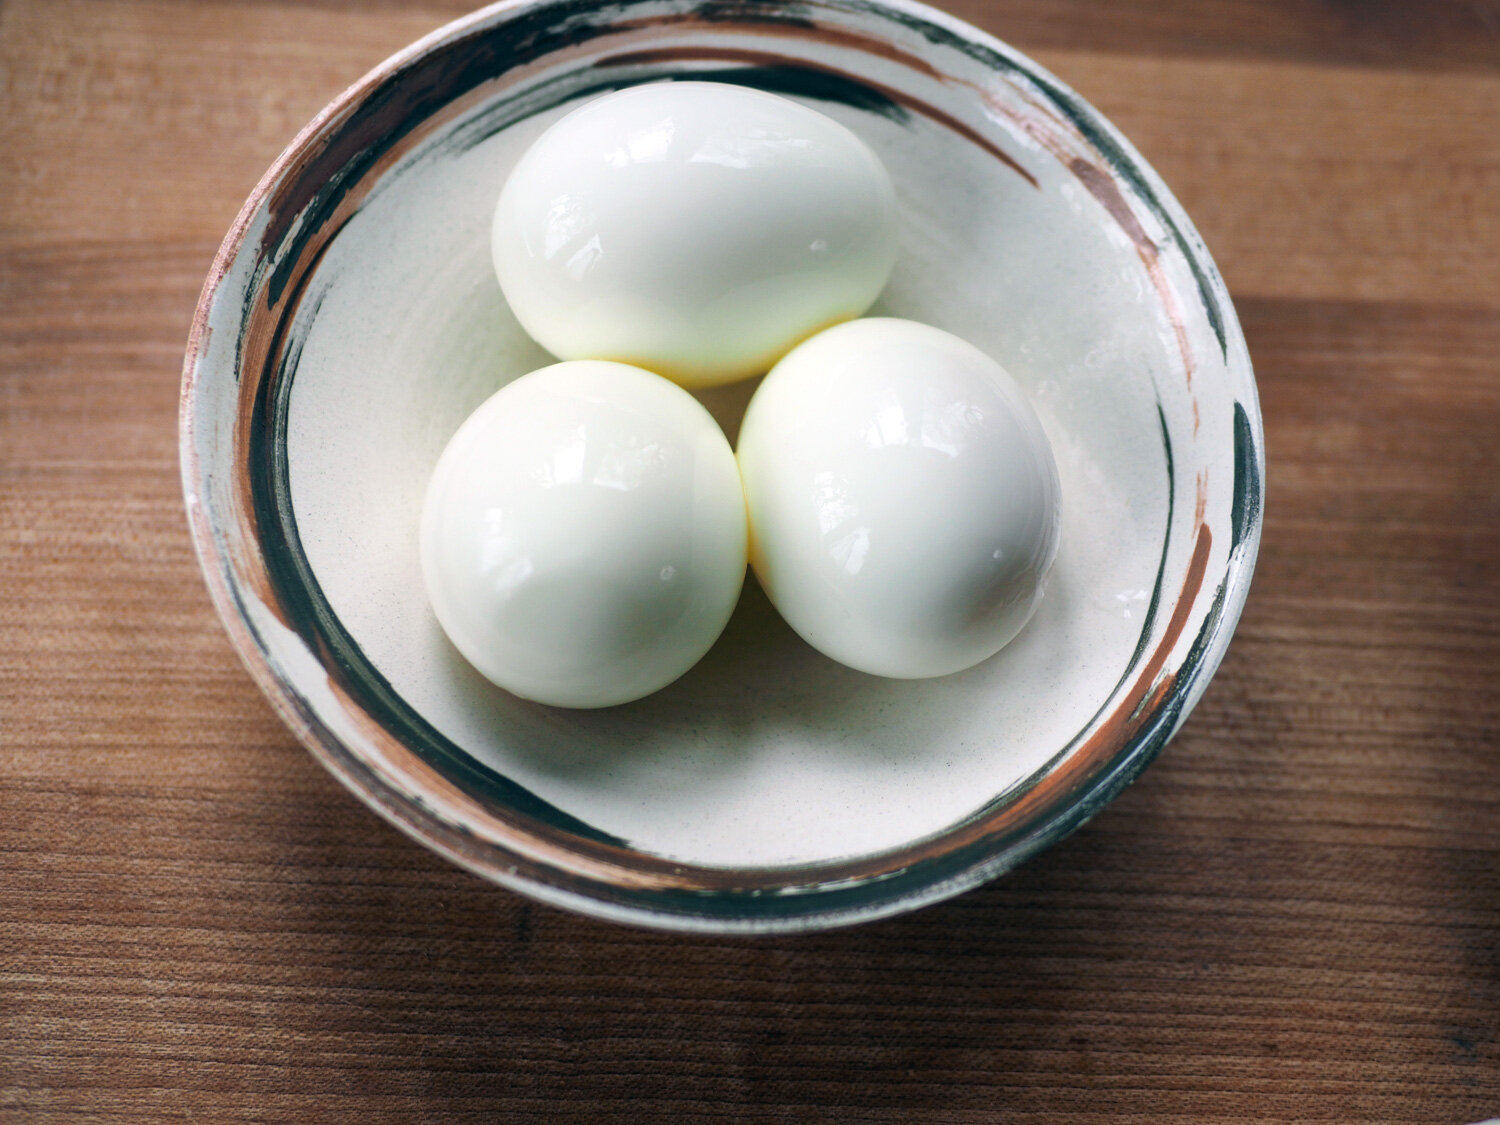
3 hard boiled eggs
¼ t lemon zest
2 T lemon juice*
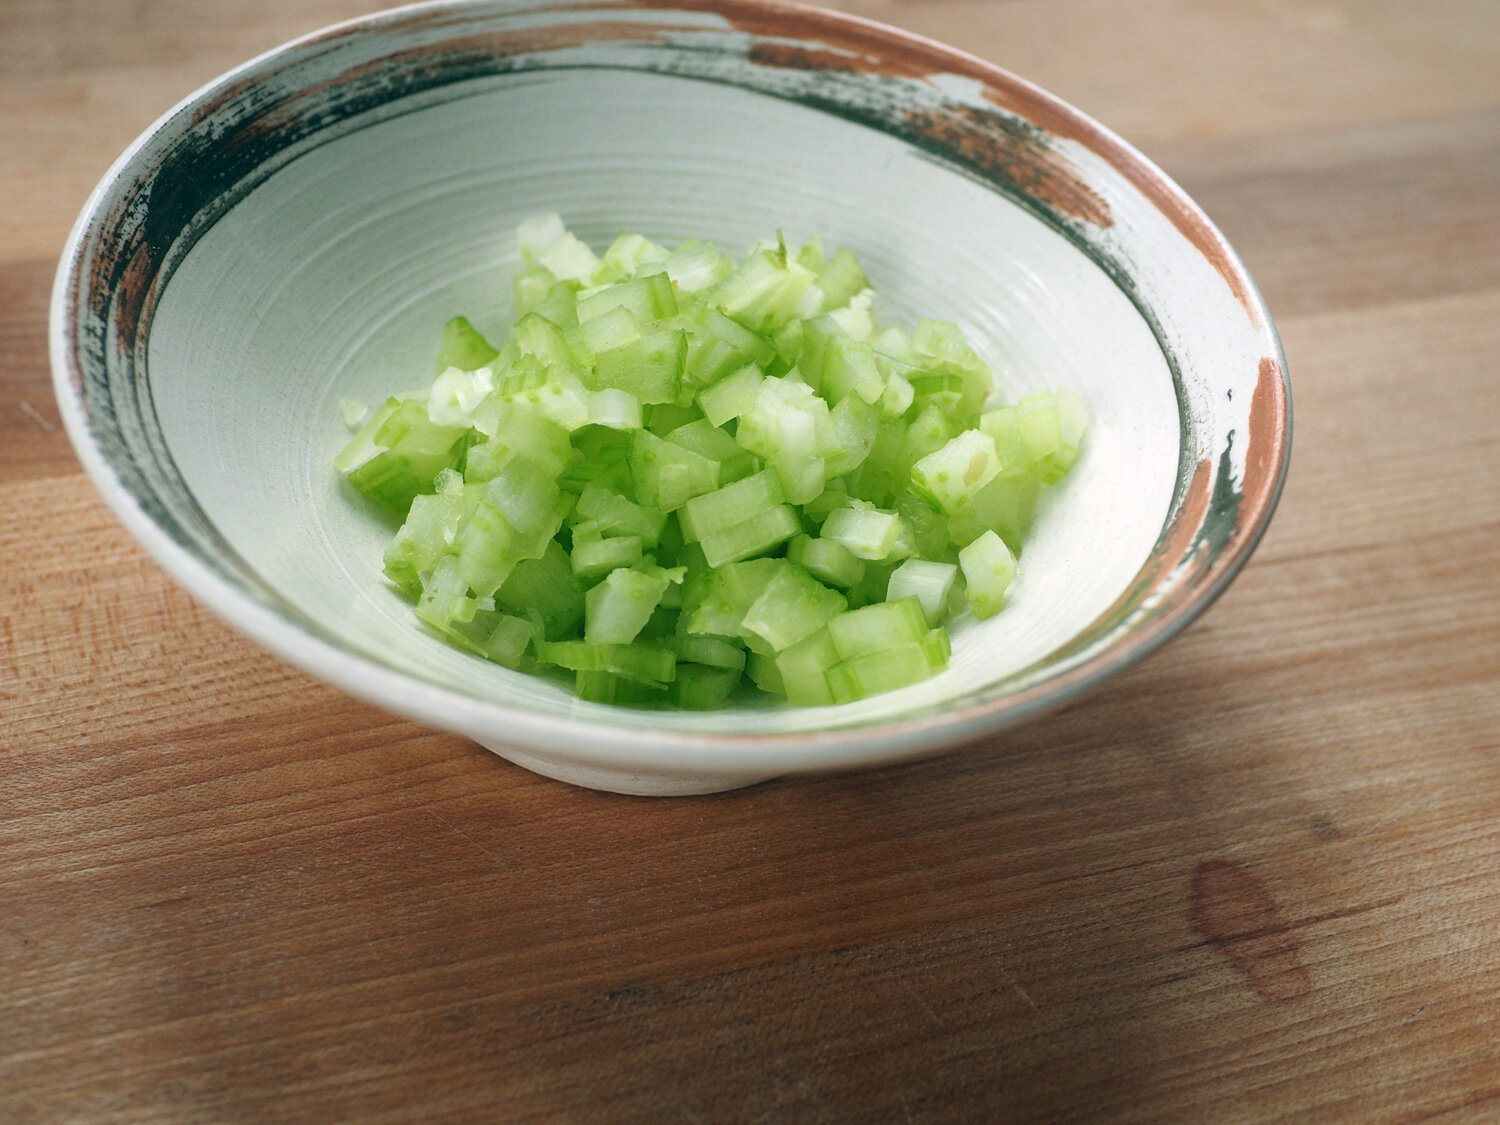
¼ cup fine dice celery
1 t capers, chopped
2.5 T chopped dill pickles
2.5 T chopped green olive (I used Spanish Manzanilla olives)
¼ c mayo
1 t mustard (For even more zing, use grain mustard)
(I would have added about 2 T diced red onion if I had it.)
Pepper to taste

Instructions

  1. To get a perfect hard boiled egg, place the eggs in a pot and fill with cold water just enough to cover. Bring to a boil, then immediately remove from the heat. Cover and let stand for 14 minutes. Then submerge in ice bath to both stop the cooking and to make it easier to peel.

  2. Prep all your ingredients in the famous mise en place way, getting everything ready.

I love using these perfectly sized handmade ceramic bowls by Miller Pottery.

I love using these perfectly sized handmade ceramic bowls by Miller Pottery.

As you can see, some bowls are deeper, while others smaller.  Choose bowls of varying small sizes to suit your ingredients.

As you can see, some bowls are deeper, while others smaller. Choose bowls of varying small sizes to suit your ingredients.

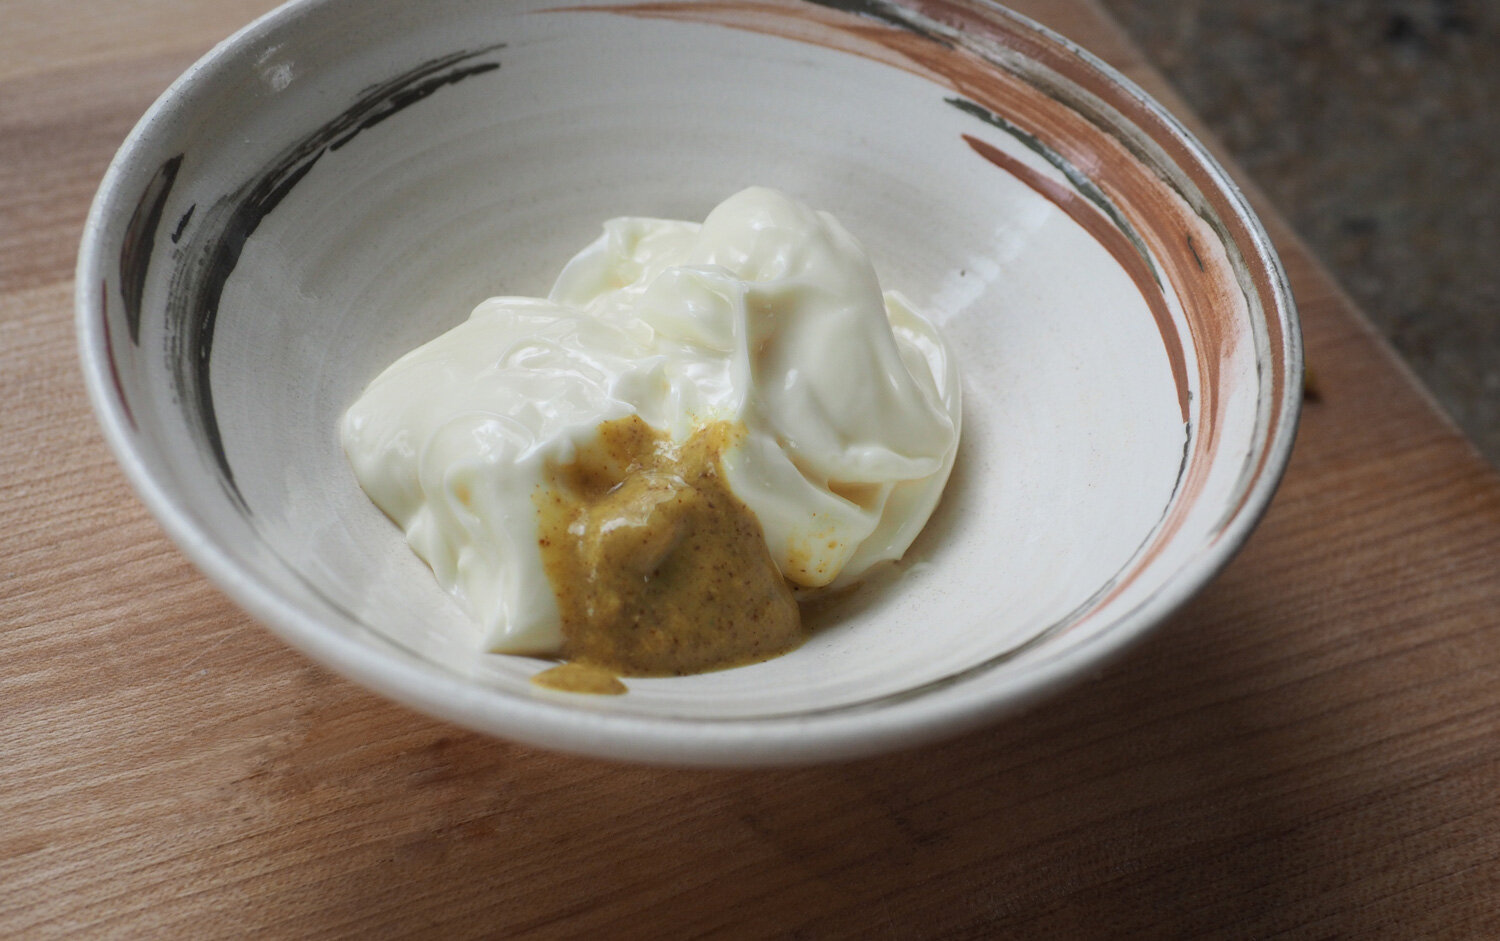
3. Combine the mayo, mustard and lemon juice/zest together and blend. Add pepper to taste.

As I mentioned, I like a less thick mayo style, so I used 2 tablespoons of lemon juice, making a thinner, lighter dressing. Adjust to your taste.Photo credit: JuanCarlos Casas/lookasithappens

As I mentioned, I like a less thick mayo style, so I used 2 tablespoons of lemon juice, making a thinner, lighter dressing. Adjust to your taste.

Photo credit: JuanCarlos Casas/lookasithappens

Look at how gorgeous those yellow yolks look.  Perfectly done.

Look at how gorgeous those yellow yolks look. Perfectly done.

Smash to your hearts content. i like mine on the chunkier side.                                                     Photo credit: JuanCarlos Casas/lookasithappens

Smash to your hearts content. i like mine on the chunkier side. Photo credit: JuanCarlos Casas/lookasithappens

4. Once the egg are done, smash with a fork to the texture you desire and add all the remaining ingredients saving the mayo mixture for last.

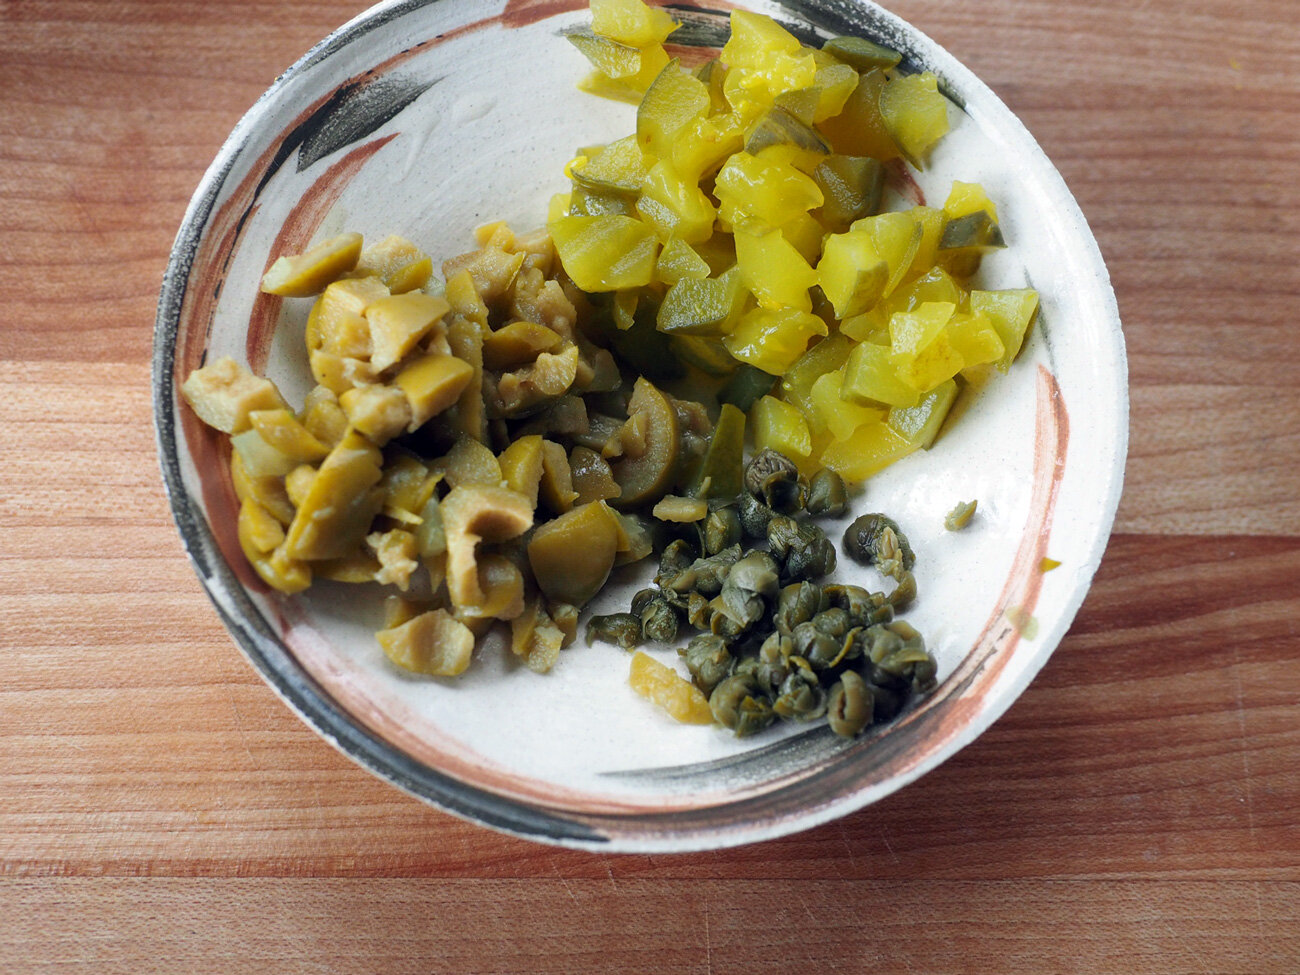
In go all the tangy items, olives, capers, pickles. NOTE: all these have a decent amount of saltiness to them, which is why no additional salt was needed.                                                                                               …

In go all the tangy items, olives, capers, pickles. NOTE: all these have a decent amount of saltiness to them, which is why no additional salt was needed. Photo credit: JuanCarlos Casas/lookasithappens

Crunchy celery in.                                                                                                                          Photo credit: JuanCarlos Casas/lookasithappens

Crunchy celery in. Photo credit: JuanCarlos Casas/lookasithappens

Creamy, zesty dressing drizzled.                                                                                                      Photo credit: JuanCarlos Casas/lookasithappens

Creamy, zesty dressing drizzled. Photo credit: JuanCarlos Casas/lookasithappens

*The two tablespoons of lemon juice makes a loose mixture.  I don’t like mine too dry nor too much mayo.  If you like yours less wet and with a thicker mayo texture then cut down the lemon juice.


Serve this with your favorite crackers. You know by know that my gluten free go to is Mary’s Gone Crackers. Naturally, a bun, or whole wheat toast would be great options. However, neither of which can be found in my house.

For more crunch, devour this with Mary’s Gone Crackers. Or serve it up on celery stalks.

For more crunch, devour this with Mary’s Gone Crackers. Or serve it up on celery stalks.

For an even healthier choice that will still give you a crisp crunch, fill lettuce leaves with the egg salad. Less carbs more freshness.

Egg Salad with Zing.

Egg Salad with Zing.

A nice lighter lunch served alongside some ice cold, crispy grapes.  Fruit is a great accompaniment to a creamy or mayo based salad.  I’m a fan. Check out some other salads using grapes.  Chicken Salad with Fruit & Nuts or Graped Up Bibb Salad.

A nice lighter lunch served alongside some ice cold, crispy grapes. Fruit is a great accompaniment to a creamy or mayo based salad. I’m a fan. Check out some other salads using grapes. Chicken Salad with Fruit & Nuts or Graped Up Bibb Salad.

Mini Pancakes - A Treat for Mom

minipancake.final-tray.jpg

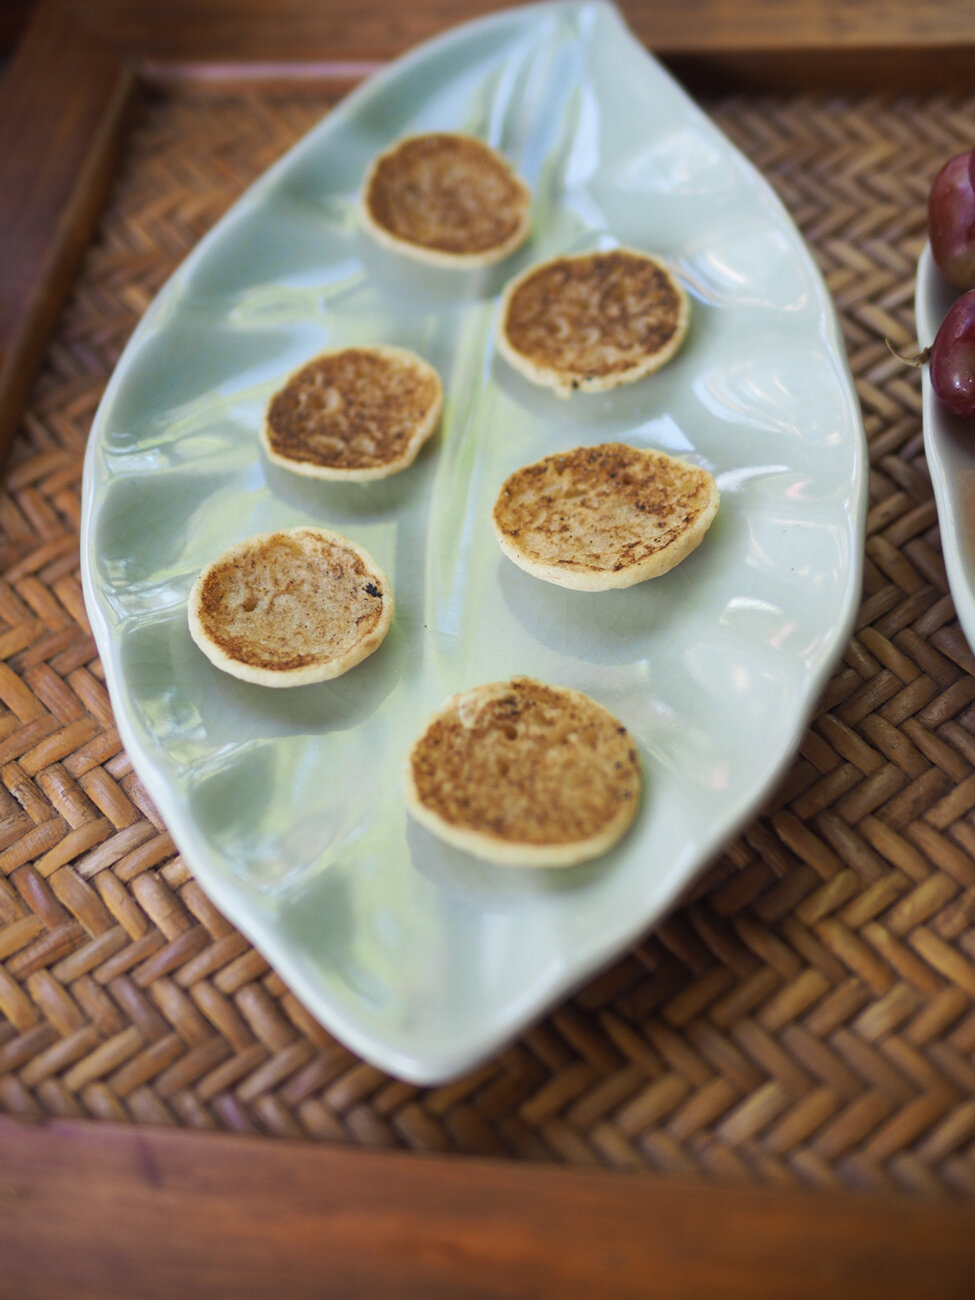
This idea literally presented itself to me while I was making gluten free pancakes for Sunday breakfast. As I was pouring the batter I was sorting out in my head, “Should I make a few to eat now then freeze the rest of the batter? Or should I make them all and freeze them for future use?” But while my brain was doing its usual mental gymnastics, a few small drops hit the pan forming baby pancakes. That’s when it hit me. I could make tiny little blini like discs and use them as vehicle to get different toppings in my mouth. Cracker gold. As you know, I am yeast and gluten free, so options for crackers, bread or any type of food holding device is limited for me. These gluten free pancakes would be perfect in the miniature size. And so I made the rest of the batter into small discs.

pouring.mini.pancakes.jpg
A mountain of mini pancakes

A mountain of mini pancakes

Clearly a cup and half of batter makes plenty of mini pancakes. Naturally, I needed some for this blog post, but the rest I pop these in the oven and eat them for breakfast with almond butter and strawberry jam.

Quick and easy, Arrowhead Mills Gluten Free Pancake Mix.

Quick and easy, Arrowhead Mills Gluten Free Pancake Mix.

This ended up being my breakfast that Sunday. I topped them with almond butter and strawberry jam. It was very delicious.

This ended up being my breakfast that Sunday. I topped them with almond butter and strawberry jam. It was very delicious.

My very next thought was how will this help you, my readers. Immediately, I thought of Mother’s Day, and how this year would be a tad different. Knowing that it might be a smaller event with just the immediate core family, why not create small little bite sized treats for mom. Plus the kids will love to pop these in the mouths, too. I used gluten free but certainly the same idea applies for regular pancake mix. Instead of a big stack of pancakes, opt for these delicate little versions and top them with a variety of breakfast goodies that will give Mom a pancake tasting plate. A few ideas:

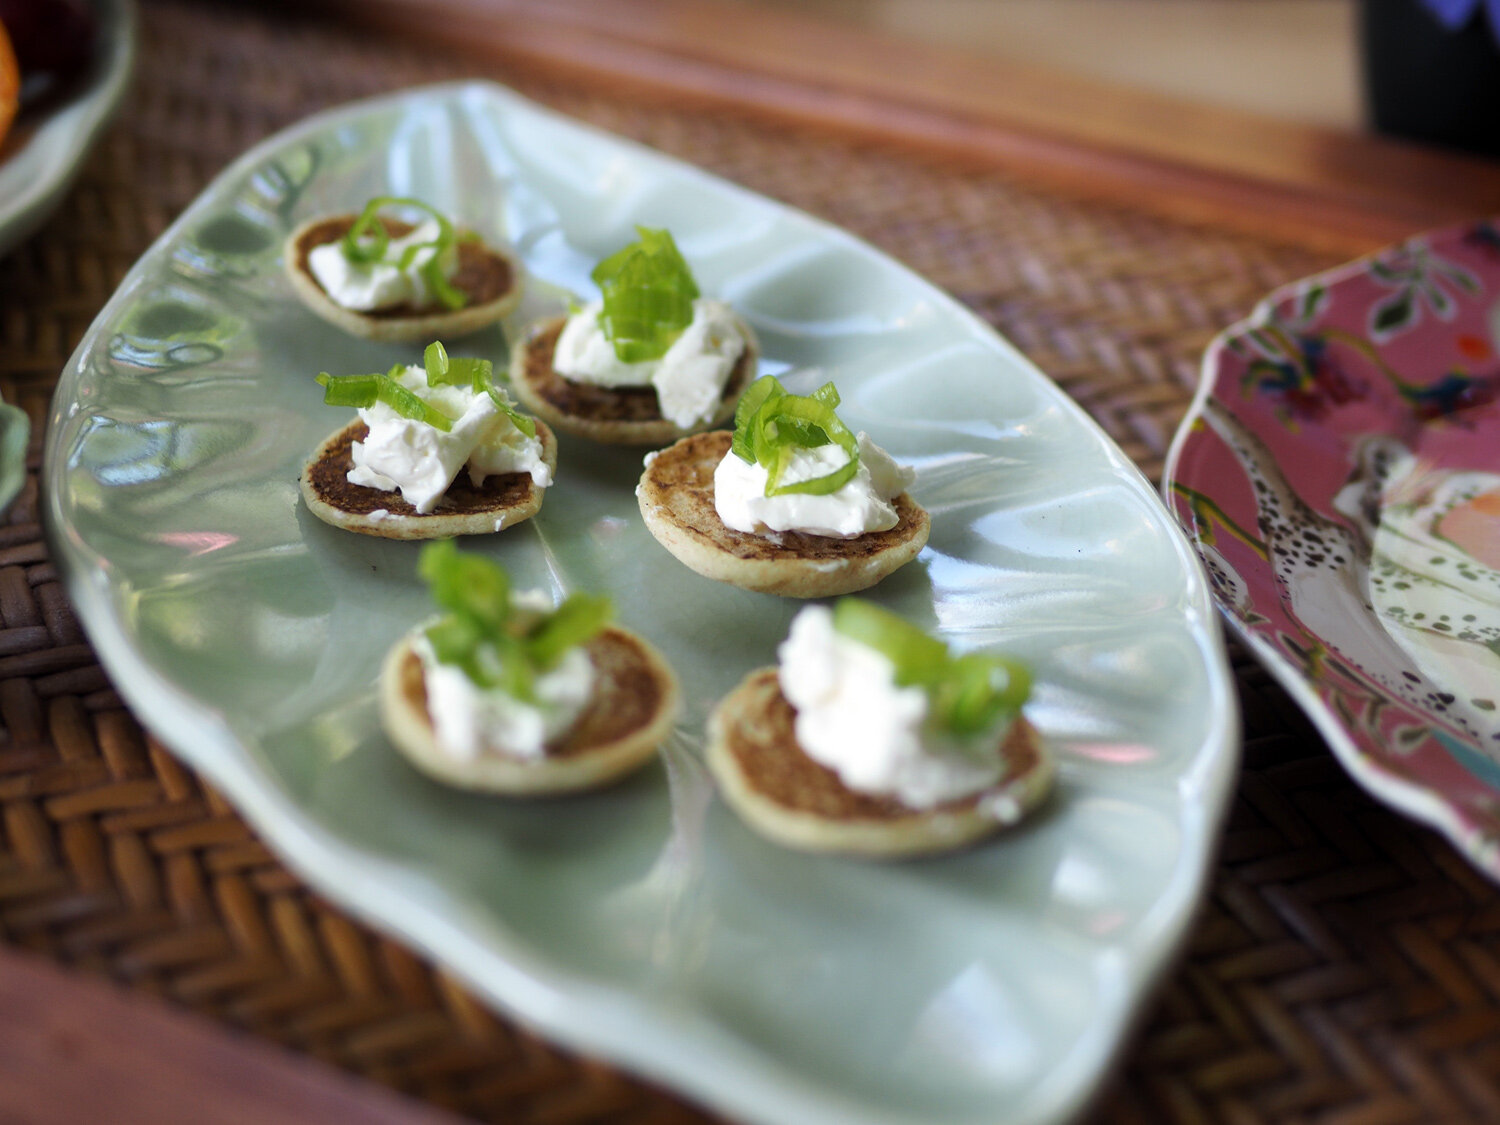
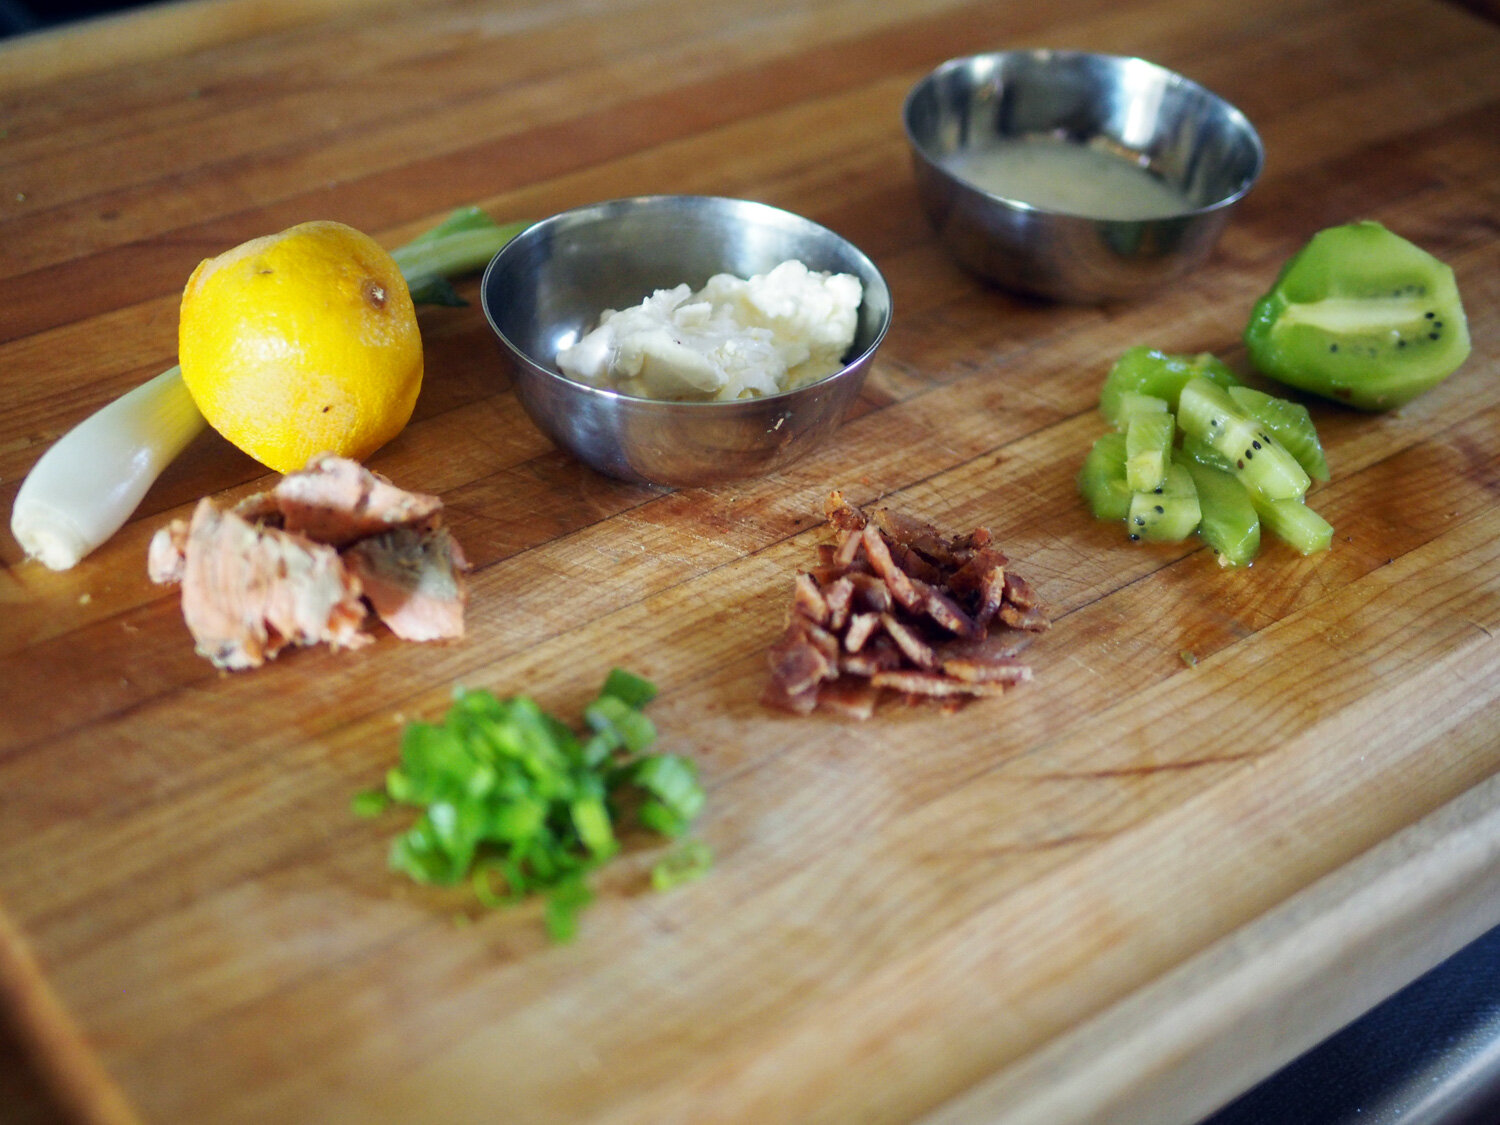
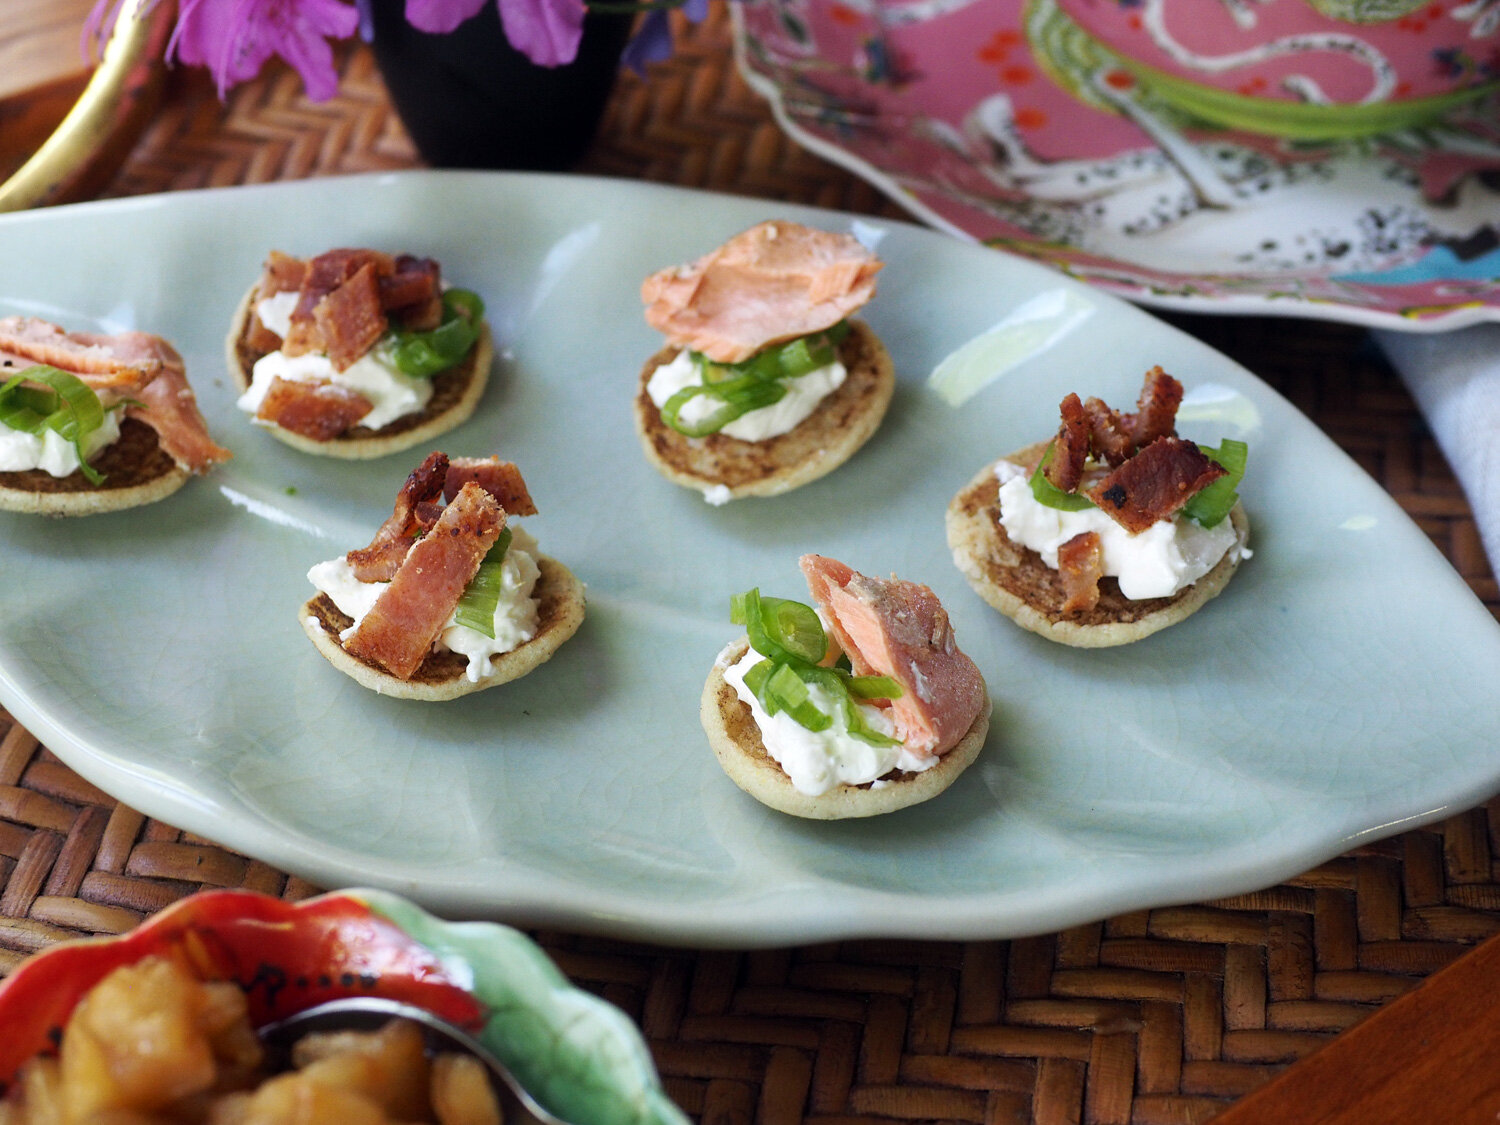
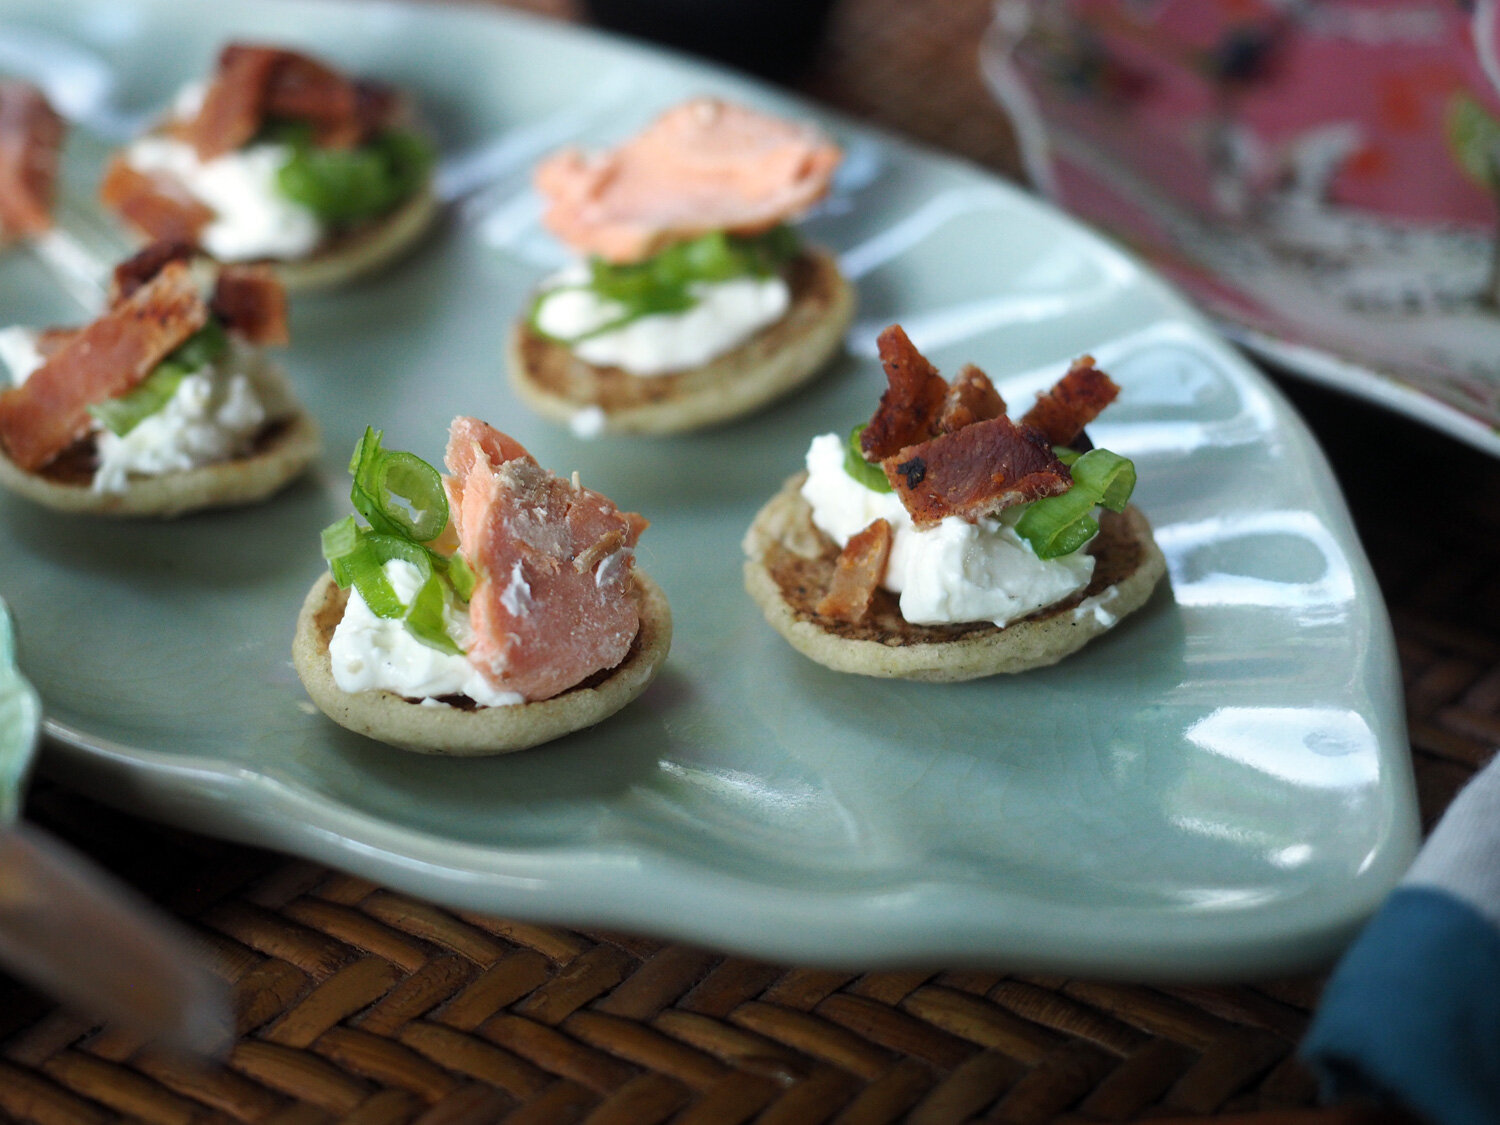
  • Flaked or Smoked Salmon & Scallion Cream Cheese

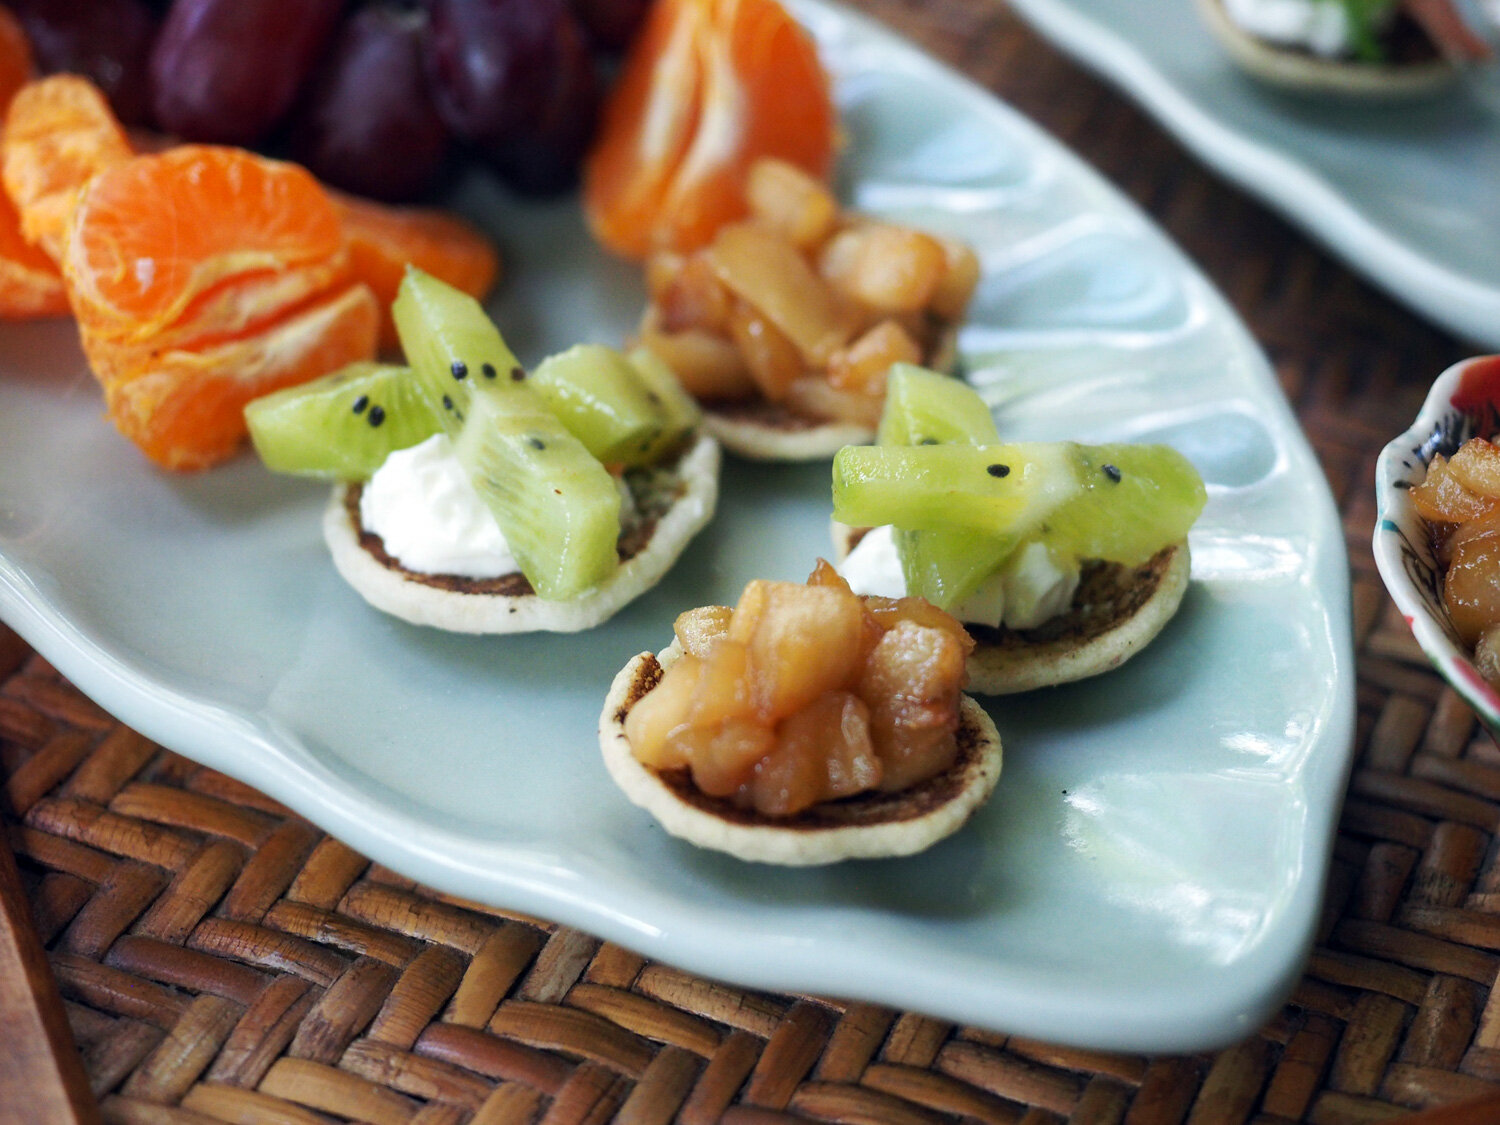
  • Fruit & Whipped Cream (Strawberries would be great, but I had Kiwi, so that’s what I used)

  • Crispy Bacon & Scallion Cream Cheese

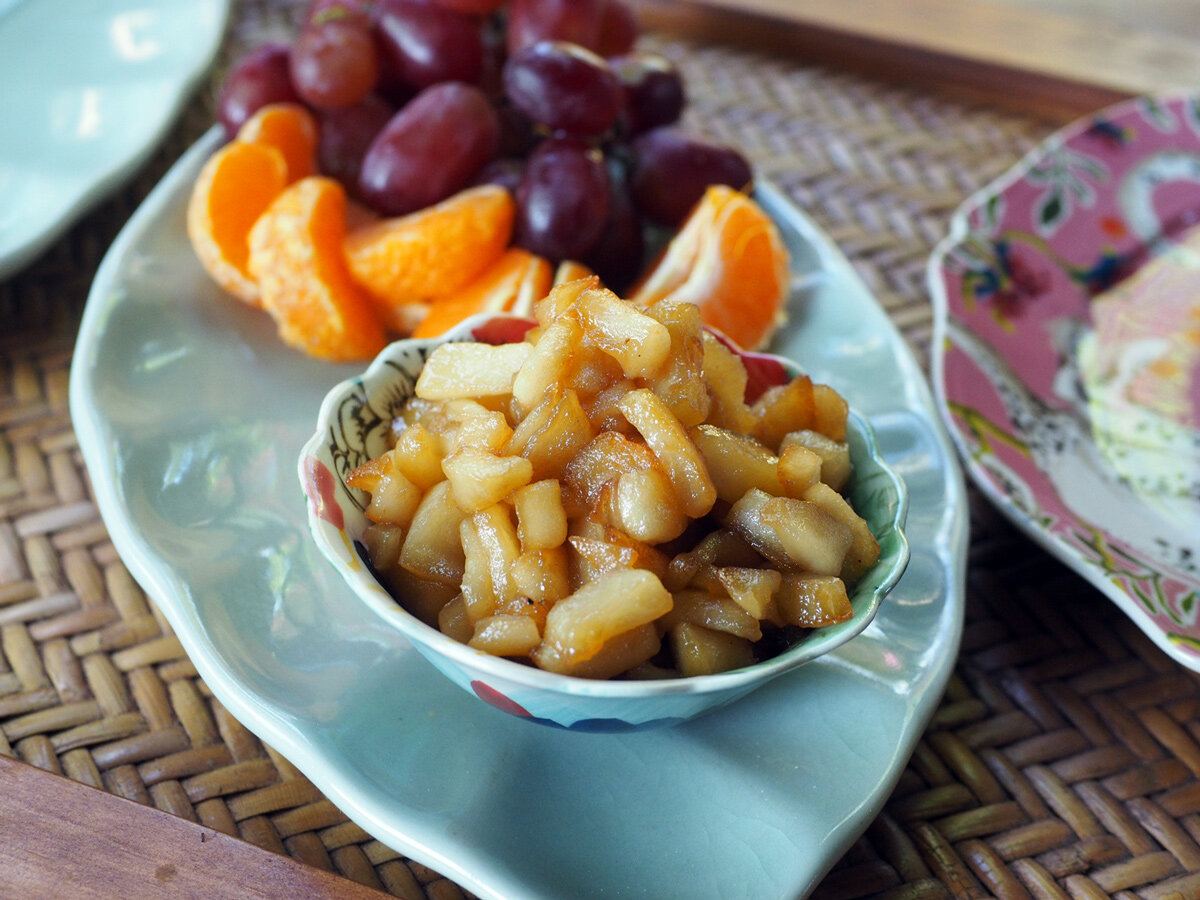
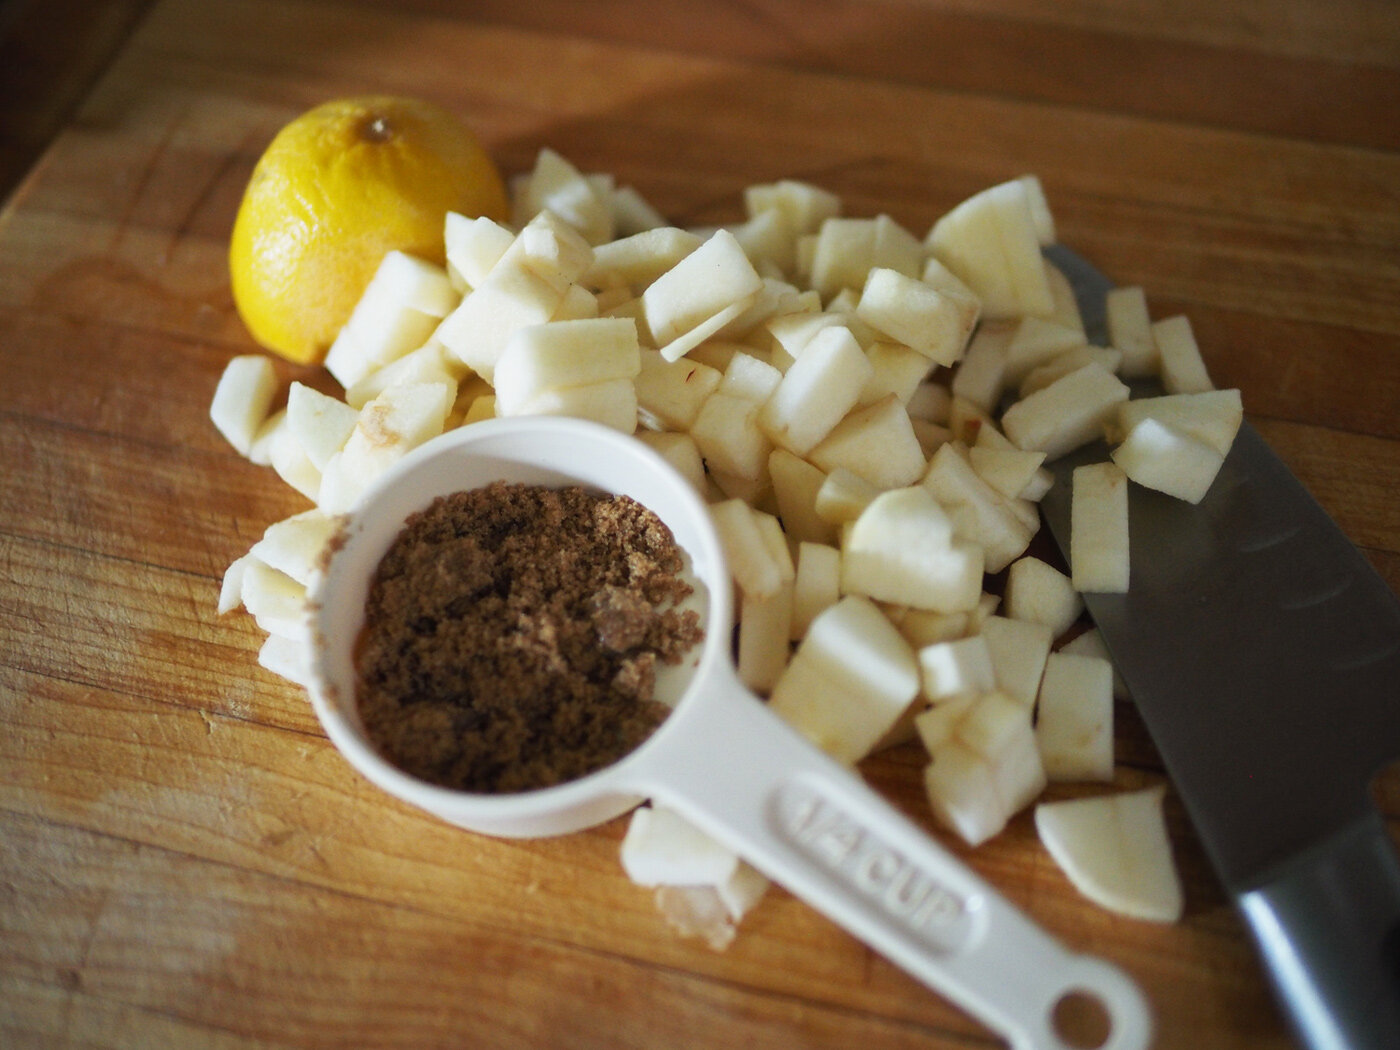
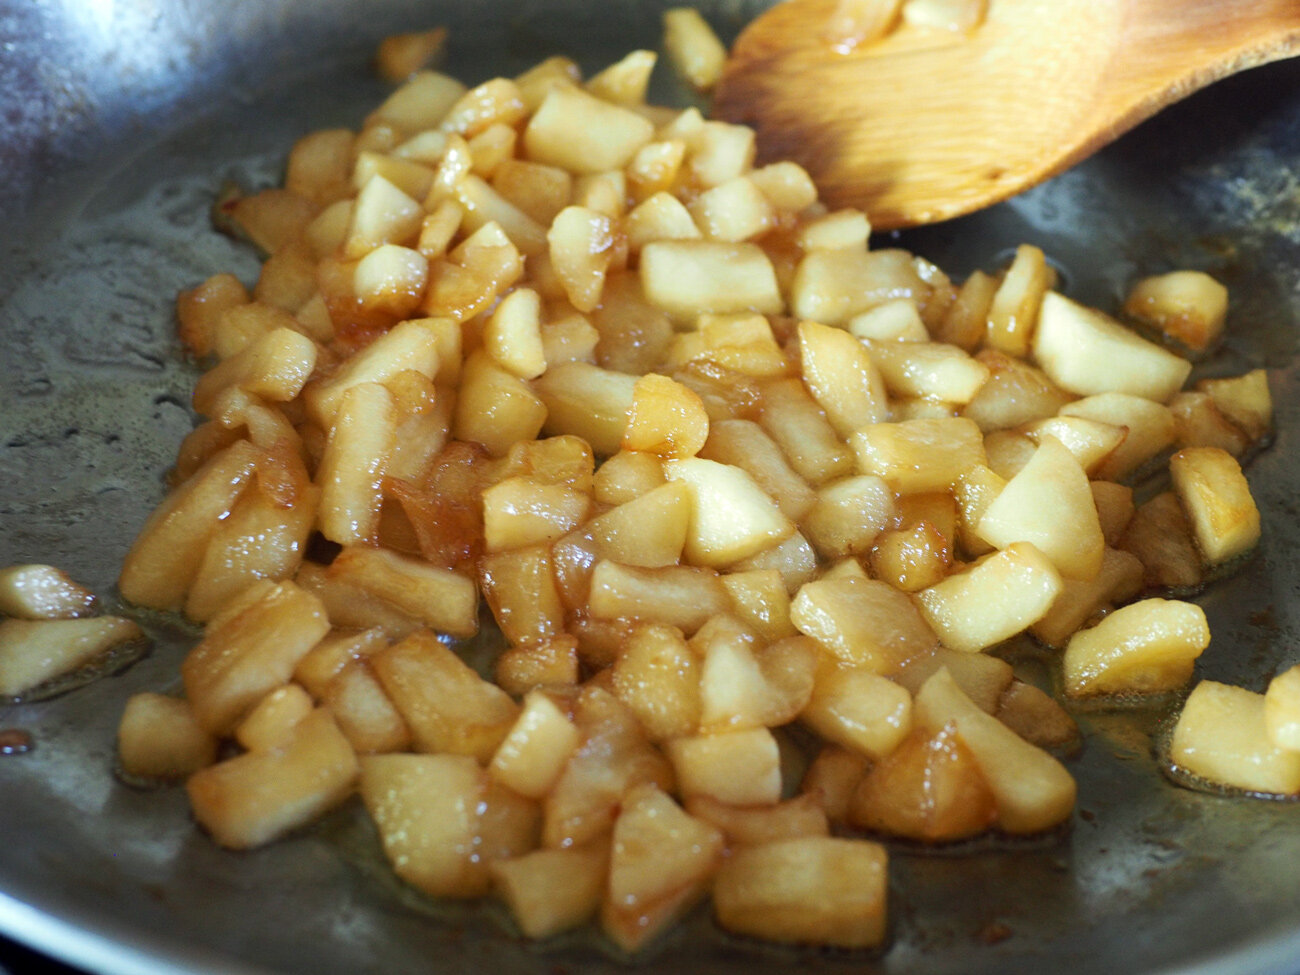
  • Warm Apple Compote

Making an Apple Compote sounds fancy, but it’s super easy to make.

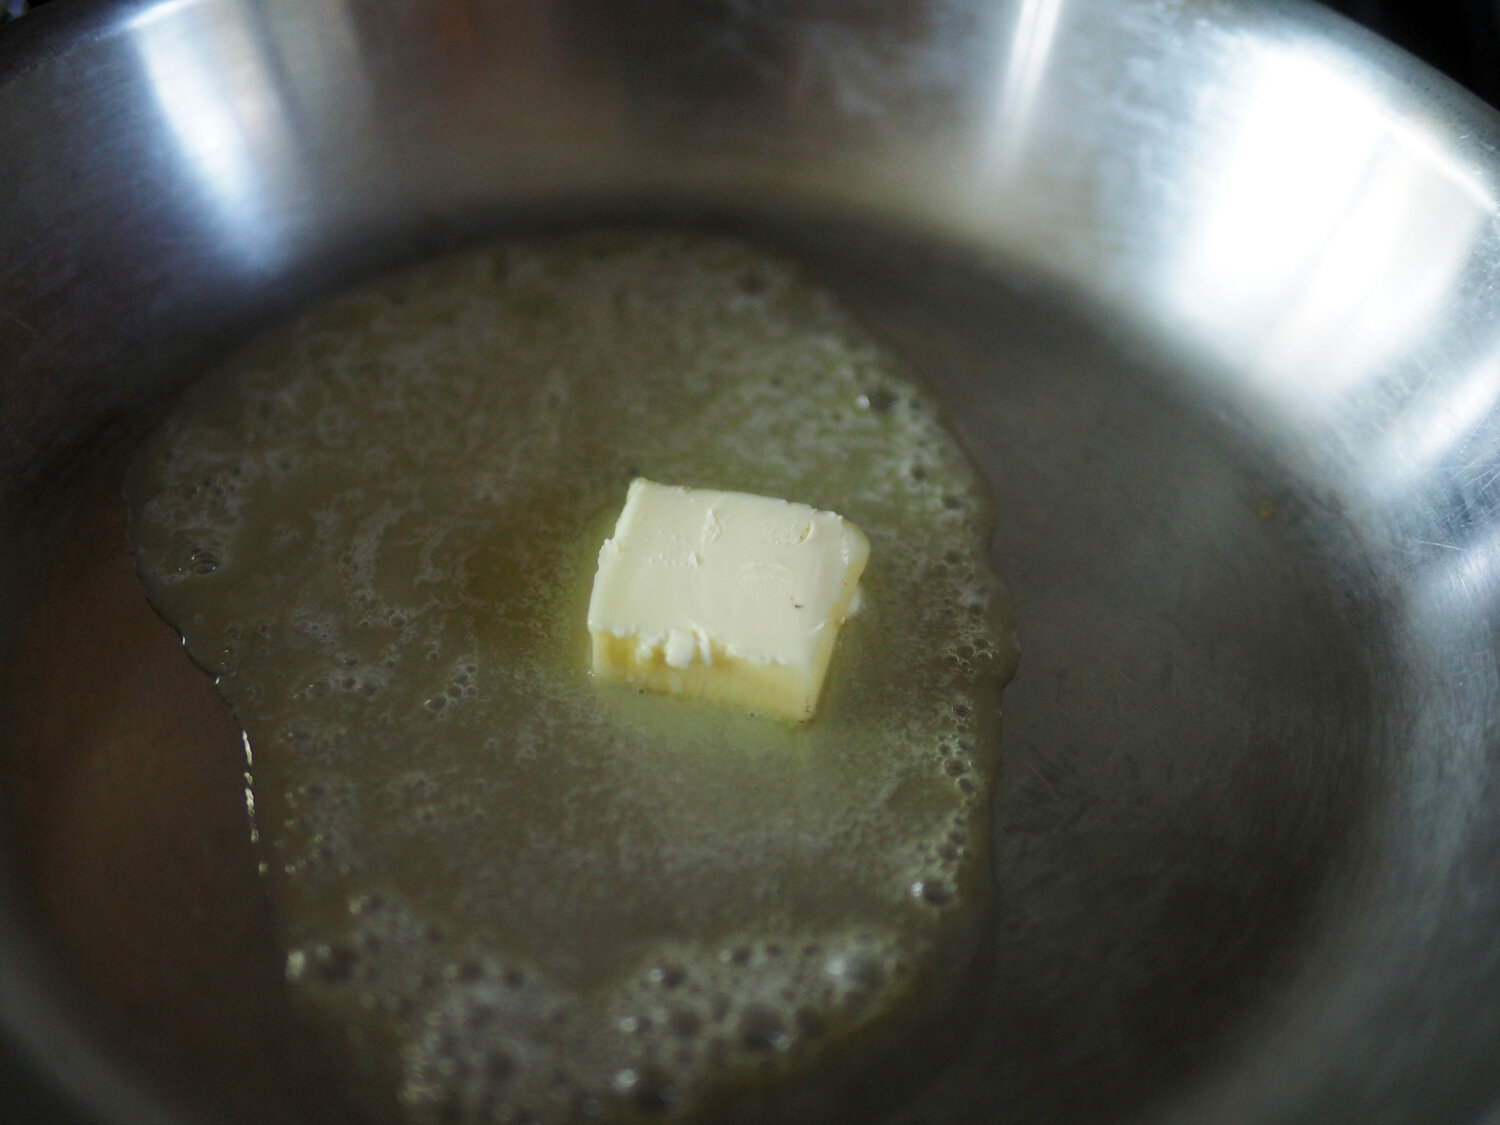
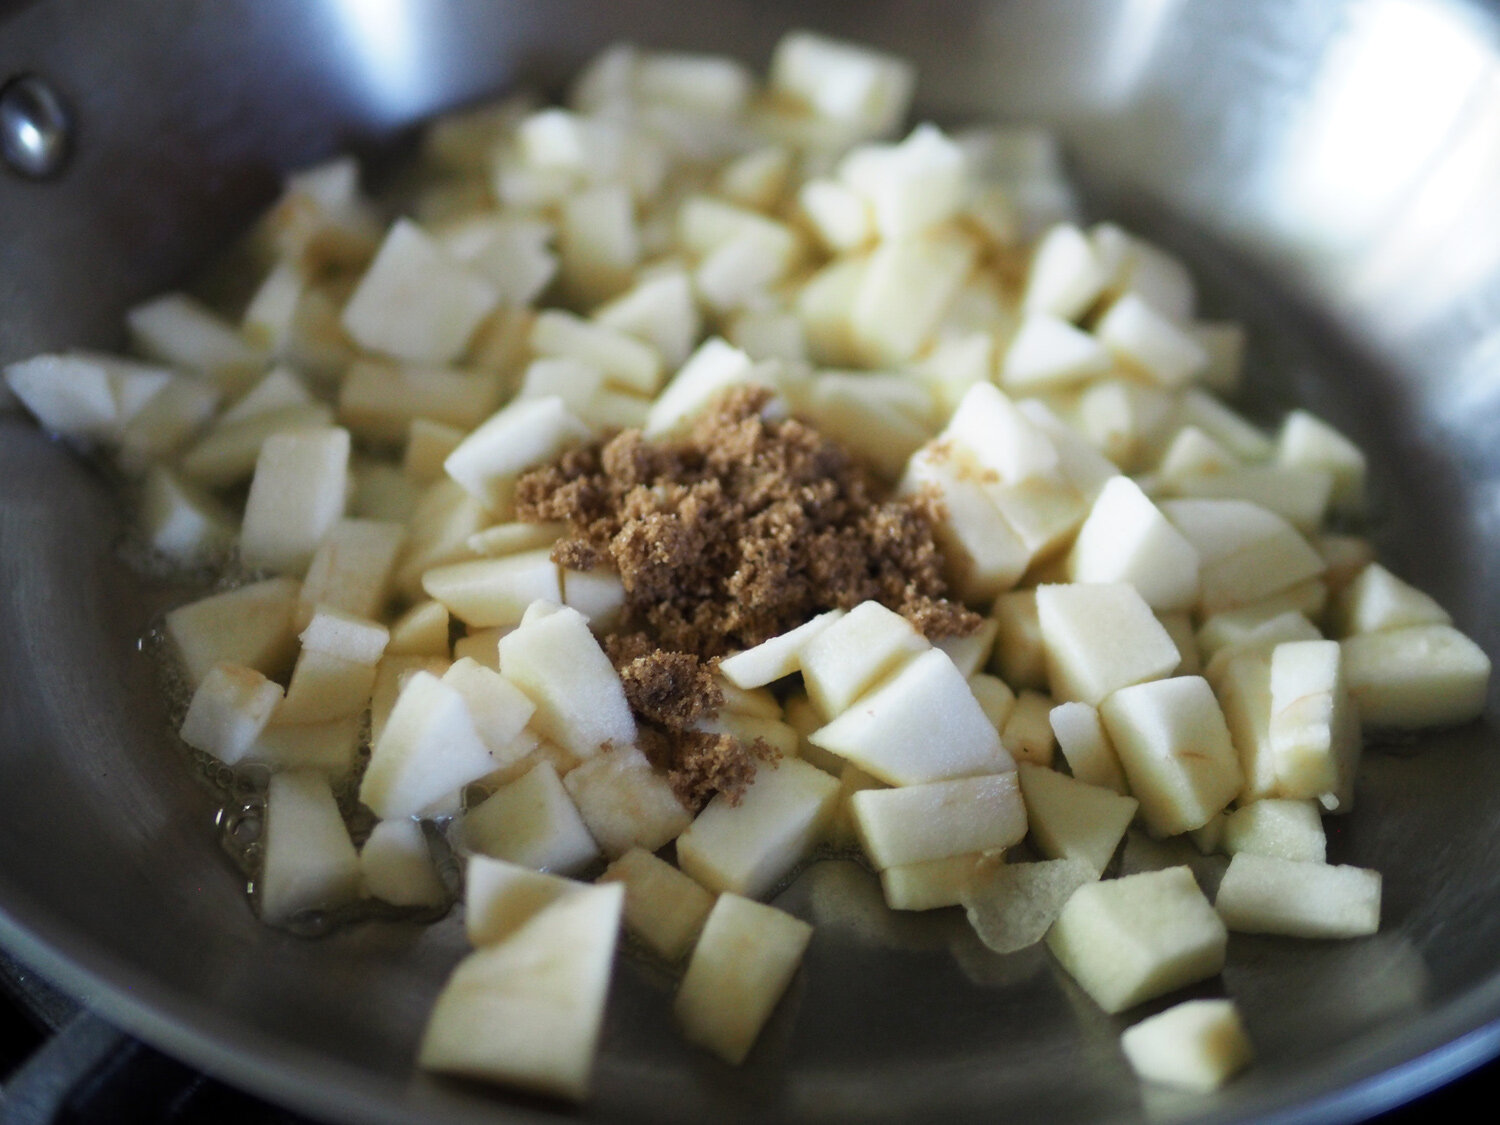
Ingredients: Apples (1.5c), brown sugar (1T), butter (2T), lemon juice (2T)
Instructions: Cut the apple into small chunks, melt butter in pan, add apples, brown sugar and lemon juice. Let cook over medium low heat until the apples soften. Yup, that simple.

Naturally this tiny pancake idea can also be used as an appetizer for a party when we get back to throwing parties in larger groups. Until then, you can practice on Mom, and show her the love with bite sized treats with all her favorite toppings. This might be fun to get the kids involved, as I bet they’ll love the tiny pancake aspect.

I must admit that I am sad not to be celebrating with my beautiful mom. She is angel that was sent to love and support us. Just look into those eyes and you know it. So, if you are like me, not being able to celebrate in the same physical space as your mom, then pick a day in the near future to treat her to a special day. Happy Mother’s Day to all the amazing moms.

My beautiful, generous, loving Mom.

My beautiful, generous, loving Mom.

Whatever you decide to make for your mom, remember the only necessary ingredient is LOVE. And you can never have too much of it.

mini.pancake.final.LOVE.jpg
 
DP-stirredwlove-ID1.jpg

5 Basic Ingredients - 4 Different Dishes

mushroom.soup.setup.jpg

Being home in shelter in place means so many things to so many people. It conjures up different experiences for each of us. Some people are using the time to get home projects accomplished. Get their yards ready. Some are decluttering. Some are mastering their skill set like solving puzzles. Others are finding hidden talents like painting, dancing or singing. Maybe you are learning a new language. Whatever this time brings, my wish is that we embrace it.

For me, I’ve gone back to my comfort zone which is cooking and baking, using all the food I have, and using it wisely. This has been, and still is, one of my strong suits. It’s how I honed my cooking skills and harkens back to my ‘something from nothing’ style and overall approach to cooking. Which is; check out what you have and figure out what to make, regardless of the ingredients or the quantities.

For those you who aren’t aware of how I began this style, it started when I was in my late teens, just wanting to experiment at home. (You can also click on my About page for more of my back story.) My grandmother, who was both an awesome cook and amazing baker, and one of my strongest influencers, would look on with doubting eyes as I mixed up and cooked up concoctions for the family to try. I often heard her famous line, “What a “mushgononza”. Which is basically the slang version of the Italian word mezcolanza meaning mixture or mash up of several things. I guarantee you that she meant it more as a mixed up mess. However much she may have doubted me during the cooking process, she inevitably would turn to me and say, ‘Not bad, not bad at all.’ Phew, praise from the master.

My Grandma Perri making her famous peaches & cream cake.

My Grandma Perri making her famous peaches & cream cake.

However, I would say that this style of cooking truly took form when I used to visit my sister after she first got married. Jill rarely, ok, never had fresh herbs but usually had a pantry full of canned stuff, and a freezer of frozen items. I would look through her stash and try to figure out what can I make from what was seemingly a hodge podge of items. For more on this, you can click the highlighted link for the Zucchini Orzo Pie story.

From that point, I just kept that style in my own kitchen. Not caring too much about recipes, or amounts. Simply buying what looked fresh, and then once at home figuring out how they all would dance together. Which is why I sometimes encourage you to not fuss about recipes so much but try your hand at using however many carrots you have, or to substitute what you. Sure, I give you amounts and recipes. That’s because I want you to cook, and get a feel for how much looks right. Some of you, I know, are pros and already do this, and just use the recipes as guides. My recipes are a jumping off point, and are here for whatever level of cooking you feel comfortable.

And so in that style of use what you have,
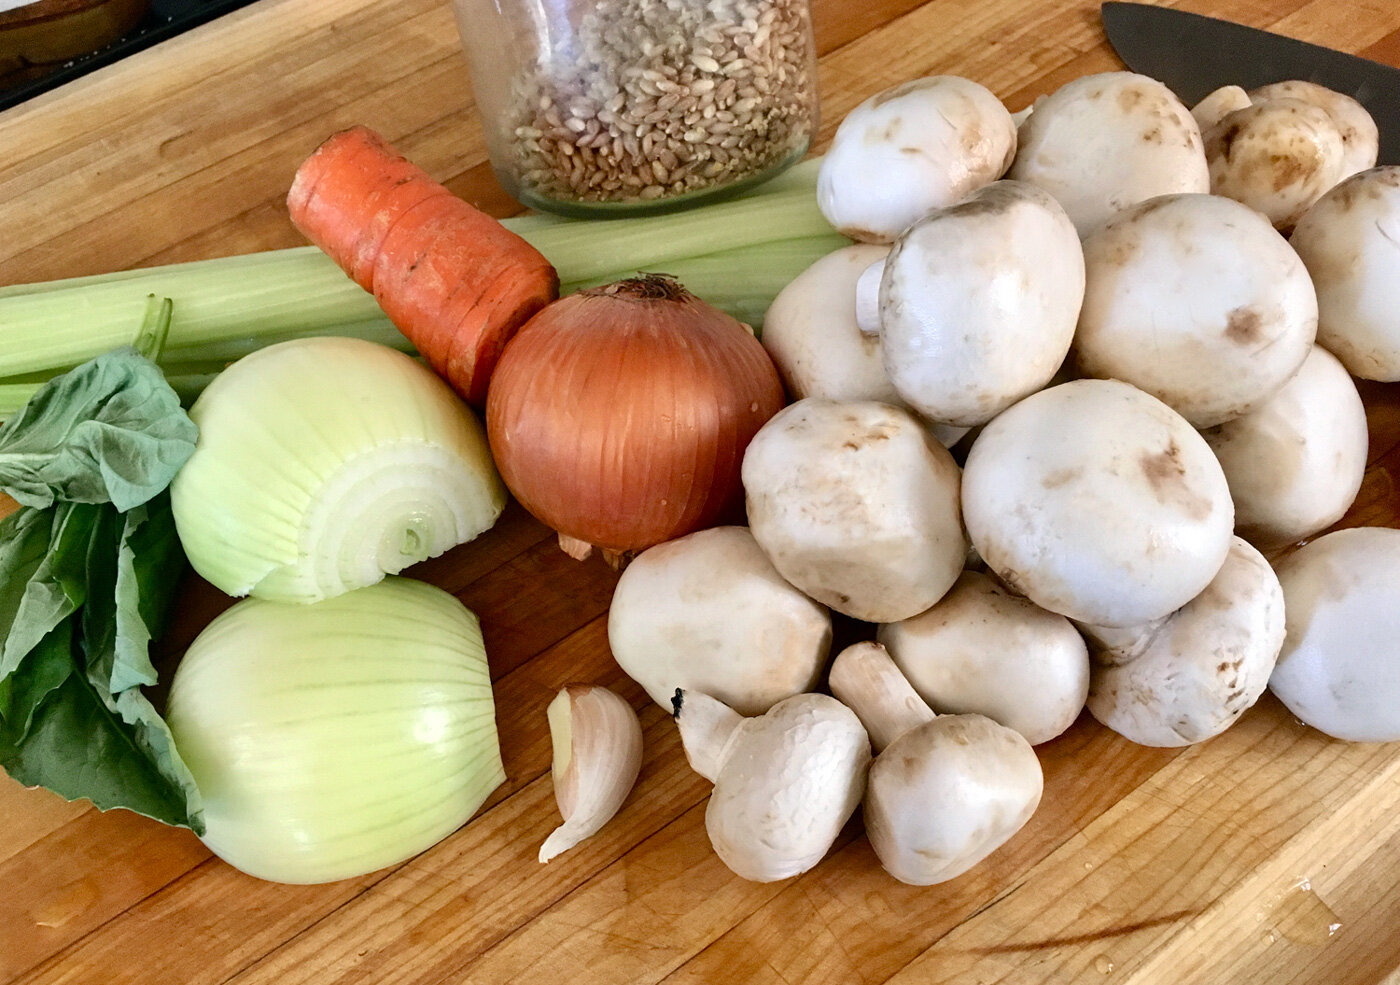
I give you 4 super simple dishes using a combination of 3-5 basic ingredients and then adding a protein and a starch, thus turning them into different dishes. Using slightly different cooking methods, you also create different flavors and textures. From sautéing to stir frying, braising or simple soup making. This is like those old Chinese menu ideas; two from column A, one from column B, etc. Feel free to mix and match. That is the beauty of basics, you can create so many variations.

Celery and fennel.

Celery and fennel.

The Basics:

  • Onions

  • Celery

  • Fennel

  • Carrot

  • Basil

 The Proteins:

  • Shrimp

  • Cod

  • Mushrooms

The Starches:

  • Polenta

  • Barley

  • Rice

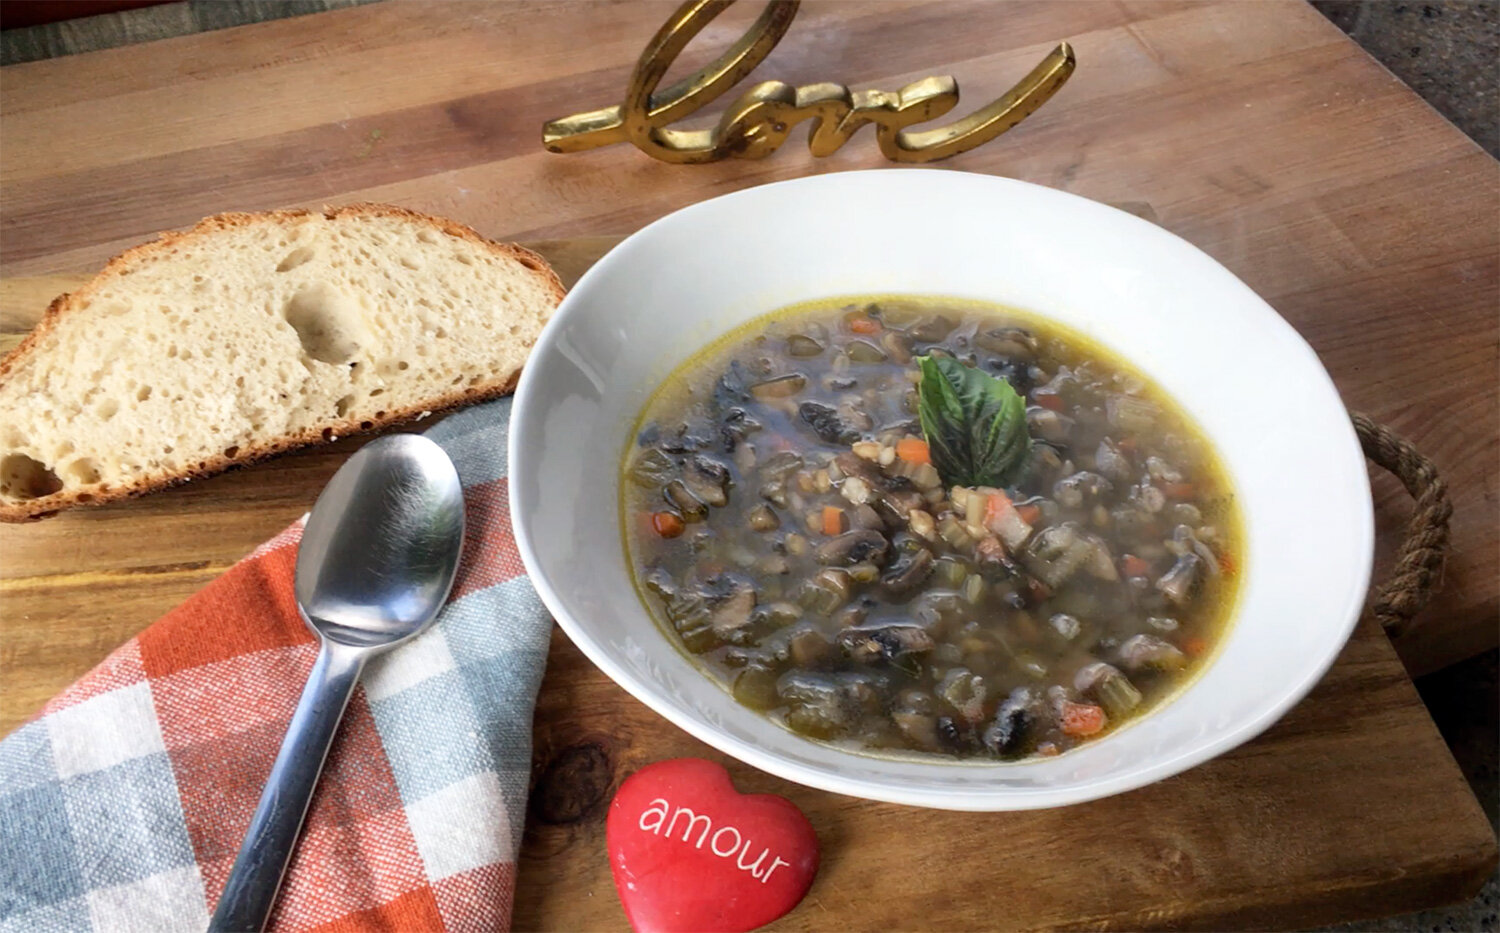
Mushroom Barley Soup

4 Basics + 1 Protein + 1 Starch
(Onions, Celery, Carrots, Basil) + (Mushrooms) + (Barley
)

Instructions:

  1. Cook the barley in a separate pot.

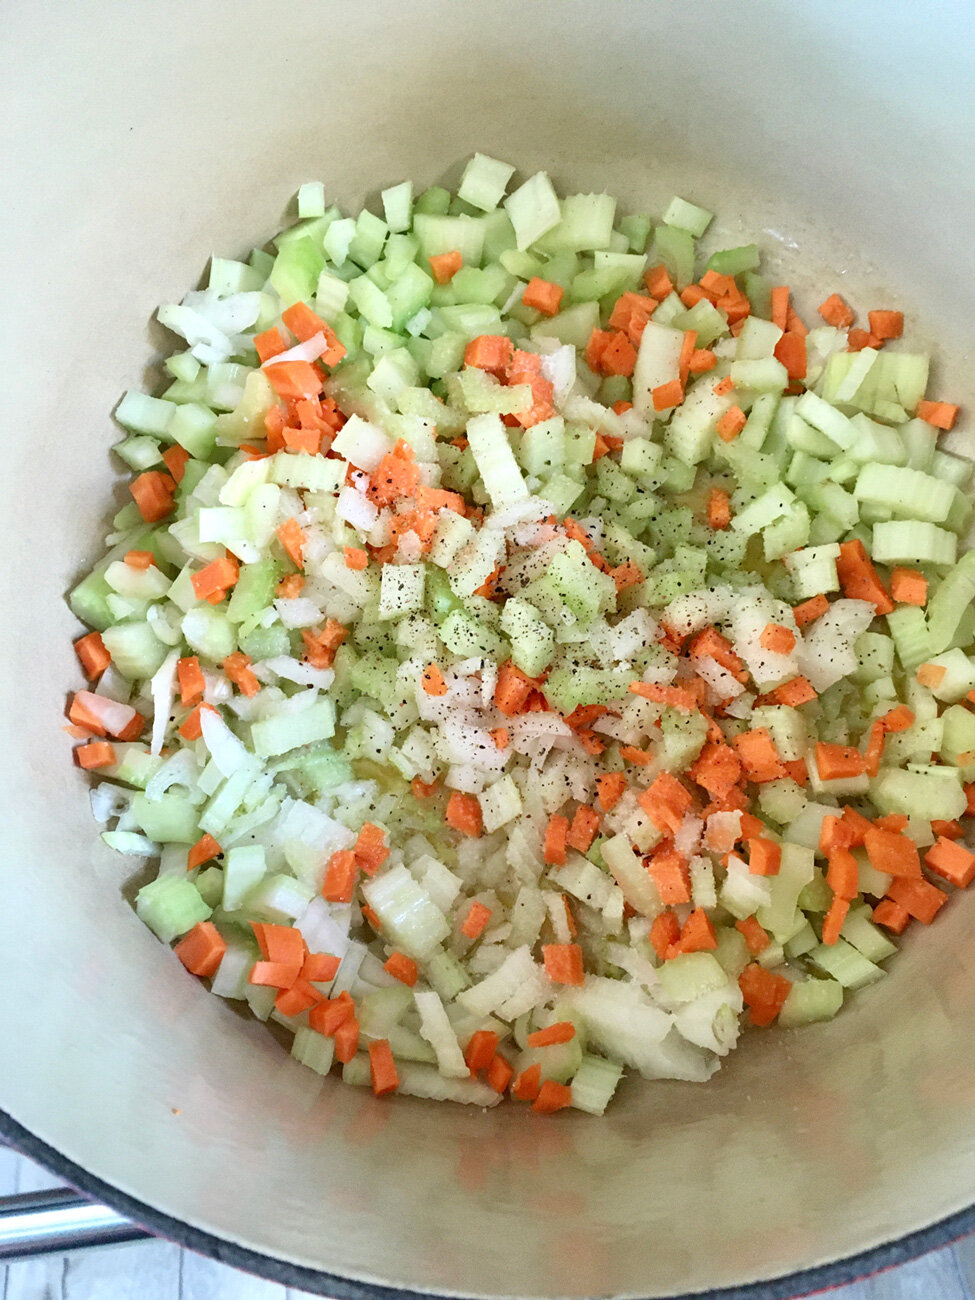
  2. In a medium stock pot, sauté onions, celery and carrot in olive oil until softened and season with salt and pepper.

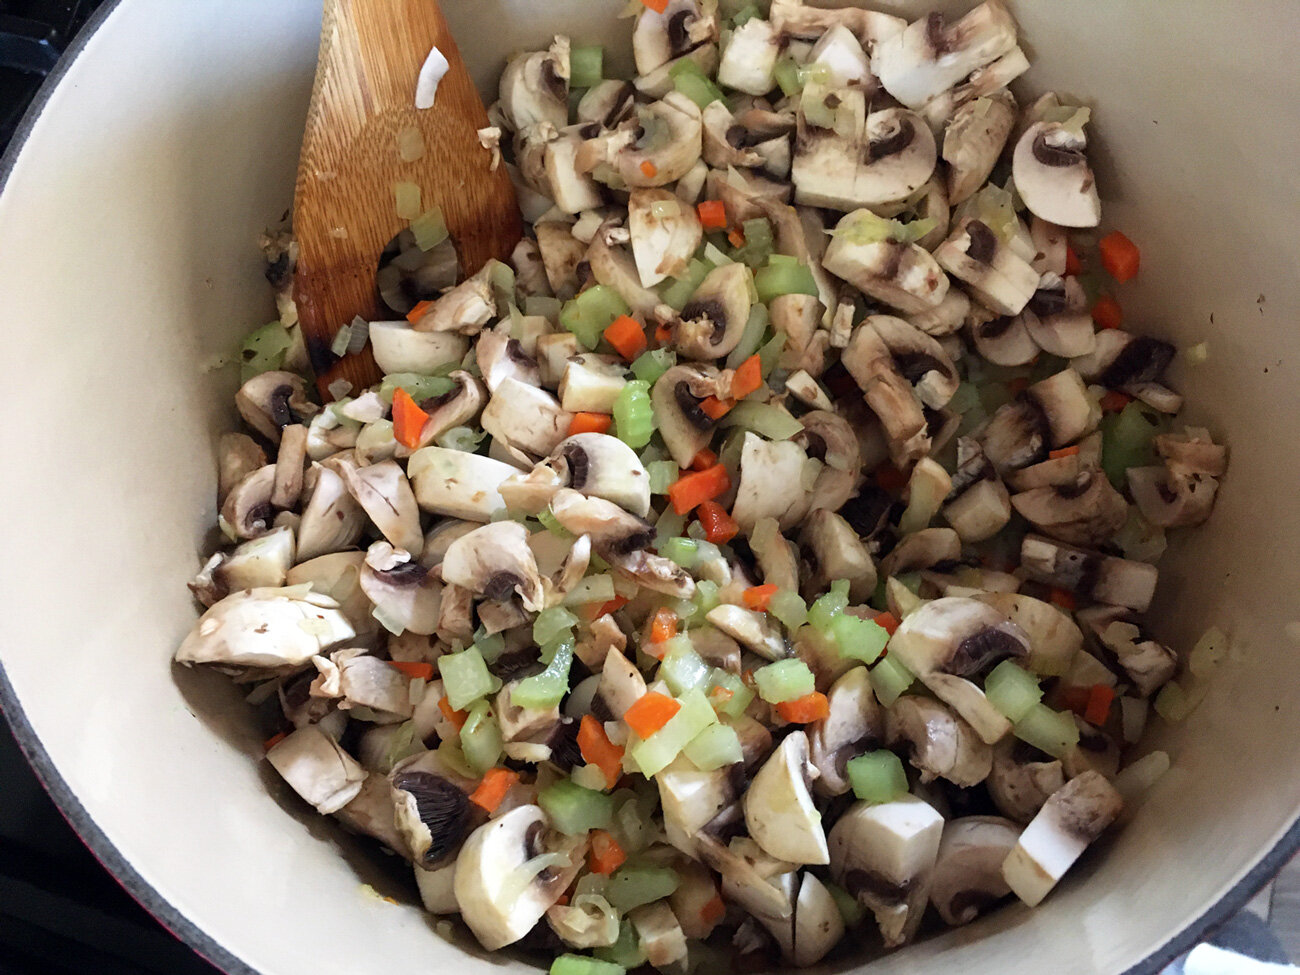
  3. Add the mushrooms, over a medium heat cook until softened.

  4. Then add chicken or vegetable broth or water to cover and let simmer.

  5. Add the barley once cooked. I added basil which I had on hand and it gave it a nice floral note that I enjoyed.

Serve with a salad or crusty bread and lunch is served. And check out the video below. I’m getting all fancy now and inserting moving visuals. Enjoy a steaming hot bowl of comforting soup.


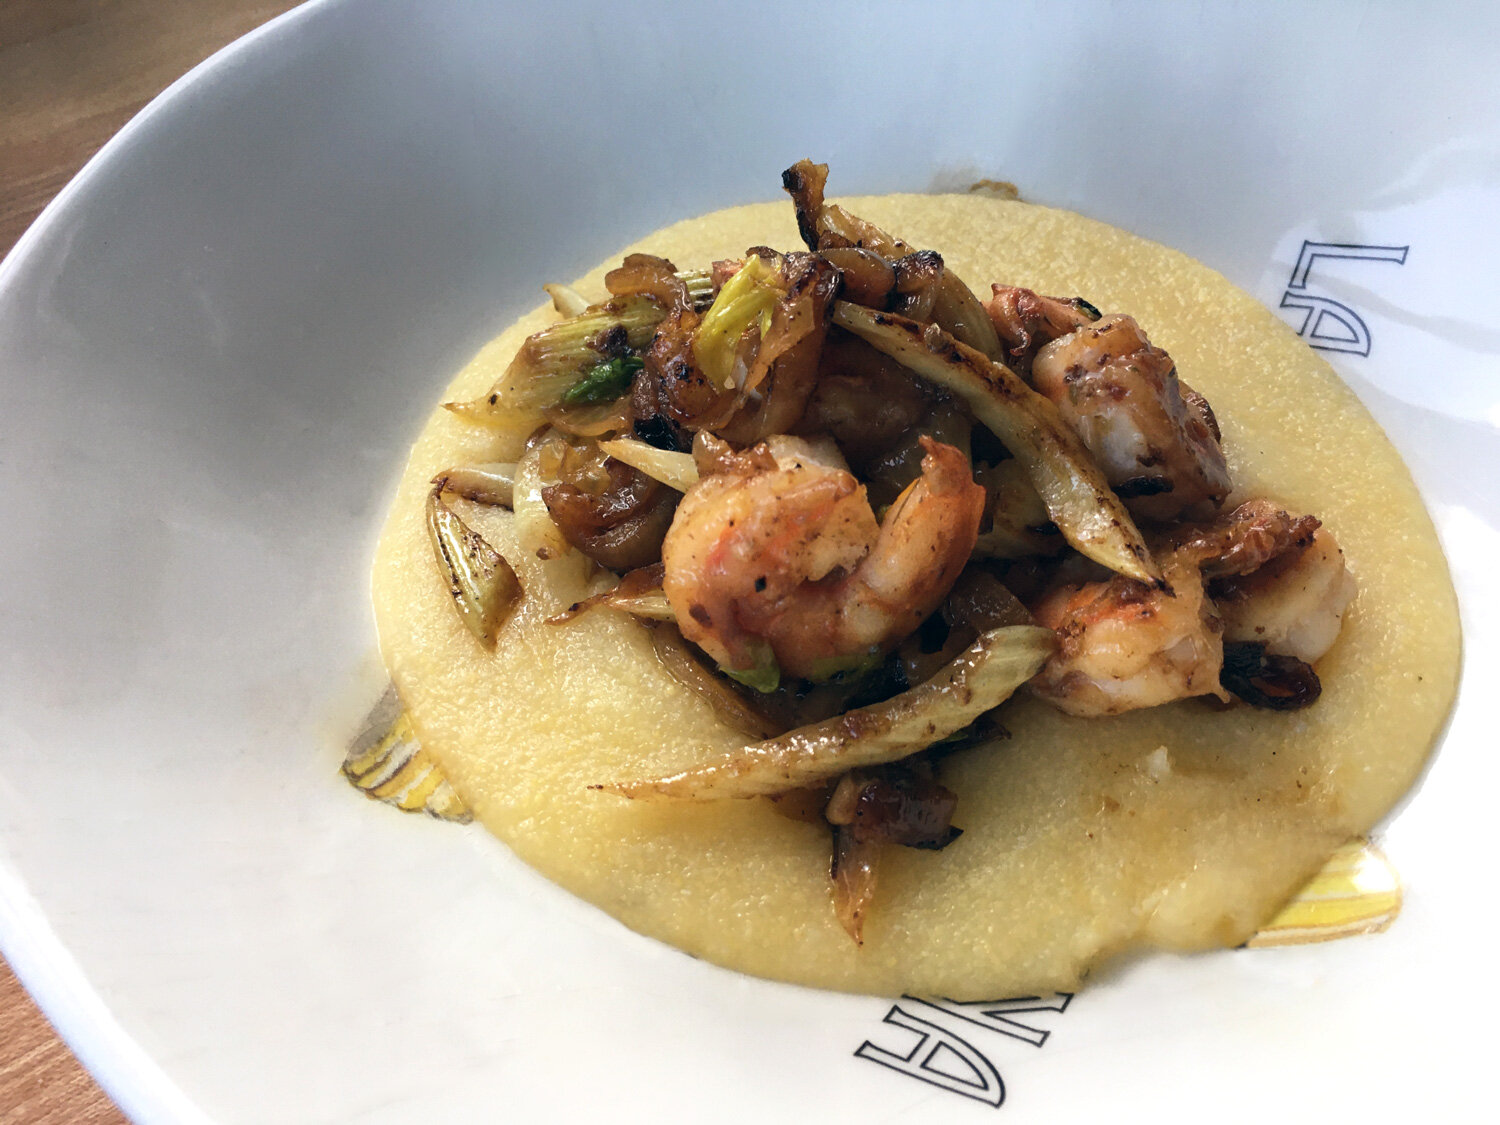
Simple Shrimp Sauté

3 Basics + 1 Protein + 1 Starch
(Onions, Celery, Basil) + (Shrimp) + (Polenta
)

Instructions

  1. Cook polenta according to the package. (You can add cream and butter at the end to make it luxurious and extra creamy, but keeping it in the basic mode, use just water.)

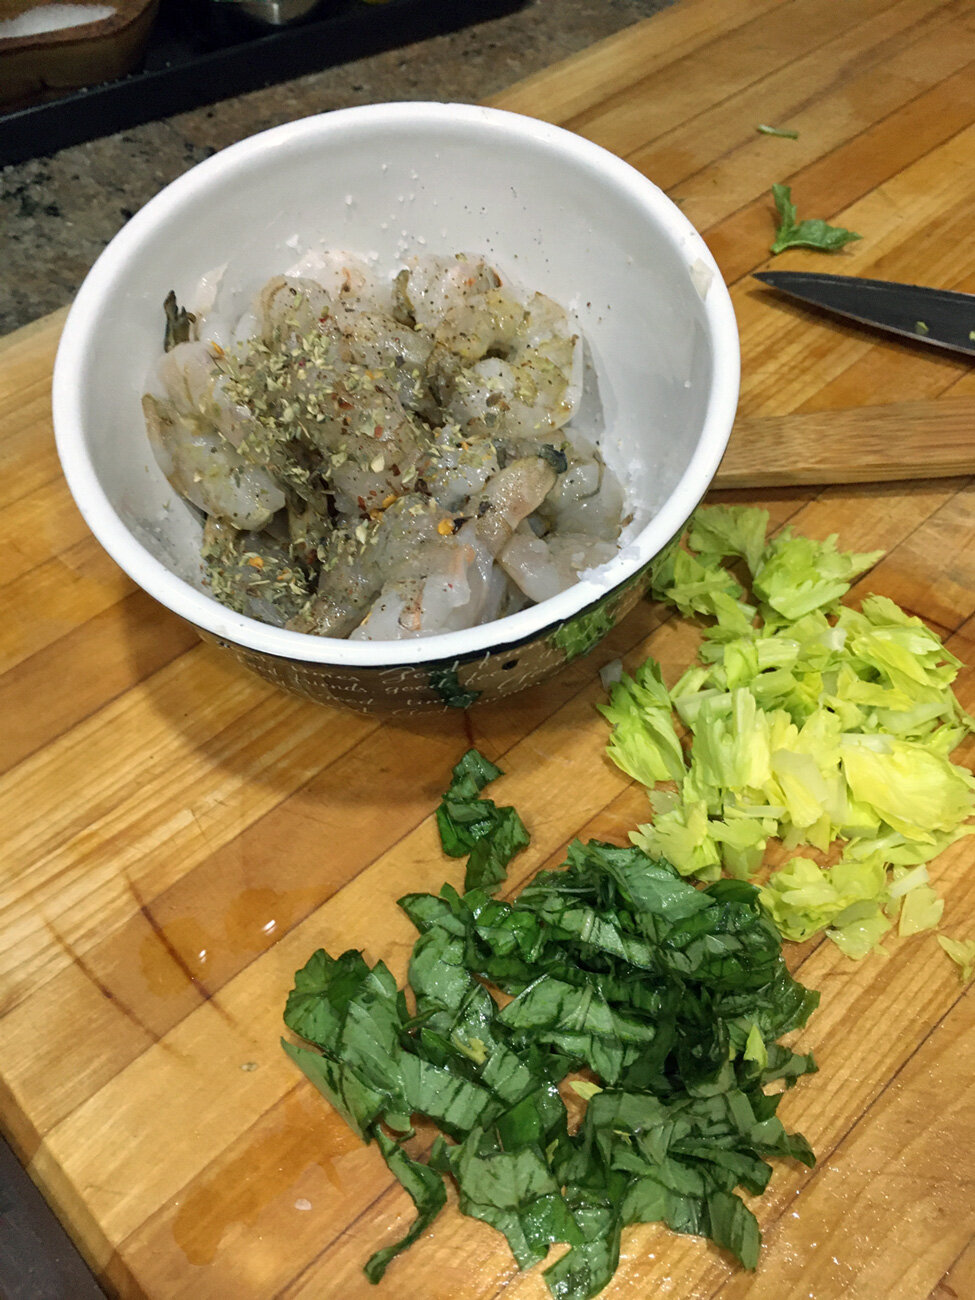
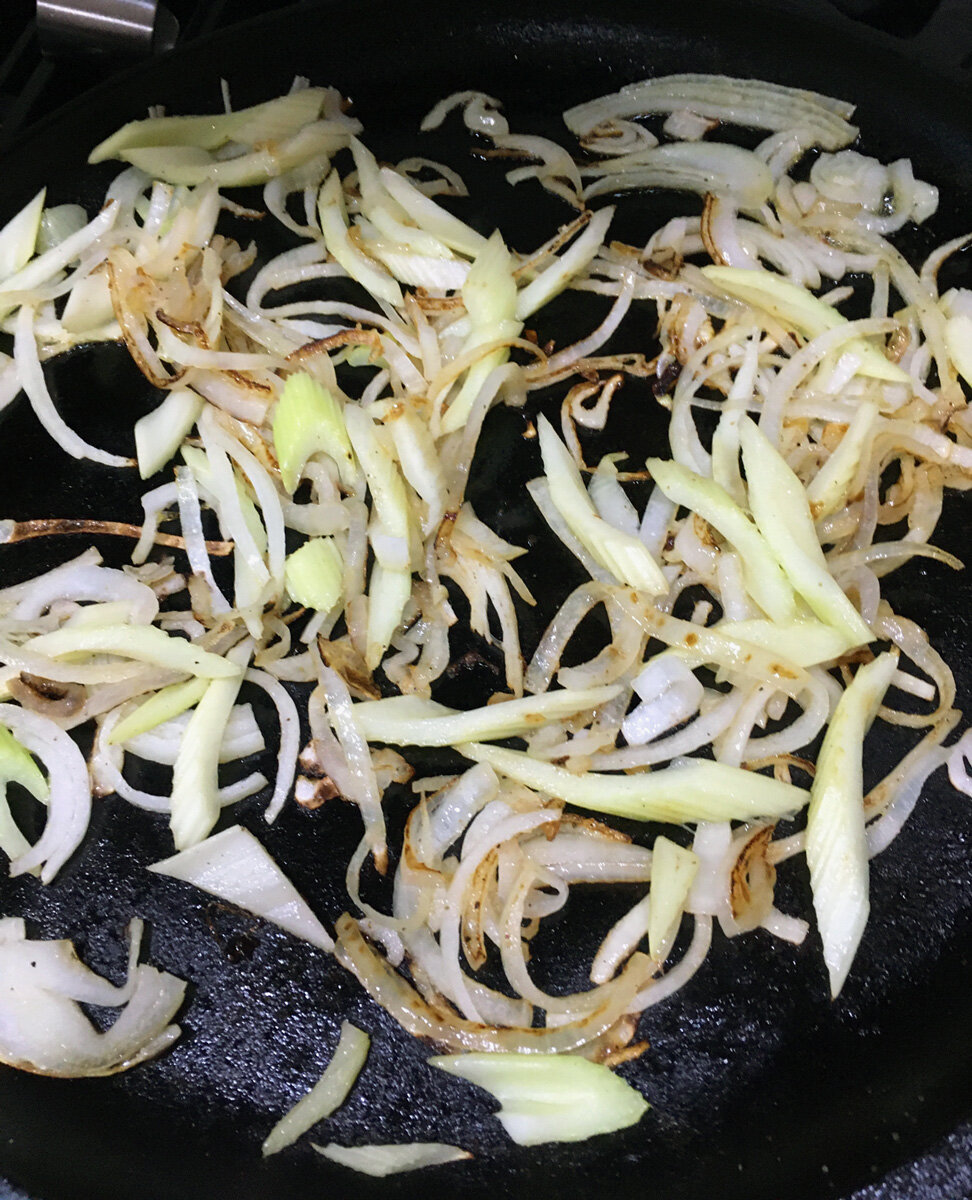
  2. Sauté the sliced celery and onions until softened, then season with salt and pepper. Keep the celery leave tops and use them along with the basil to finish.

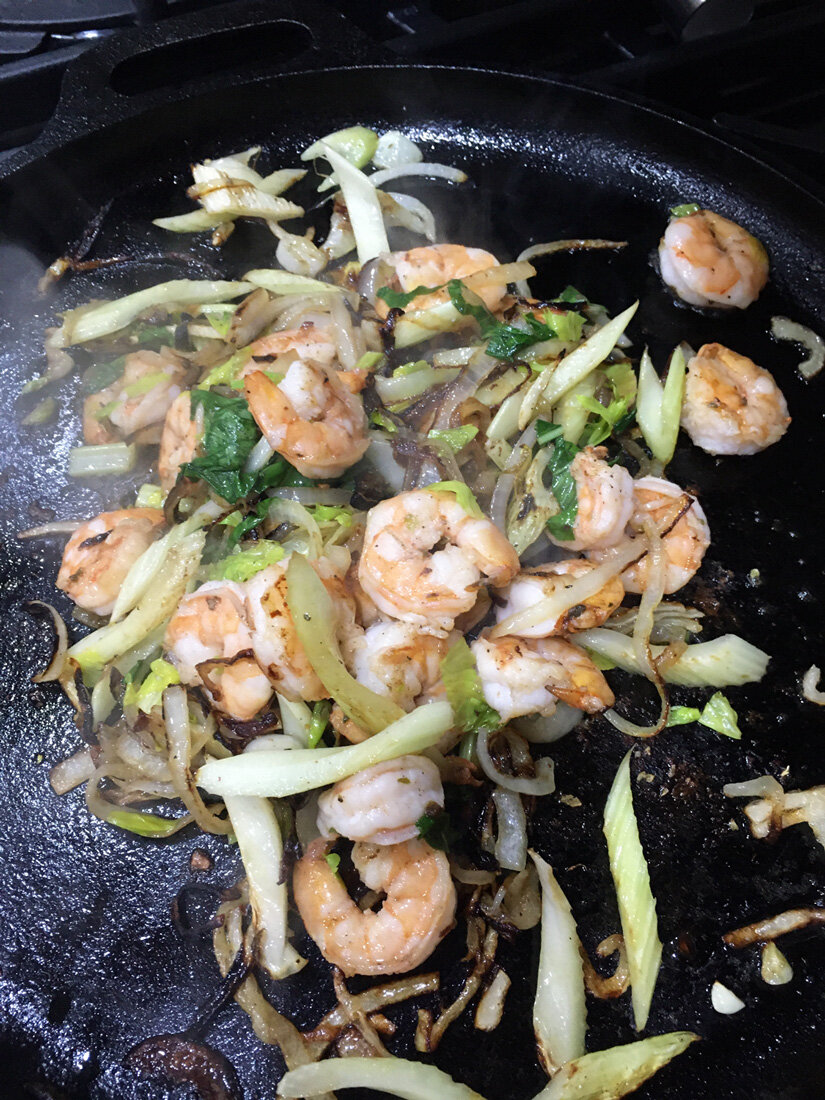
  3. Add the shrimp and cook until just pink, then add the freshly chopped basil and celery leaves.

  4. Top the polenta with the shrimp mixture. Yum and Yum

Another video for your viewing pleasure.


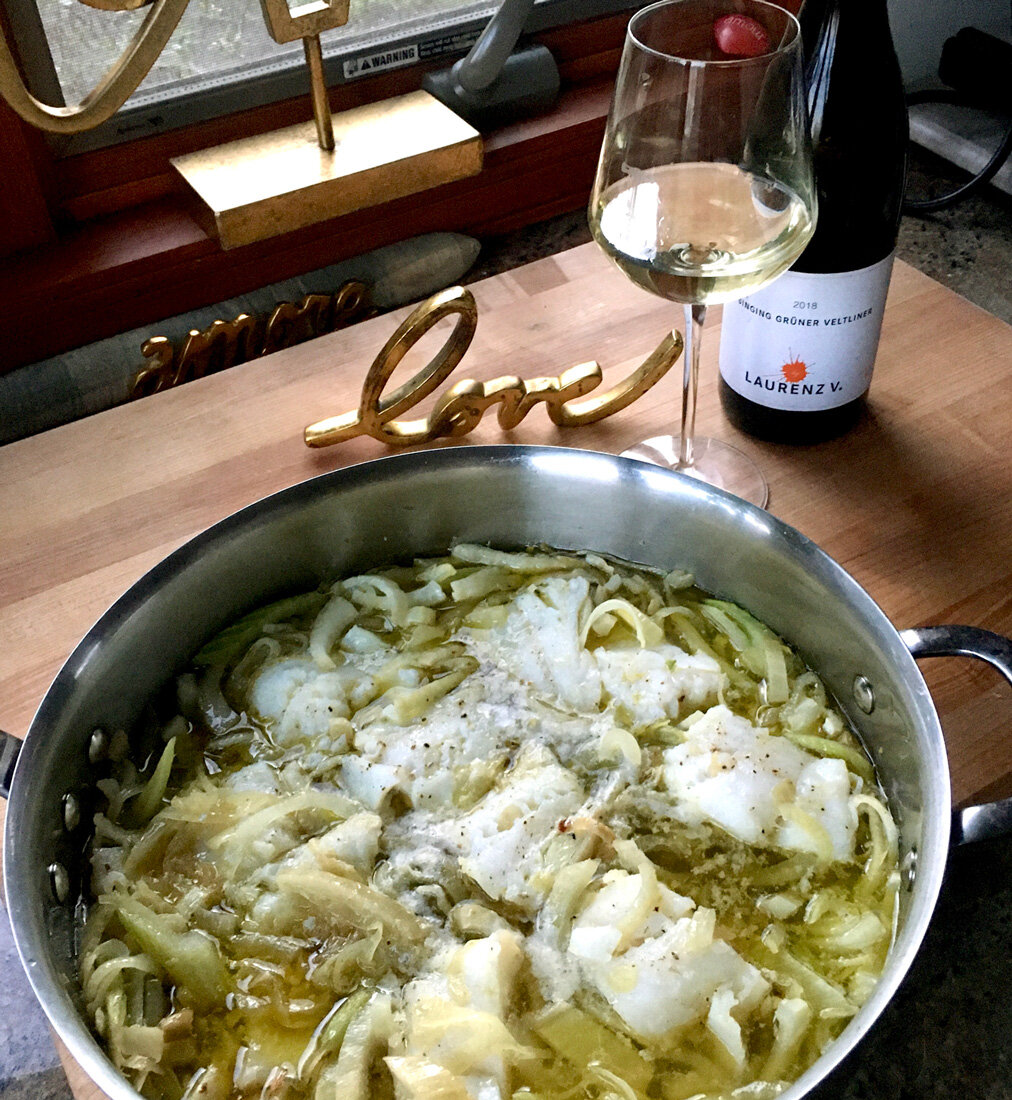
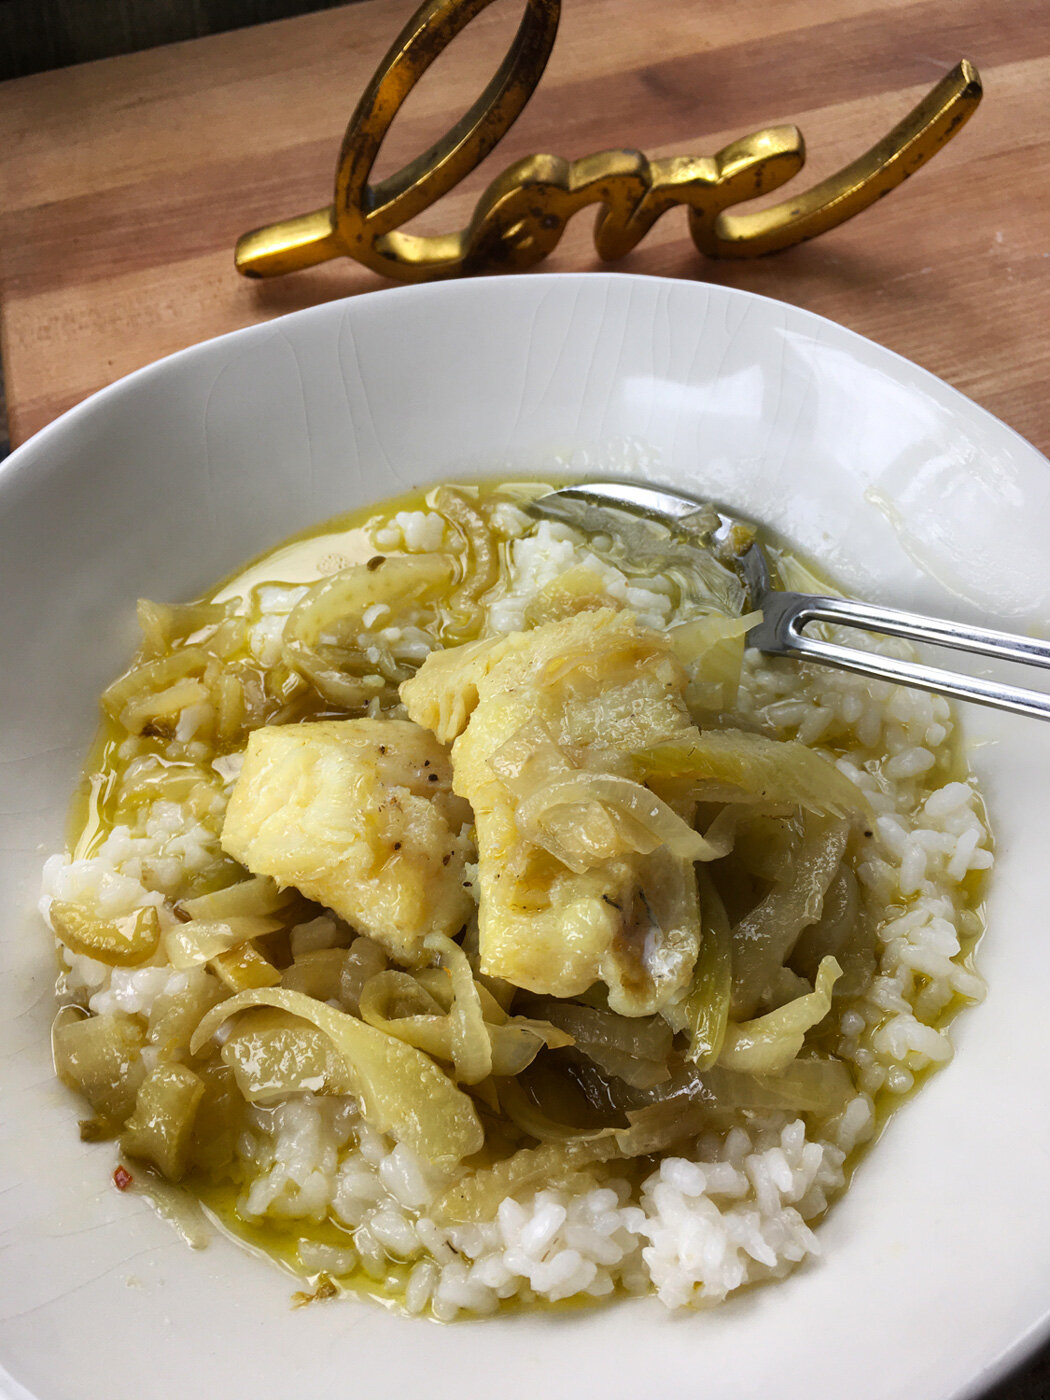
One Pot Poached Cod

3 Basics + 1 Protein + 1 Starch
(Onions, Fennel, Celery) + (Cod) + (Rice)

Instructions

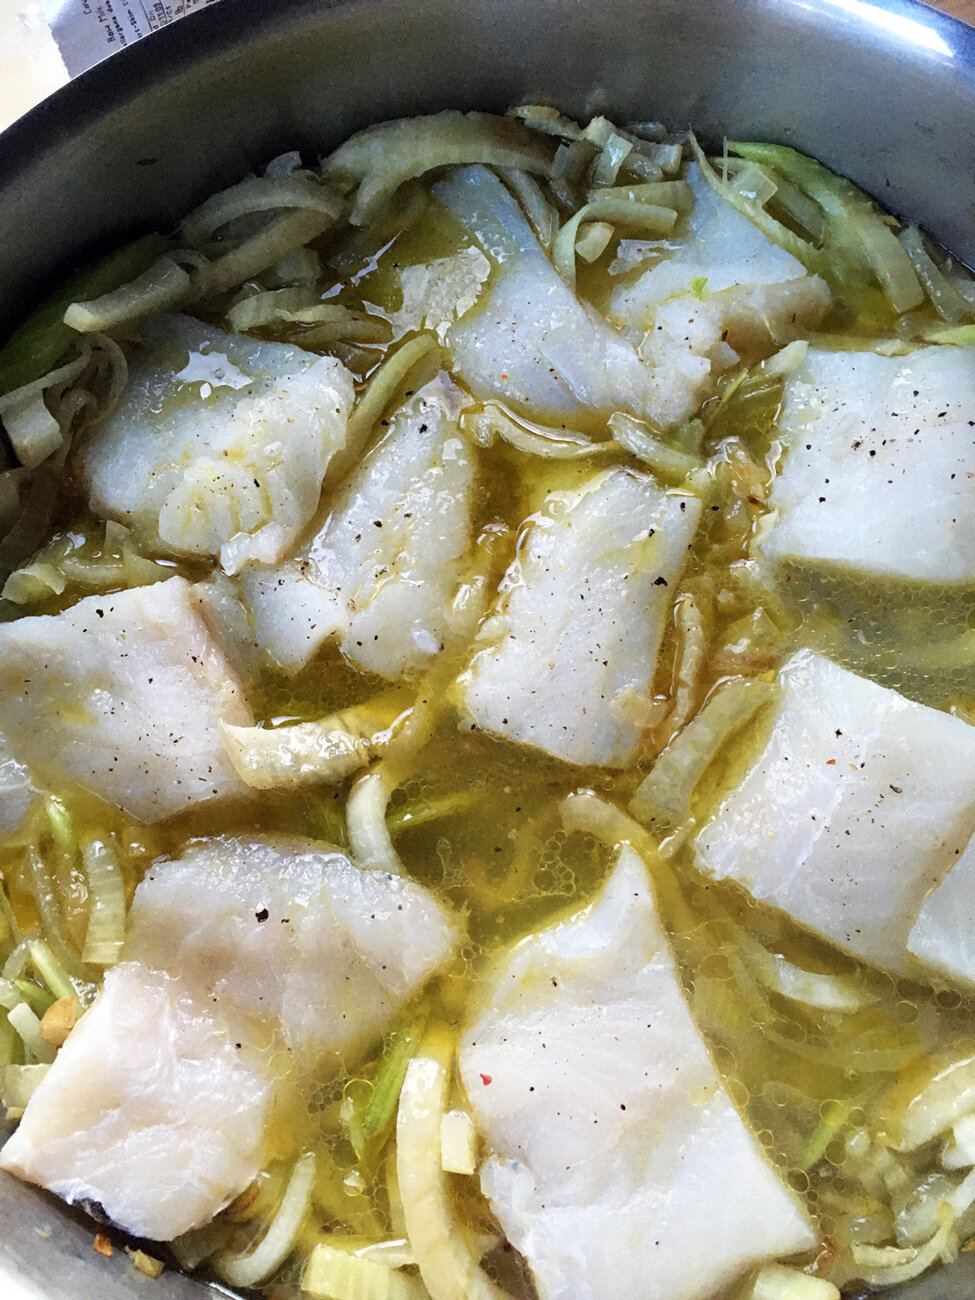
  1. Wash, dry and cut the cod into chunks (approx. 2” squares) and set aside.

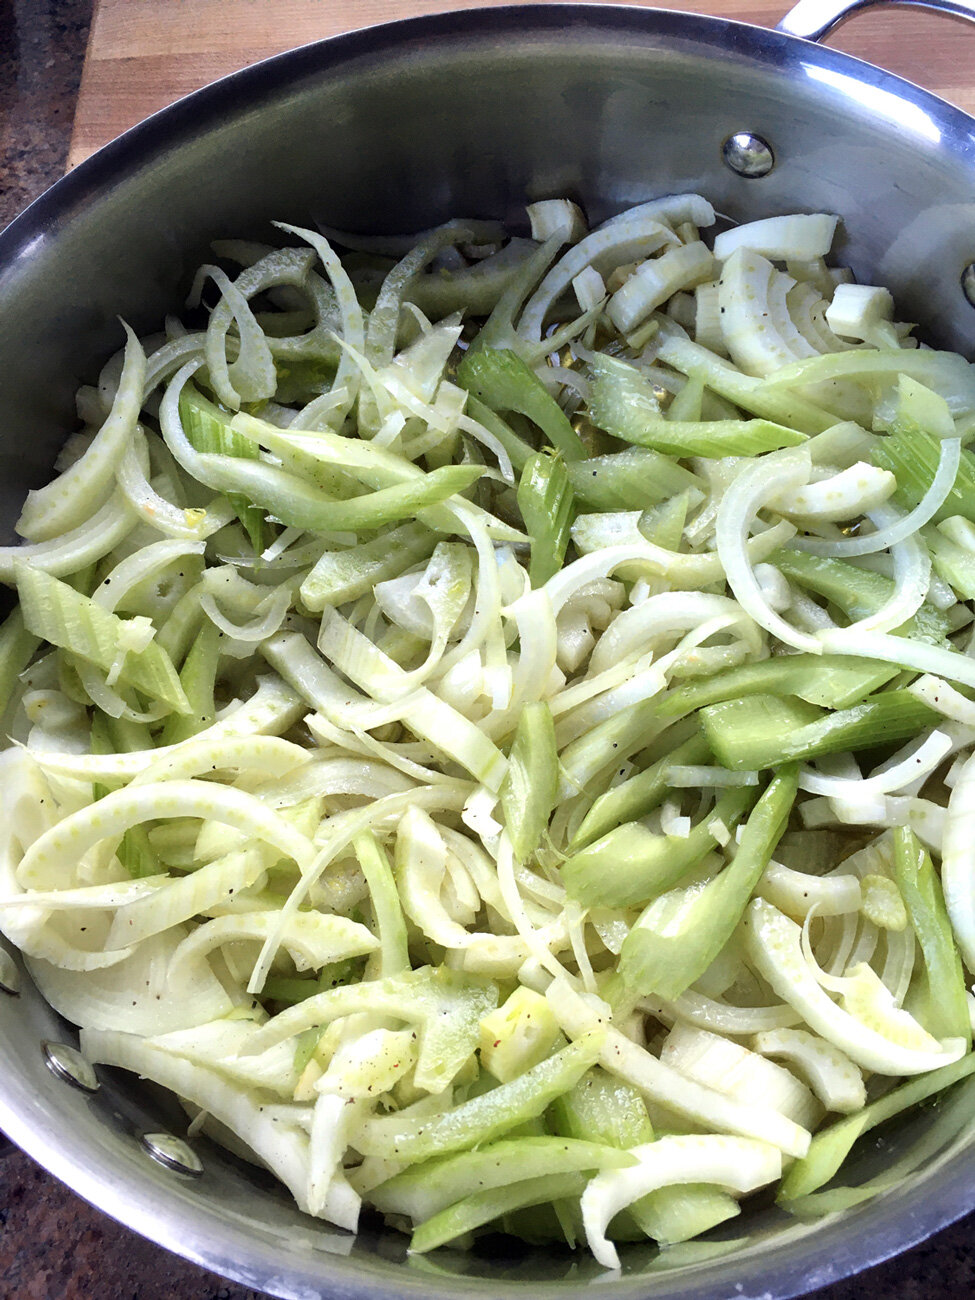
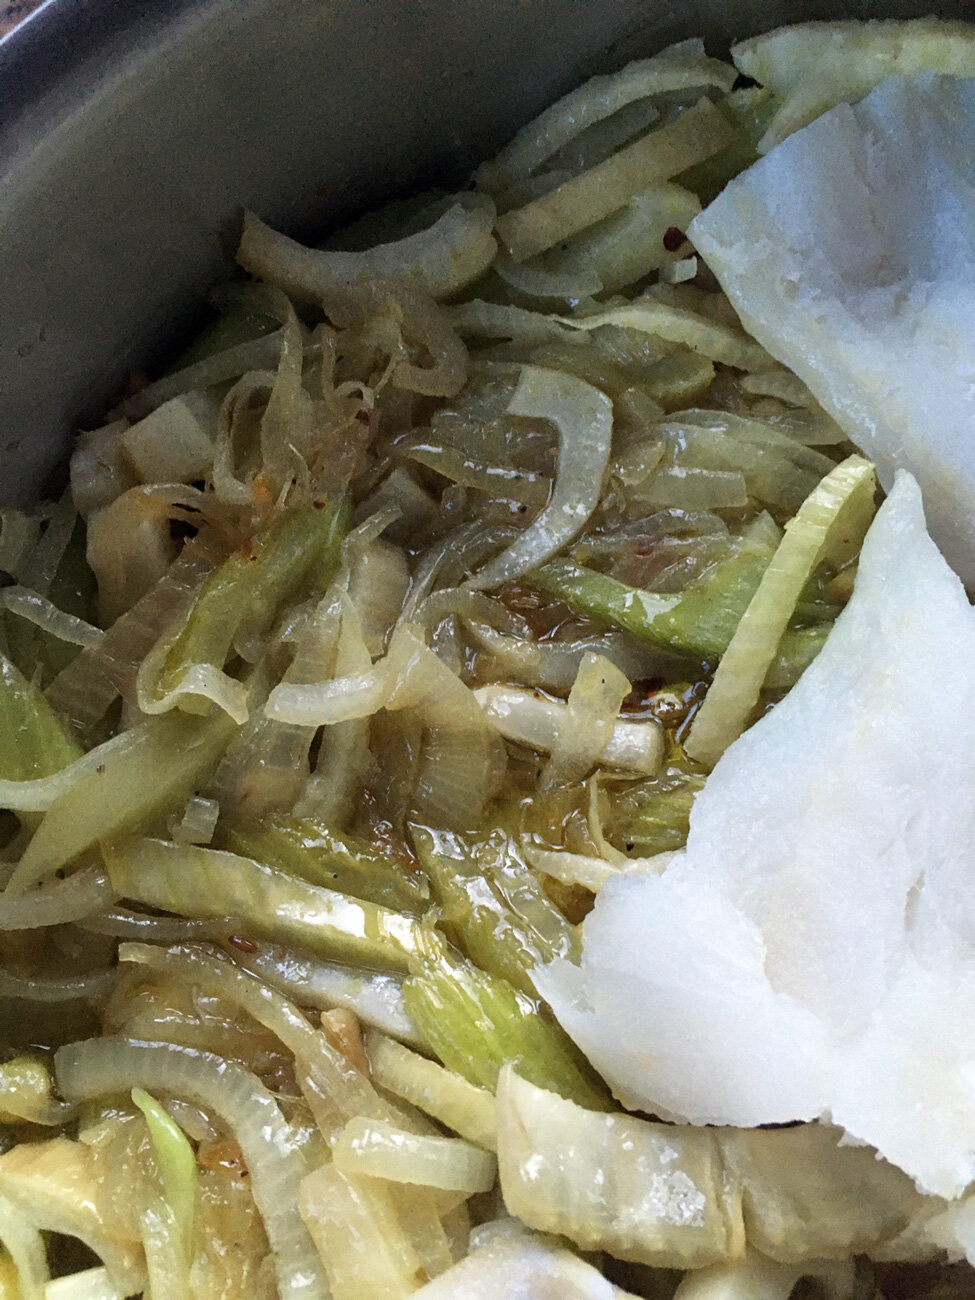
  2. Sauté the sliced onions, celery and fennel in olive oil, and slowly cook until softened.

  3. Add water and then nestle the cod pieces into the pan. Cover and let poach until the cod is white and cooked through. Depending on how thick the pieces are this should only take 8-12 minutes. A beautifully flakey cod with braised vegetables is soothing and delicious.


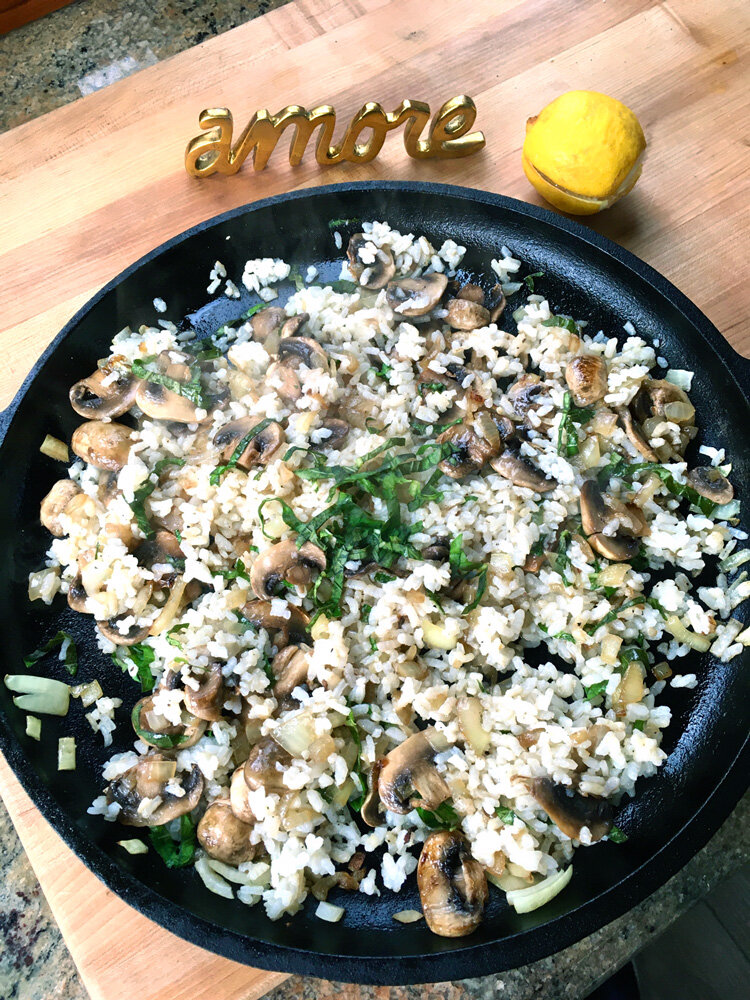
Leftover Rice & Mushroom Stir Fry

2 Basics + 1 Protein + 1 Starch
(Onions, Basil) + (Mushrooms) + (Leftover Cooked Rice
)

Instructions

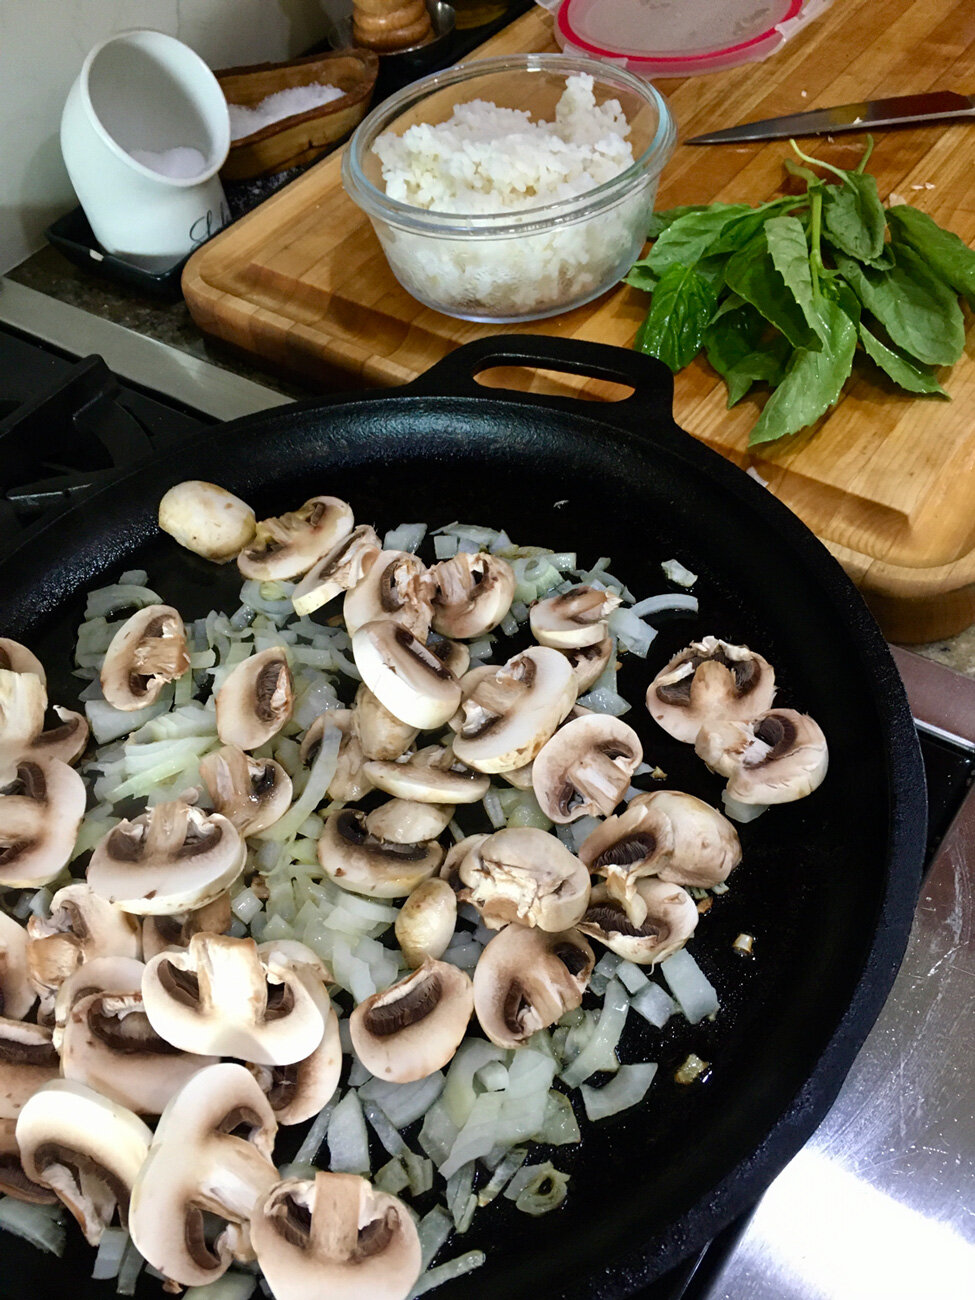
  1. Chop the onions into a small dice. Sauté using olive oil until softened, add salt and pepper.

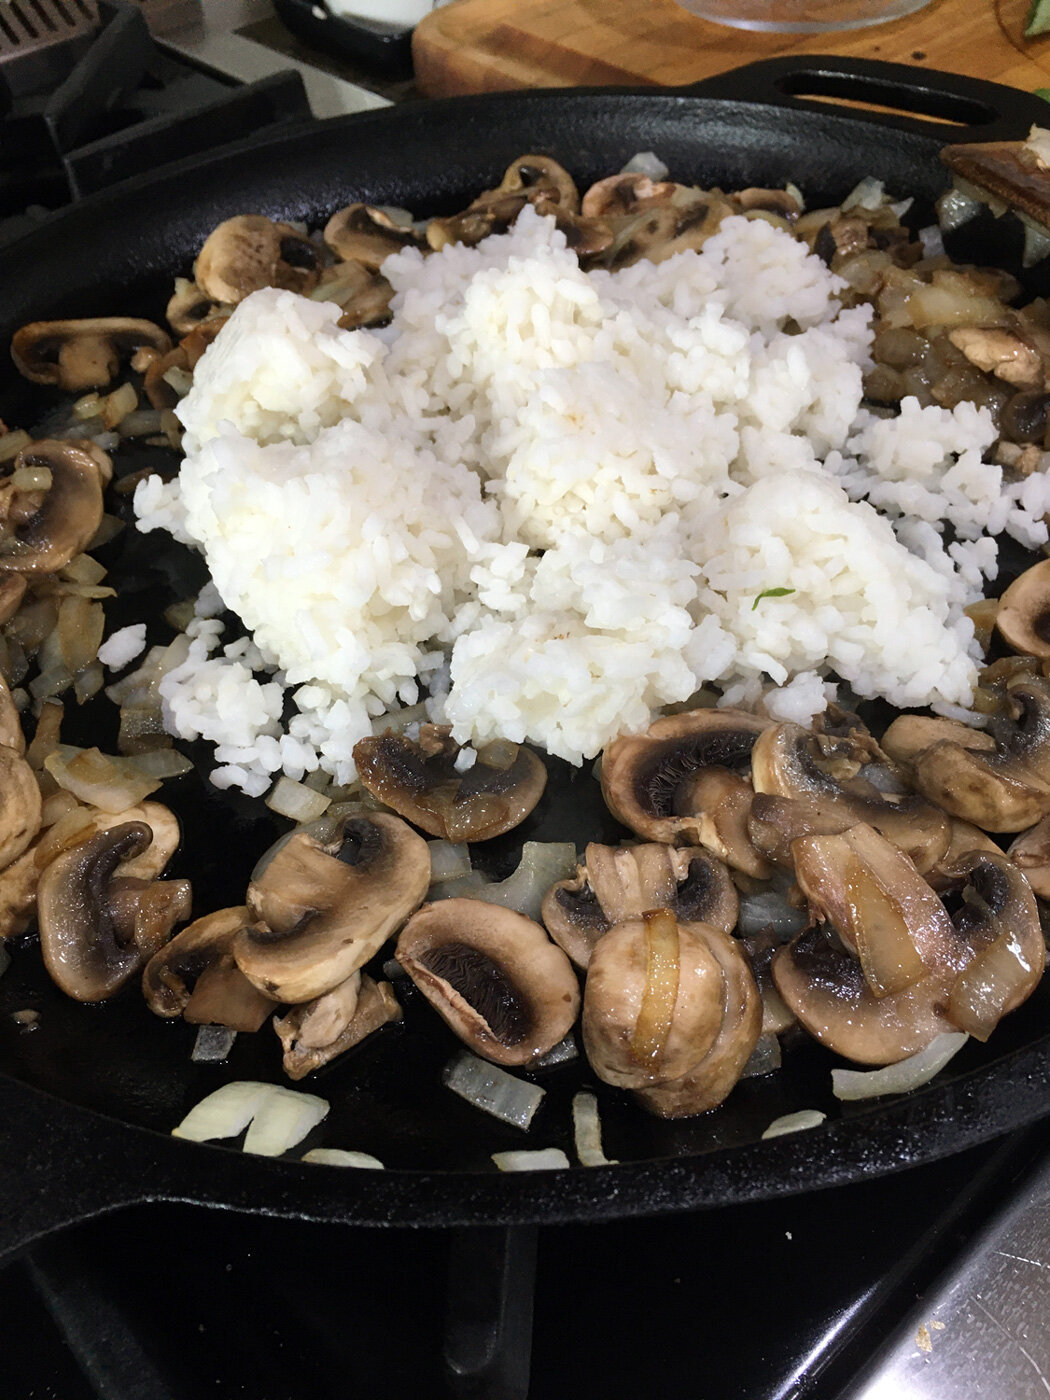
  2. Slice the mushrooms and add to the onions and let them cook together until the mushrooms get browned.

  3. Add the cooked leftover rice until completely heated through. Add seasonings to taste. (Salt, pepper or even red pepper flakes). Finish with chopped

And there you have it, 5 basic staple ingredients combined with other fairly basic proteins and starches. And just like that you have 4 different meals that are complete, hearty, delicious, and I dare say… EASY.

Send me your mix and match creations. I would love to hear how you are making the most of your basic items.


Pro Tips & Time Saving Ideas

pesto.small.containers.jpg

First and foremost, I hope that everyone is safe, and healthy. These are extraordinary times, which require patience, perseverance, faith and a deep sense of knowing that we will heal and return to a new way of living armed with more knowledge and information, and certainly with more compassion.

Since we are still in a lock down situation, keeping our distance and doing what we can to remain safe, we are finding different ways in which to manage our daily routines. That includes trying to make the most out of the food we are able to buy. I thought I would share some tips and time savings ideas that might help.

In our area, we have not been able to purchase some items, while others we can get in large quantities. And because of that, I’ve come up with ways to make sure I don’t waste anything. Below are a few that I’ve implemented.

Also, because things have been a bit wonky, I haven’t been taking photos with my professional camera. Sure, there is a list of reasons why, but I definitely won’t bore you with those details. Instead I’ve been using my phone, and clearly there is a big difference in quality. So, disclaimer right up front, the images may not be the best but I think the ideas are valuable and worth including the images. As we all know - a picture is worth a thousand words. (And yet I still use words, and lots of them.)

Let’s get started:

Pro Tip #1 - Buy citrus in larger quantities and freeze

How many times have you wished you had just a little squeeze of lemon, or lime? I have often found myself in that exact situation, which is why I started buying huge bags of limes and lemons. With this helpful trick, you will never be caught without. But this tip is not only useful if you buy in large quantities. It is also great to fold into your routine when the citrus you do have will go bad before you have a chance to use it. This method will save you from having to toss and waste it.

First things first, wash them. That’s right. Why wash the outside of citrus when you are using the juice from the inside?

Two reasons:

  1. Even if you are only using the juice, the outside has been touched by many hands and exposed. When you squeeze some of the juice might run down the outside rind, plus your hands are touching the outside rind. I’ve practiced this tip before the coronavirus, but it is especially important now.

  2. If you are going to zest the rind, washing is ESSENTIAL because you are going to consume the rind. It goes without saying that anything you will eat needs to be washed.

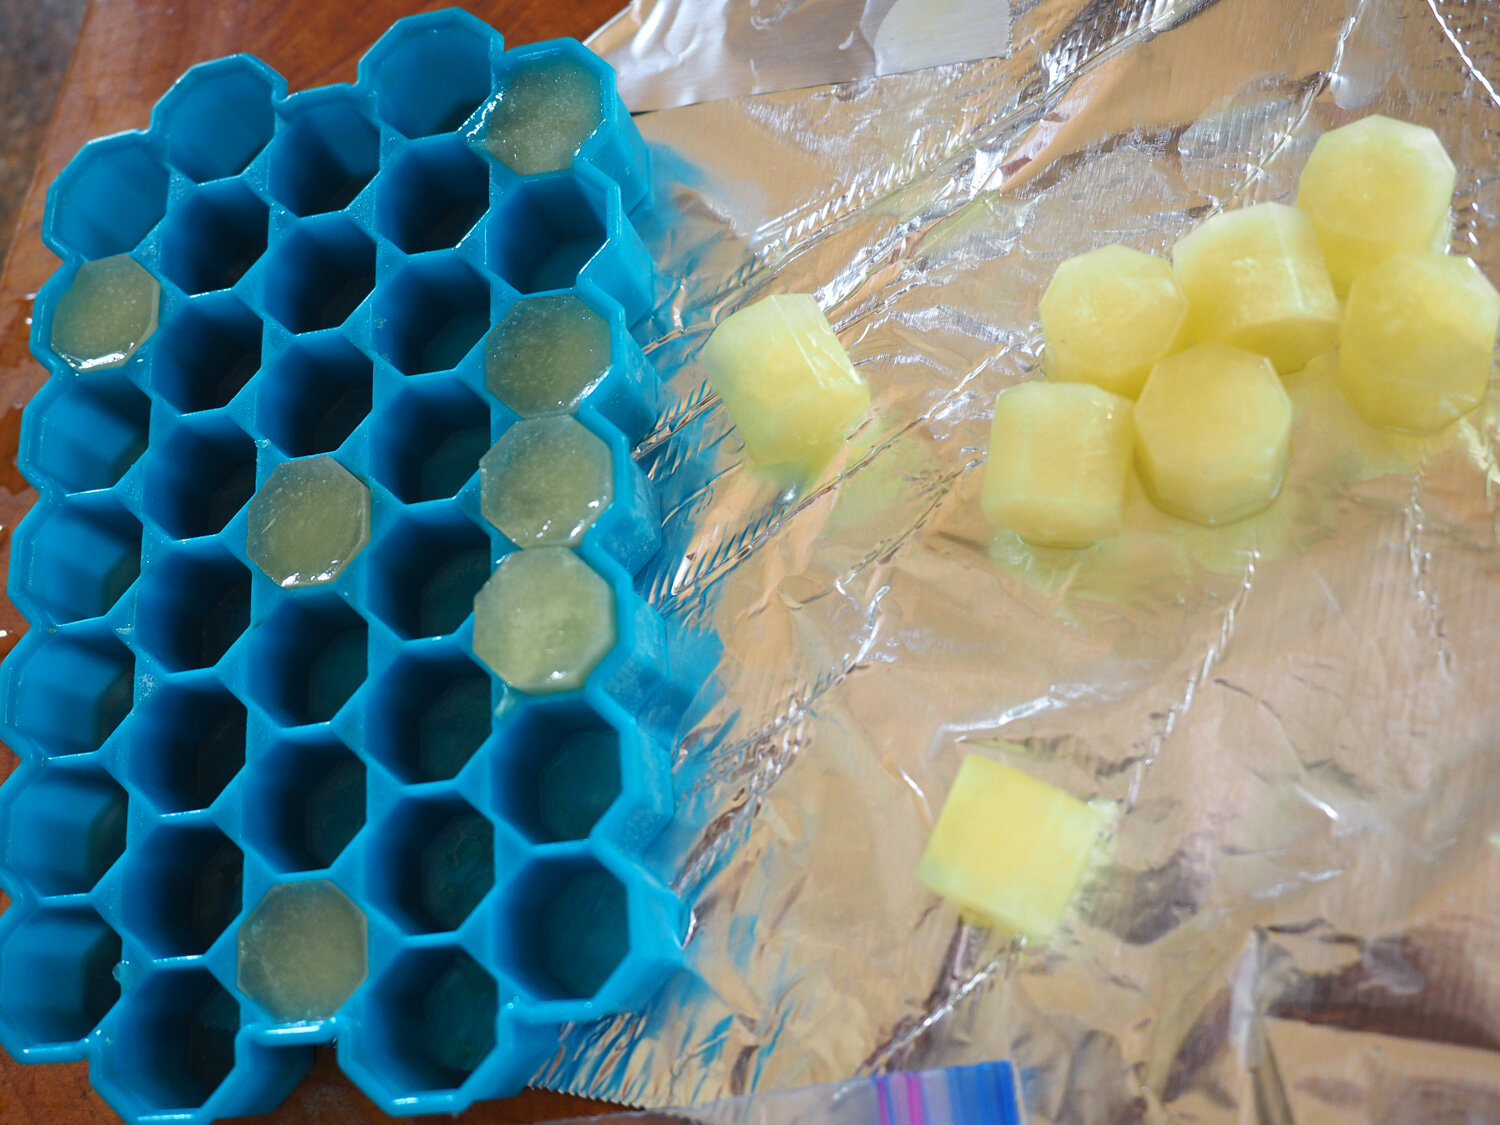
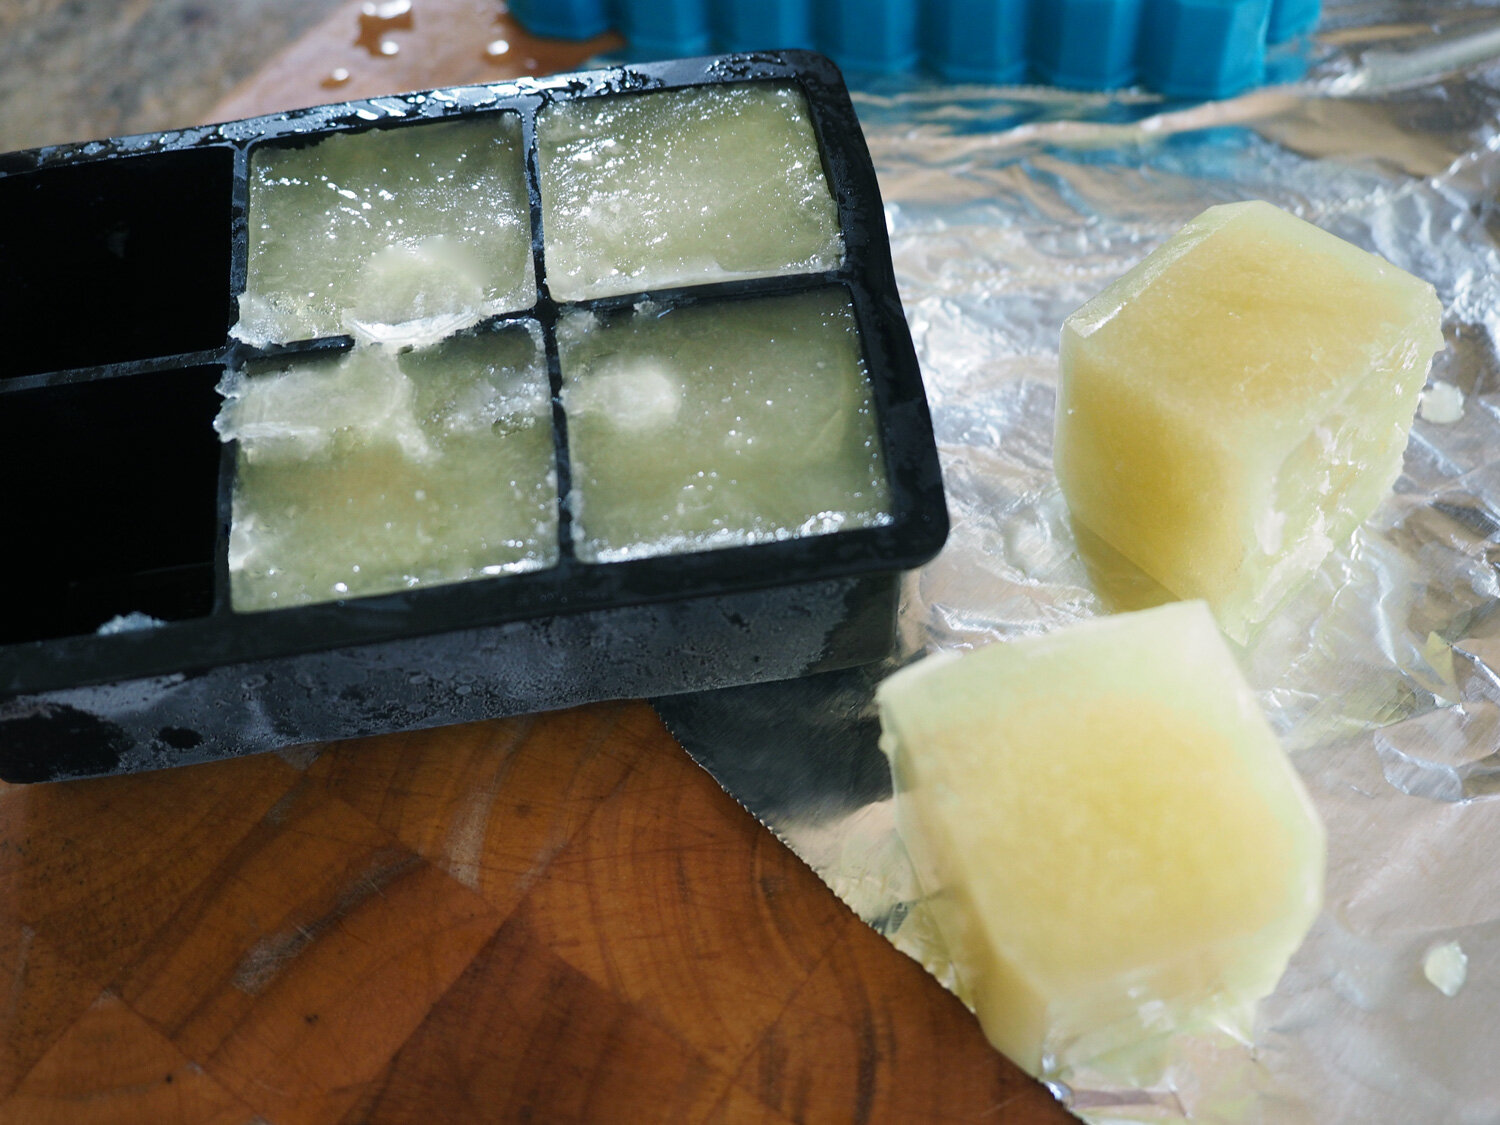
Next, I select several to keep on hand for daily use, placing them in a basket in a cool, dry drawer. The rest I squeeze into a large measuring cup and then pour the juice into silicone molds to freeze. (If you don’t have silicone molds then ice cube trays do the trick. I do find that the silicone makes it easier to pop the cubes out.) You can choose whatever size you want. I use both tiny molds and large oversized ice cube molds so that I have choices.

Once they are frozen, pop them out and place them into labeled freezer bags for future consumption in a variety of ways, such as:

  • Add to your tea

  • Use for cocktails

  • Add to sauces

  • Use for salad dressing

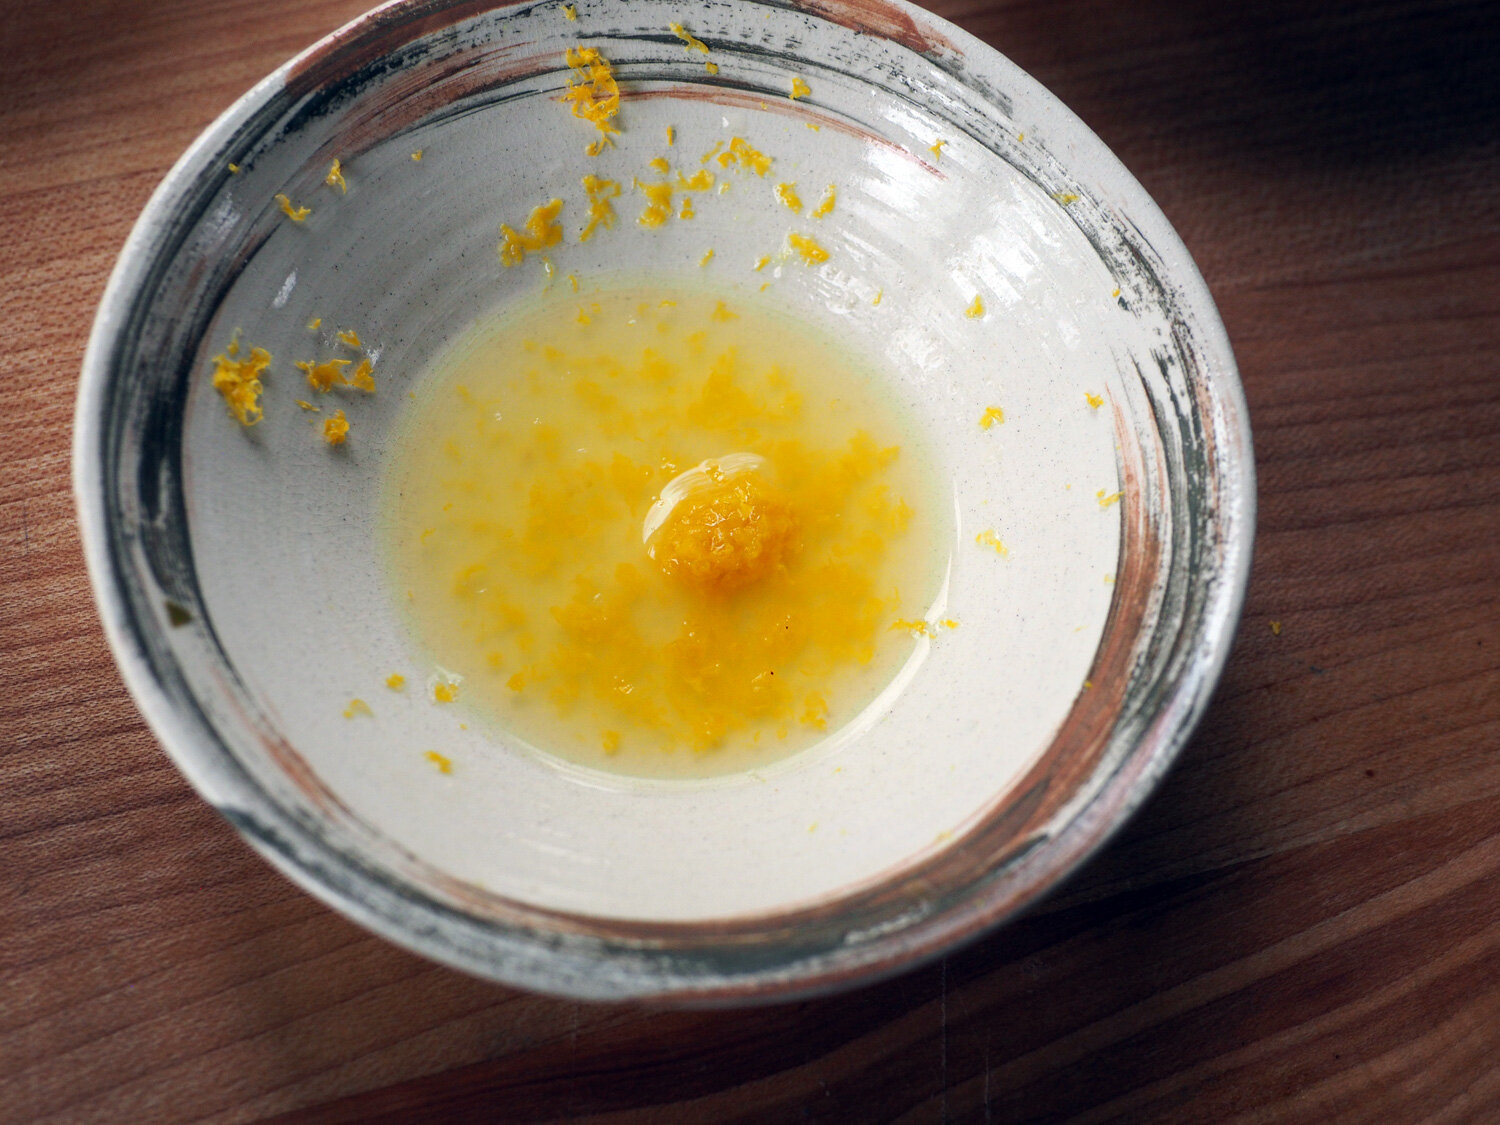
Note: I have also zested the rind and included that in some of the juice cubes, for that extra added tang.

Pro Tip #2 - Herbs Now, Herbs Later

For whatever reason, I haven’t been able to get any other herb except basil, and it comes in 1 lb. size. I love basil, but that’s a whole lot of basil. I decided to take full advantage of having this tasty herb on hand. I used it fresh in several dishes, (which will be featured in my next post), but there was just so much I could use before it was going to go south on me. That’s where this next tip comes in handy.

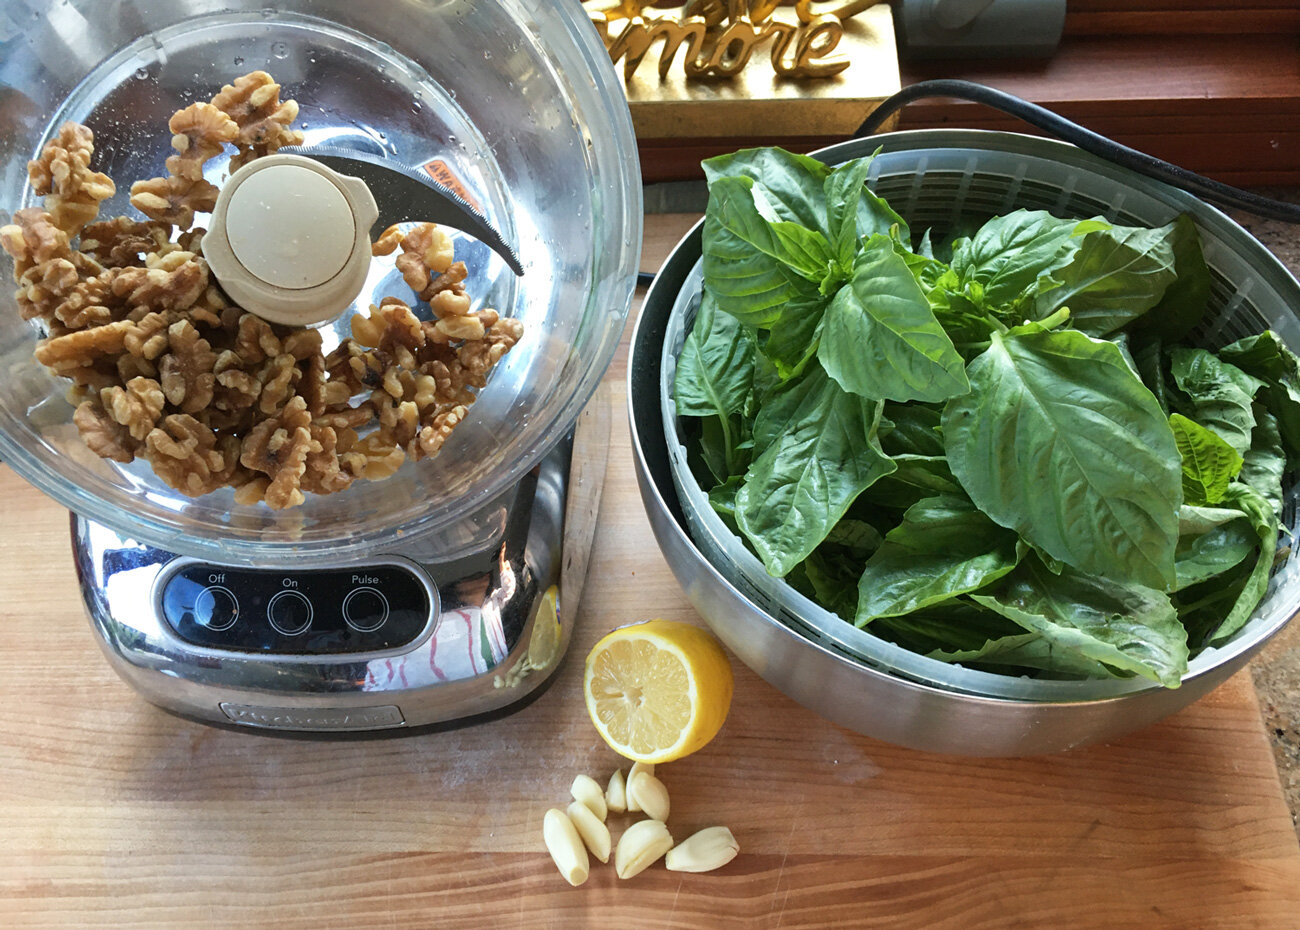
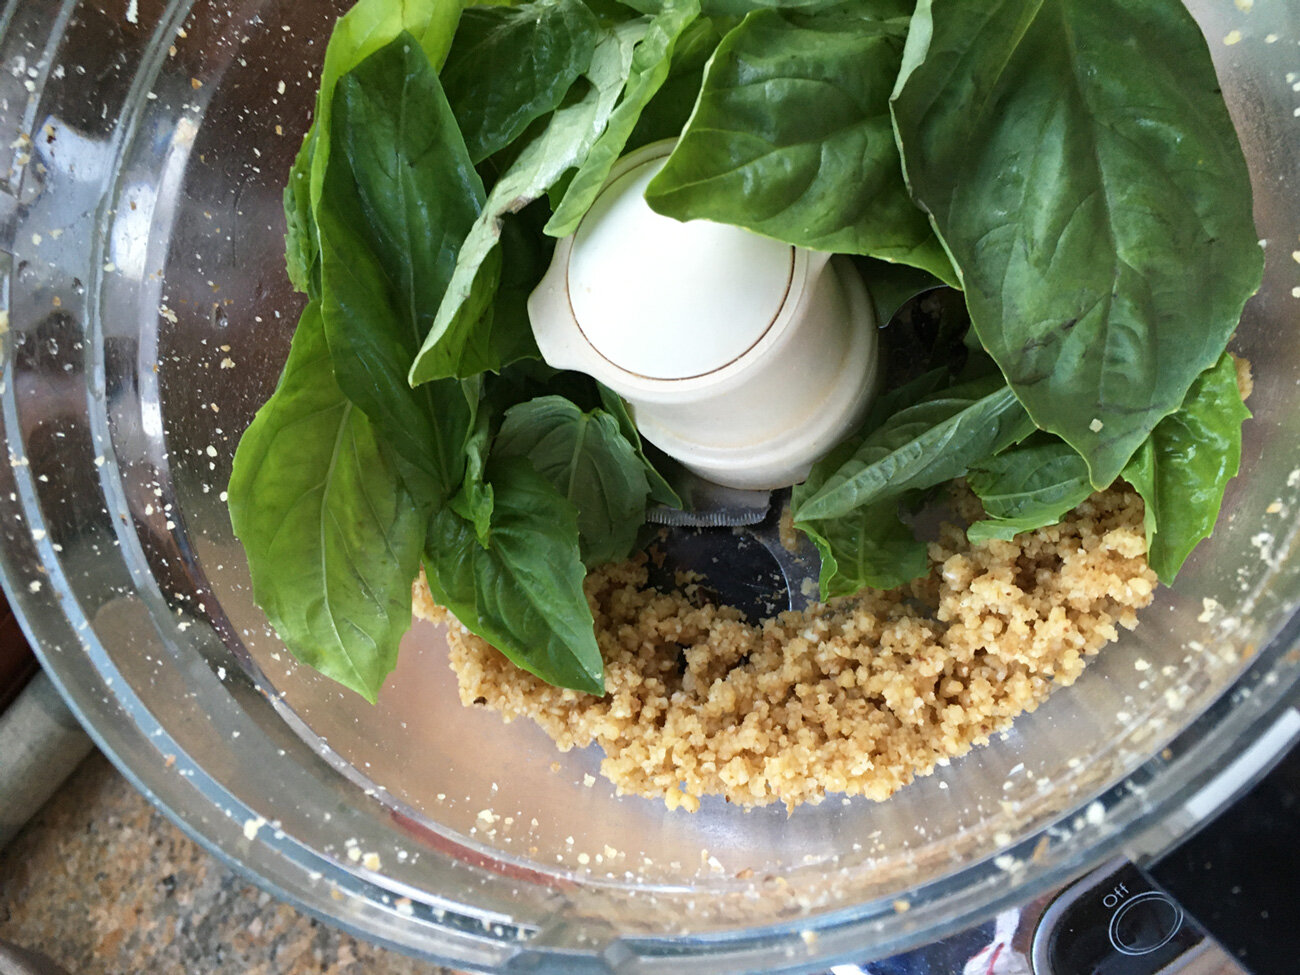
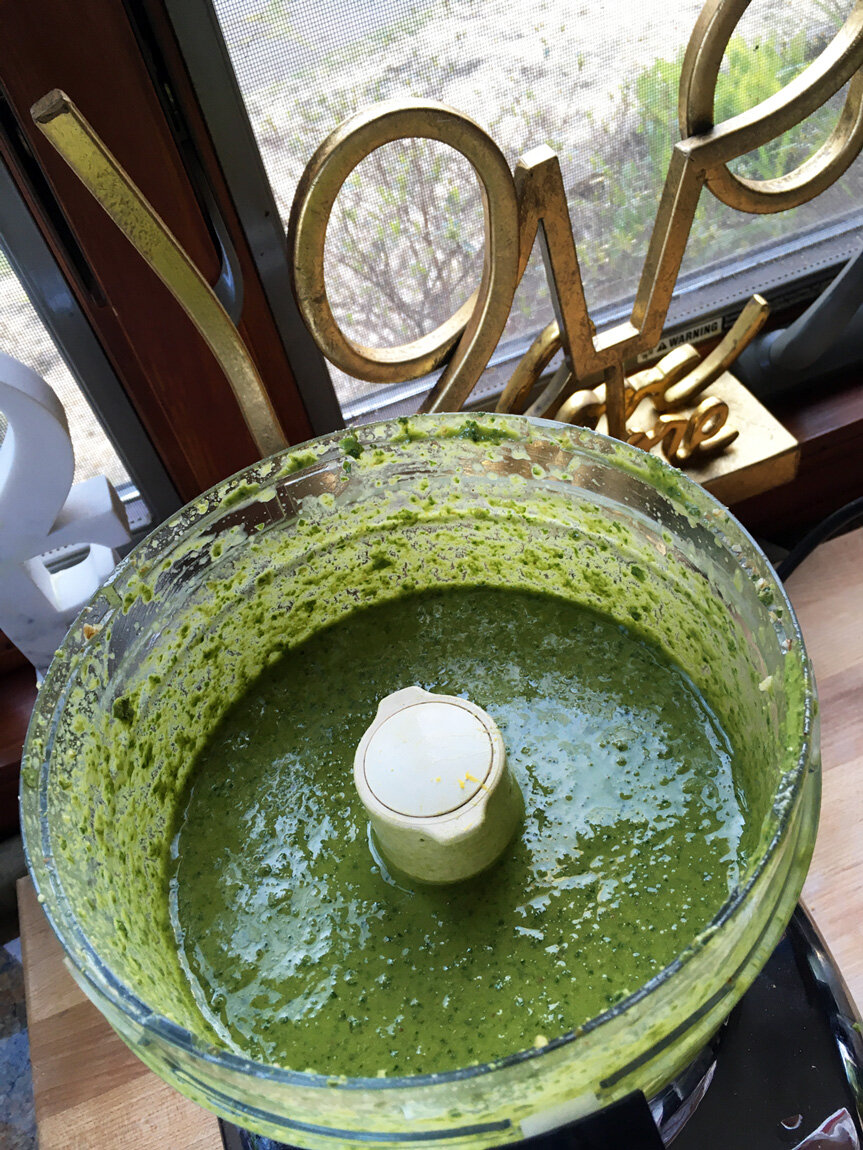
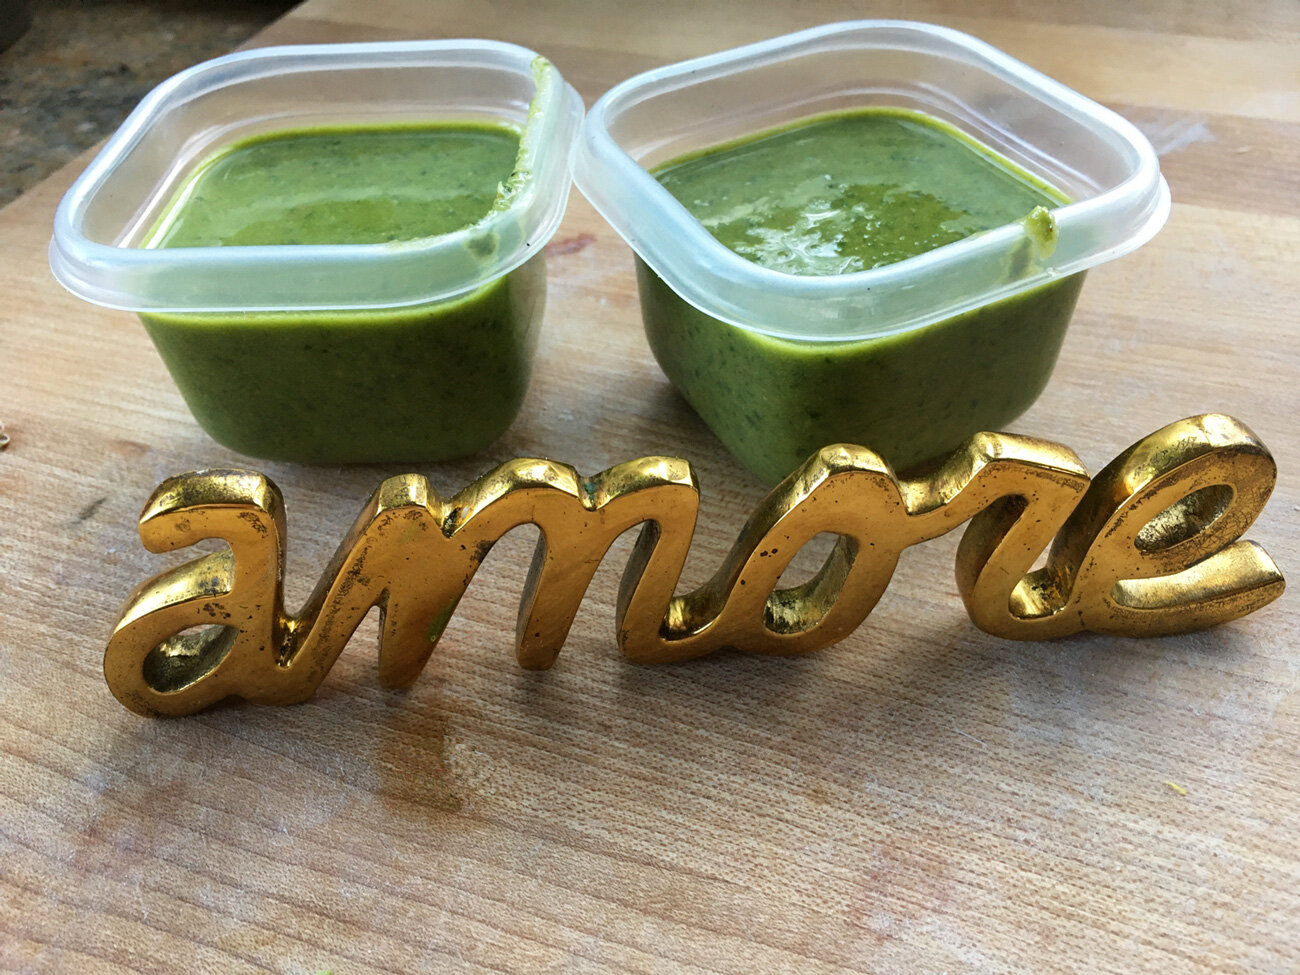
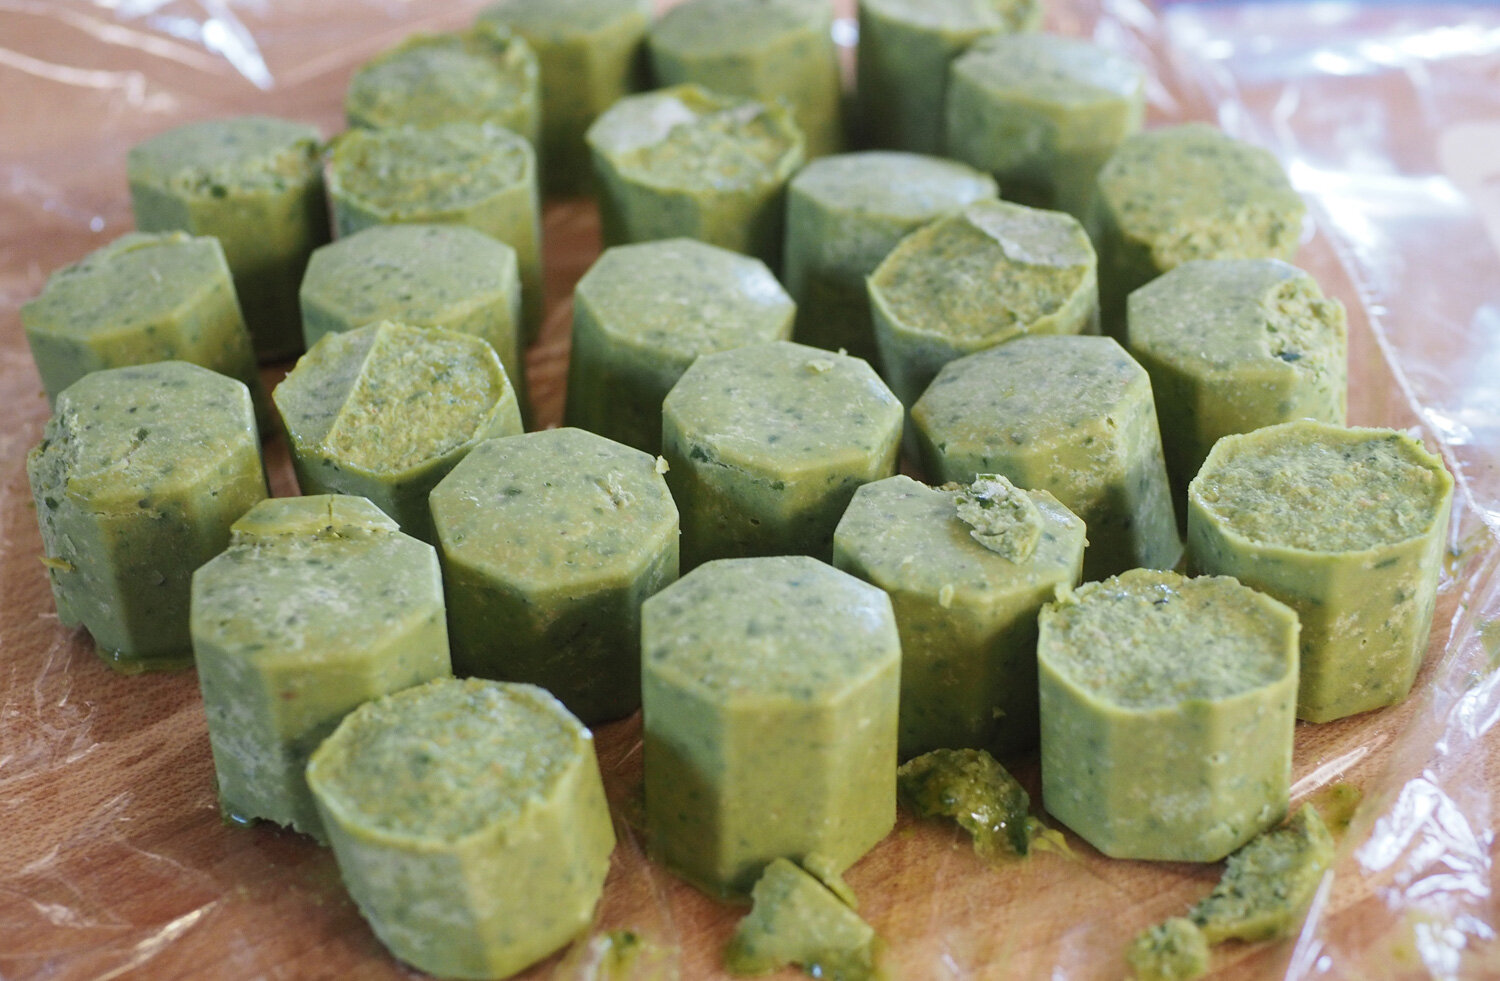
For the remaining abundant leaves, I decided to make a big batch of pesto, using walnuts, garlic, salt, pepper, lemon juice and oil. I then split that amount in thirds, adding Parmesan cheese to only one portion, and leaving the other two without. I will explain why, keep reading. Again, we will be using the same method as with the lime and lemon juice. This time placing the batch with cheese into a larger container with an appropriate amount to be used in the future for pasta. The other ‘without cheese’ portions I poured into the smaller silicone molds, and small plastic containers. You can employ this method using cilantro or parsley as well. For those herbs, you can keep it simple and just blend the herb with garlic, oil, salt and pepper.

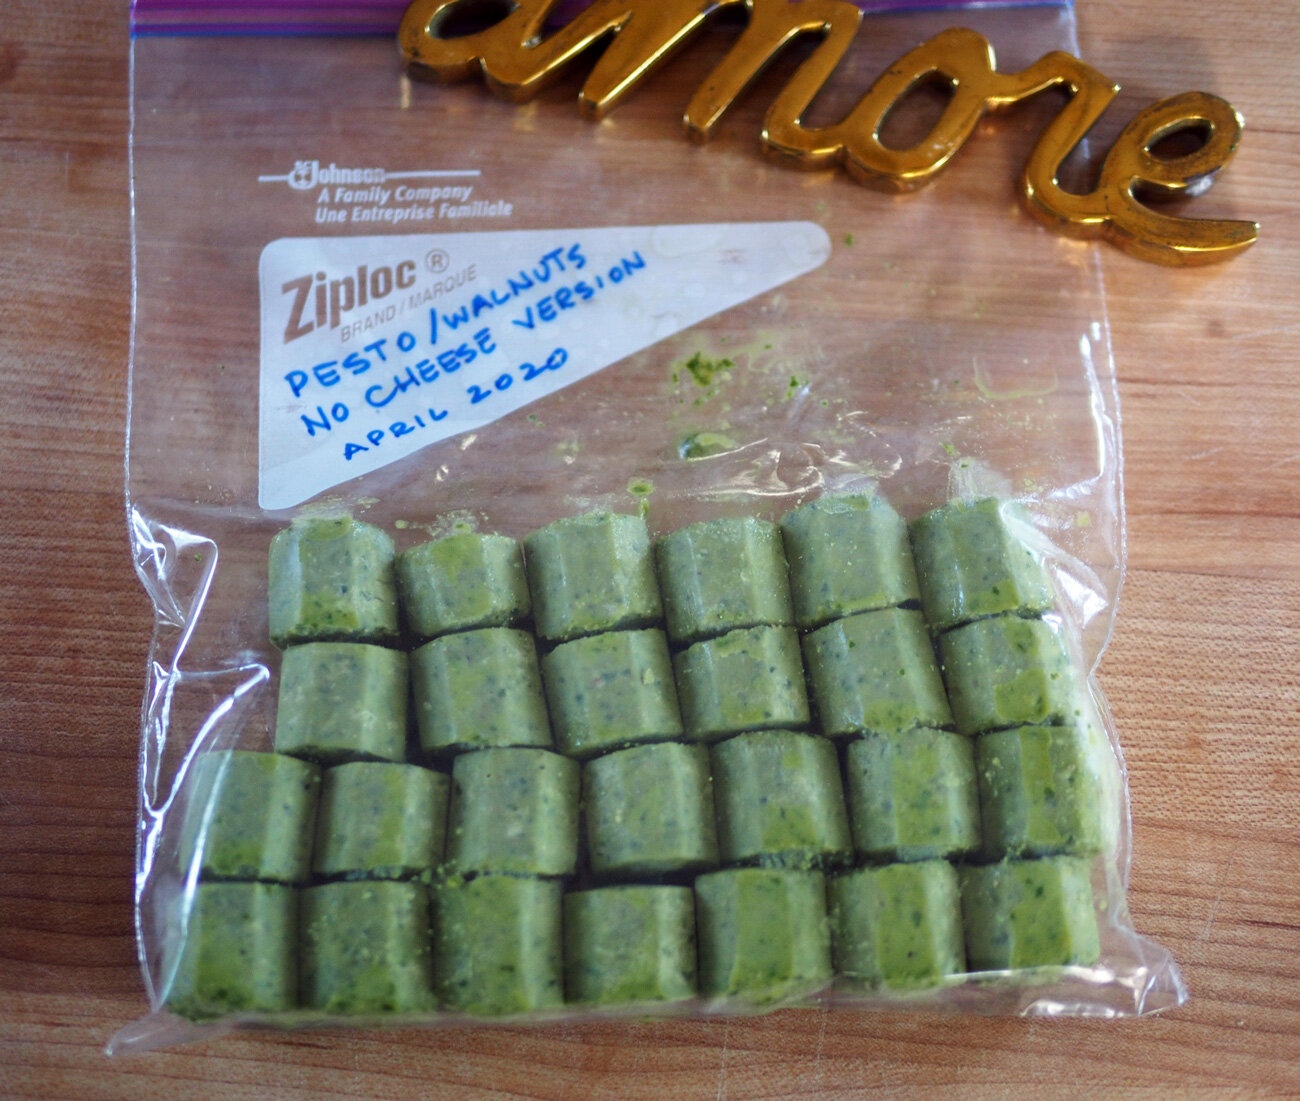
Once the cubes in the molds are frozen, simply pop them out and place in labeled freezer bags. (Note: labeling is key. You may think that you will remember what’s in a container but if it’s been in the freezer for a while you can’t rely on memory. Plus, you do want to put the date so you know how long it’s been in the freezer.)

The reason for not adding cheese to the entire batch is that basil, garlic, walnuts and oil combo is way more versatile than with cheese. This yummy green goodness of a mixture can be used in a litany of other ways, such as:

  • Add basil flavor (when you don’t have fresh on hand) to sauce

  • Baste a roasted chicken

  • Use it to finish a soup for a hint of herbal flavor

  • Place it in any fish en papilotte

Pro Tip #3 - Avoid a Mess: Use of a Container & Multiple Stacked Baggies
Mango Madness

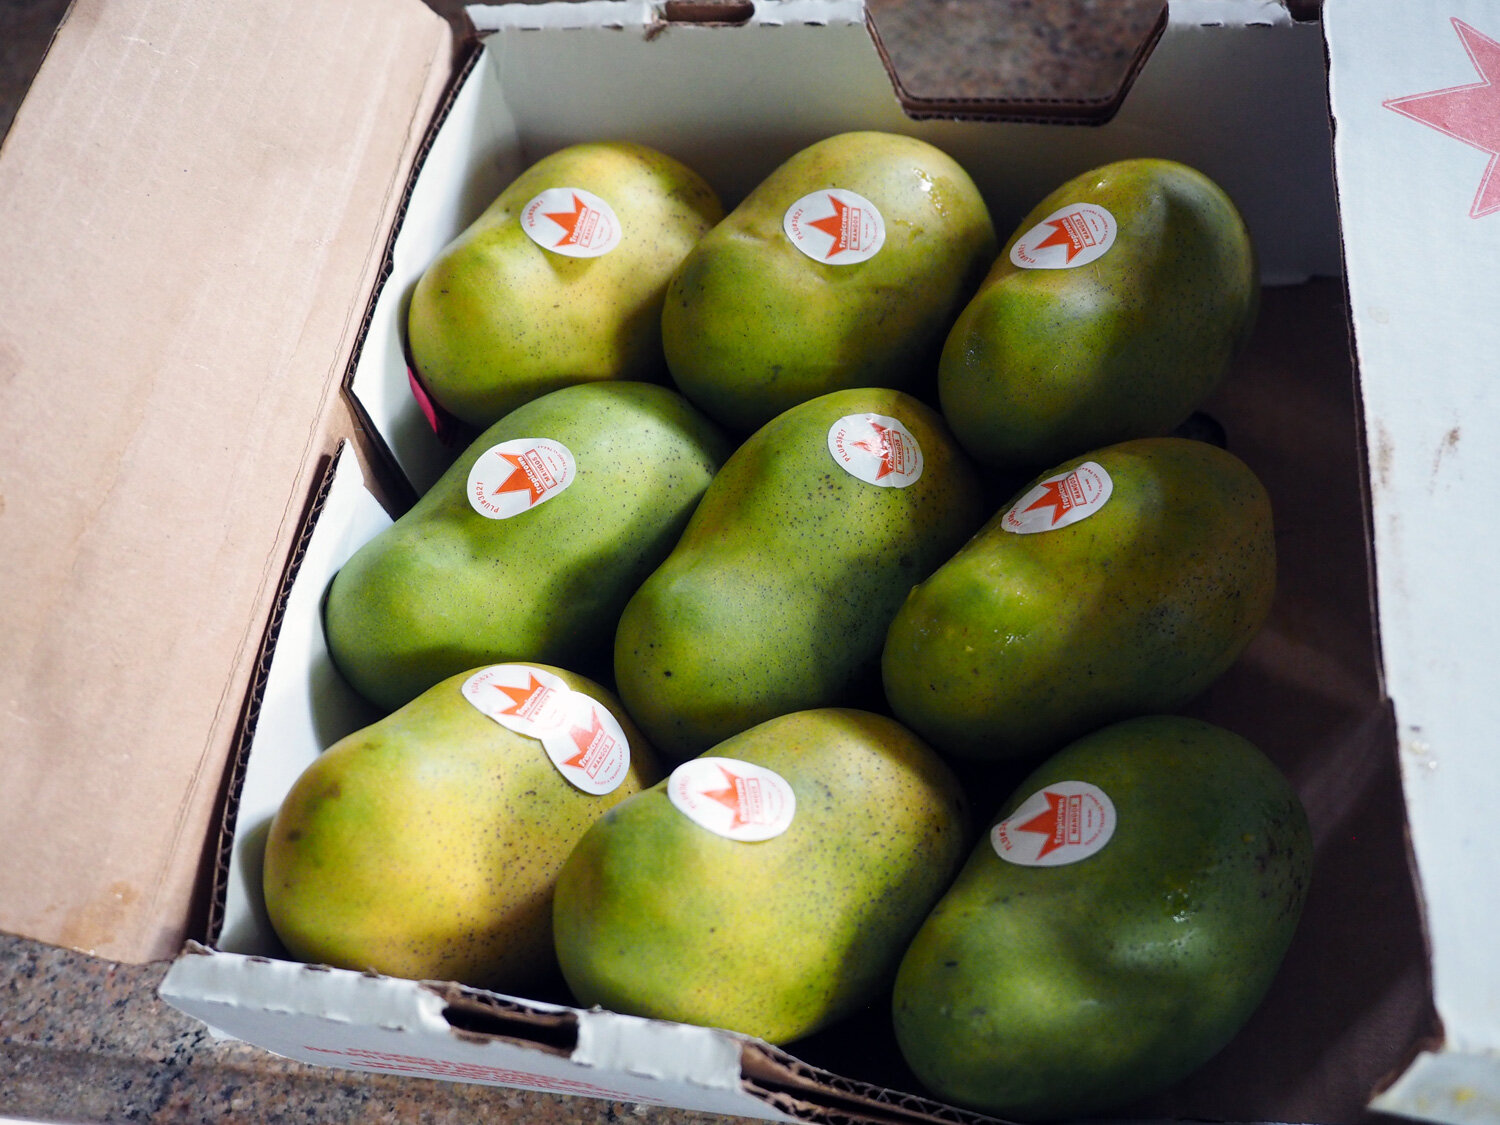
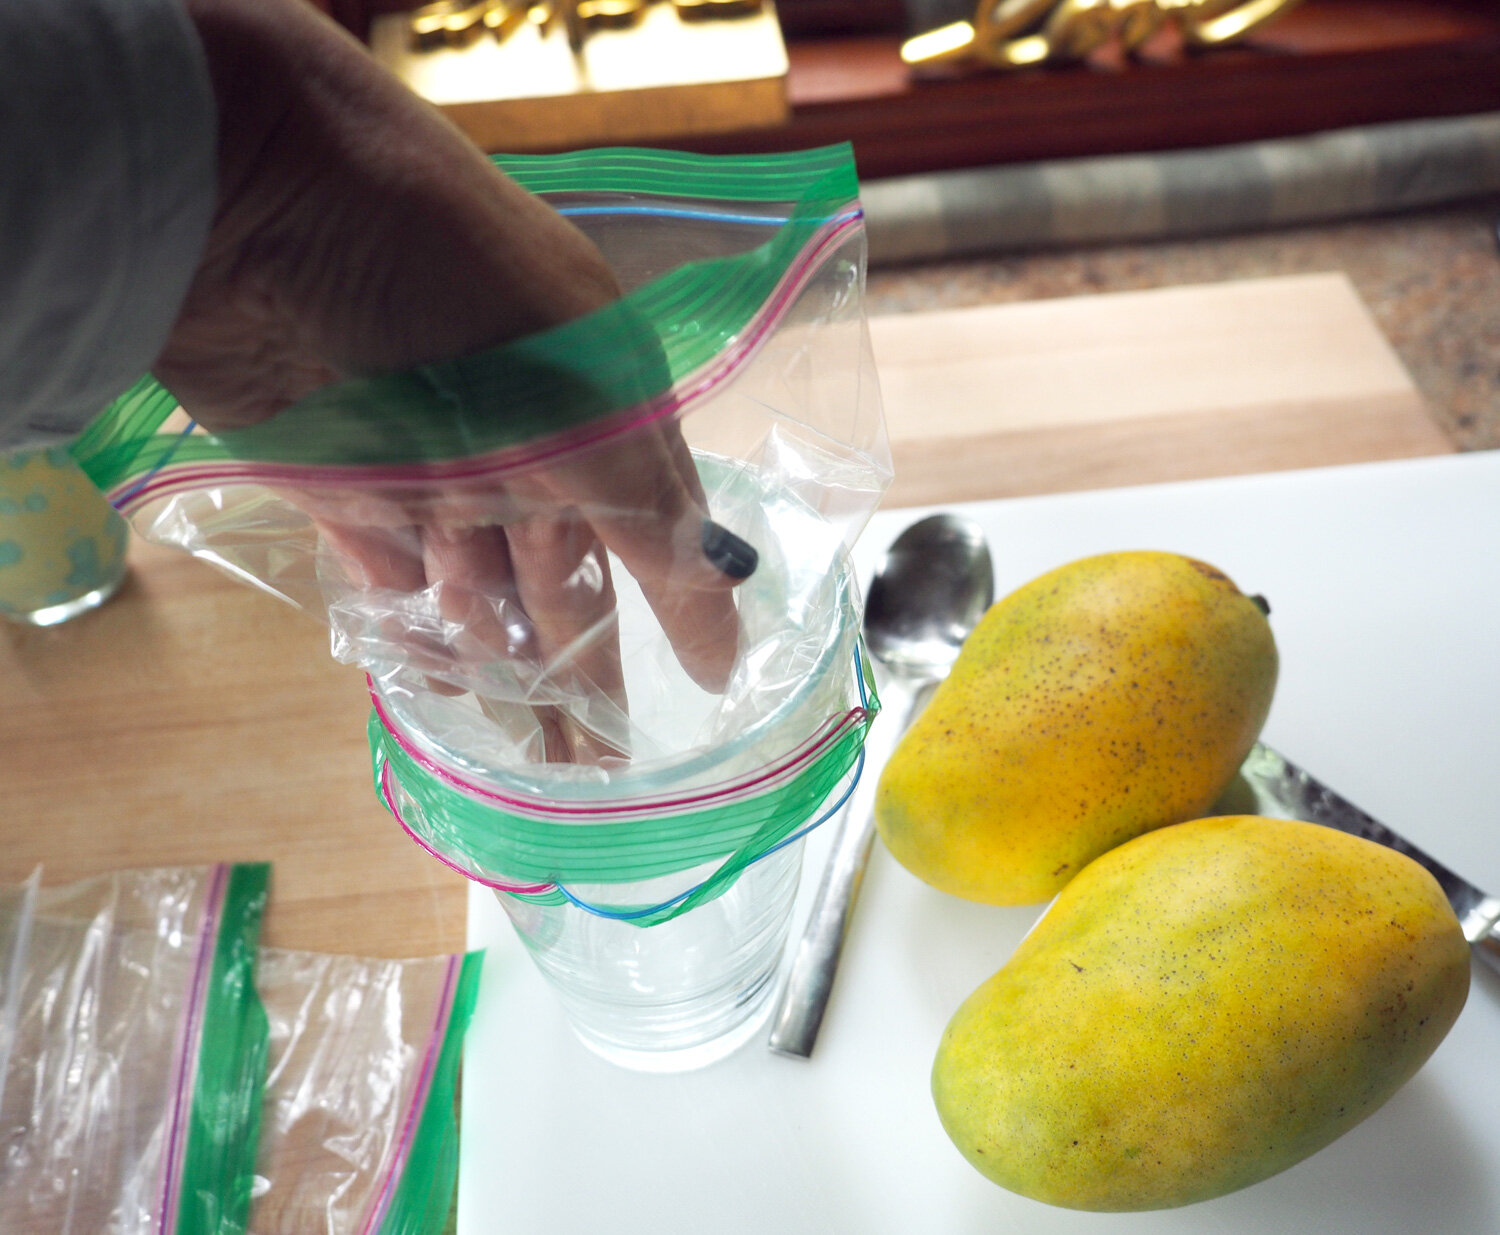
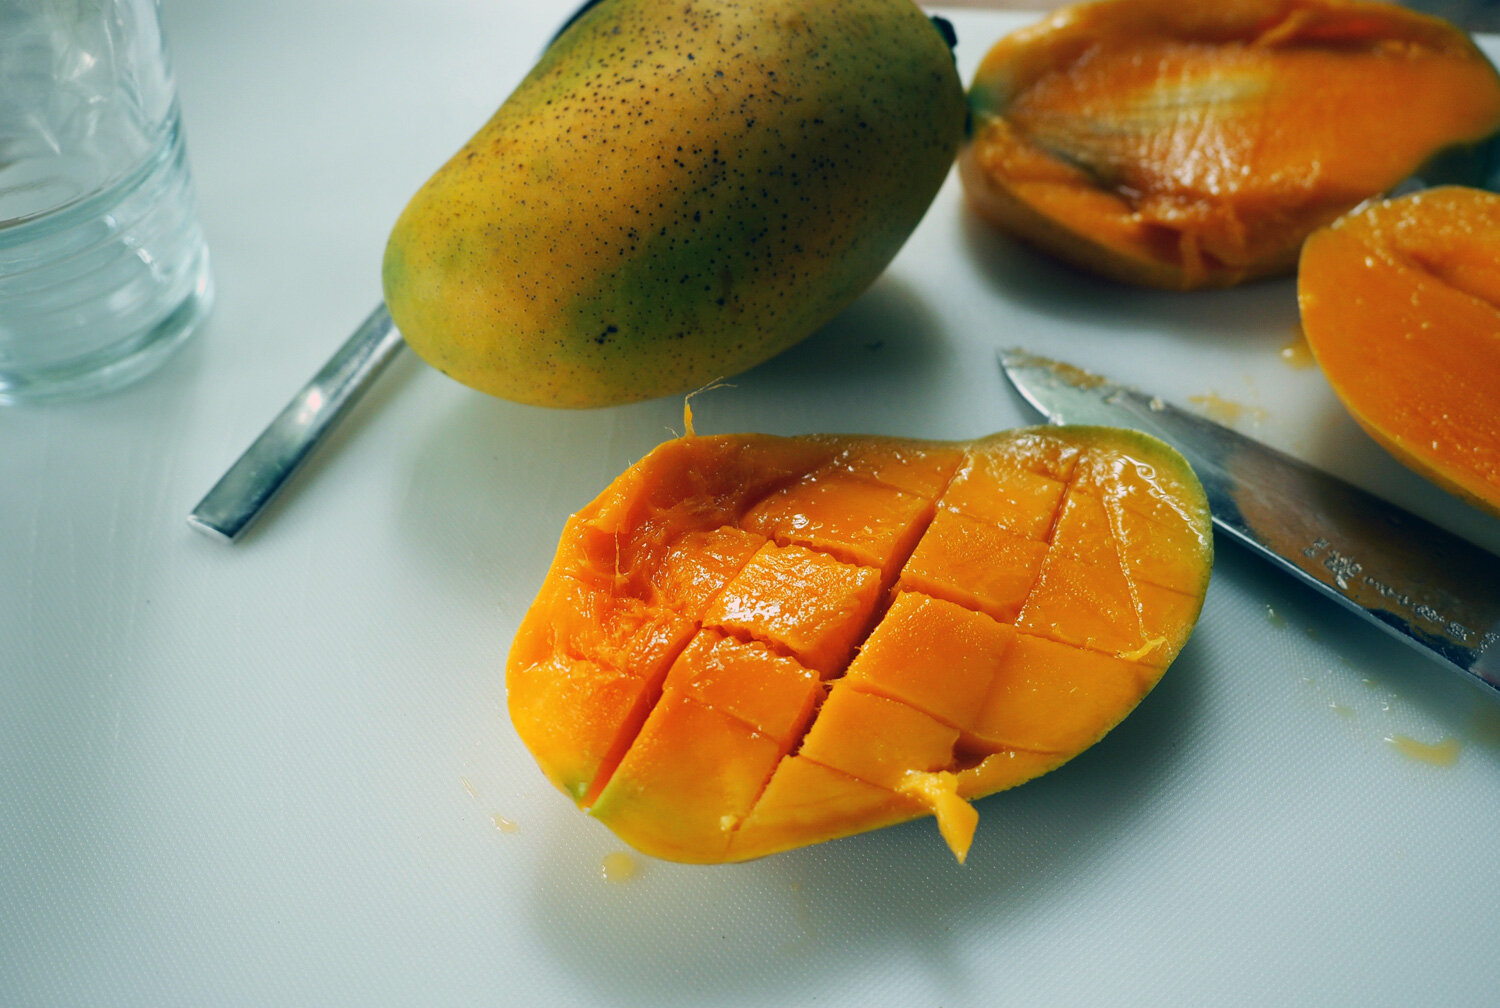
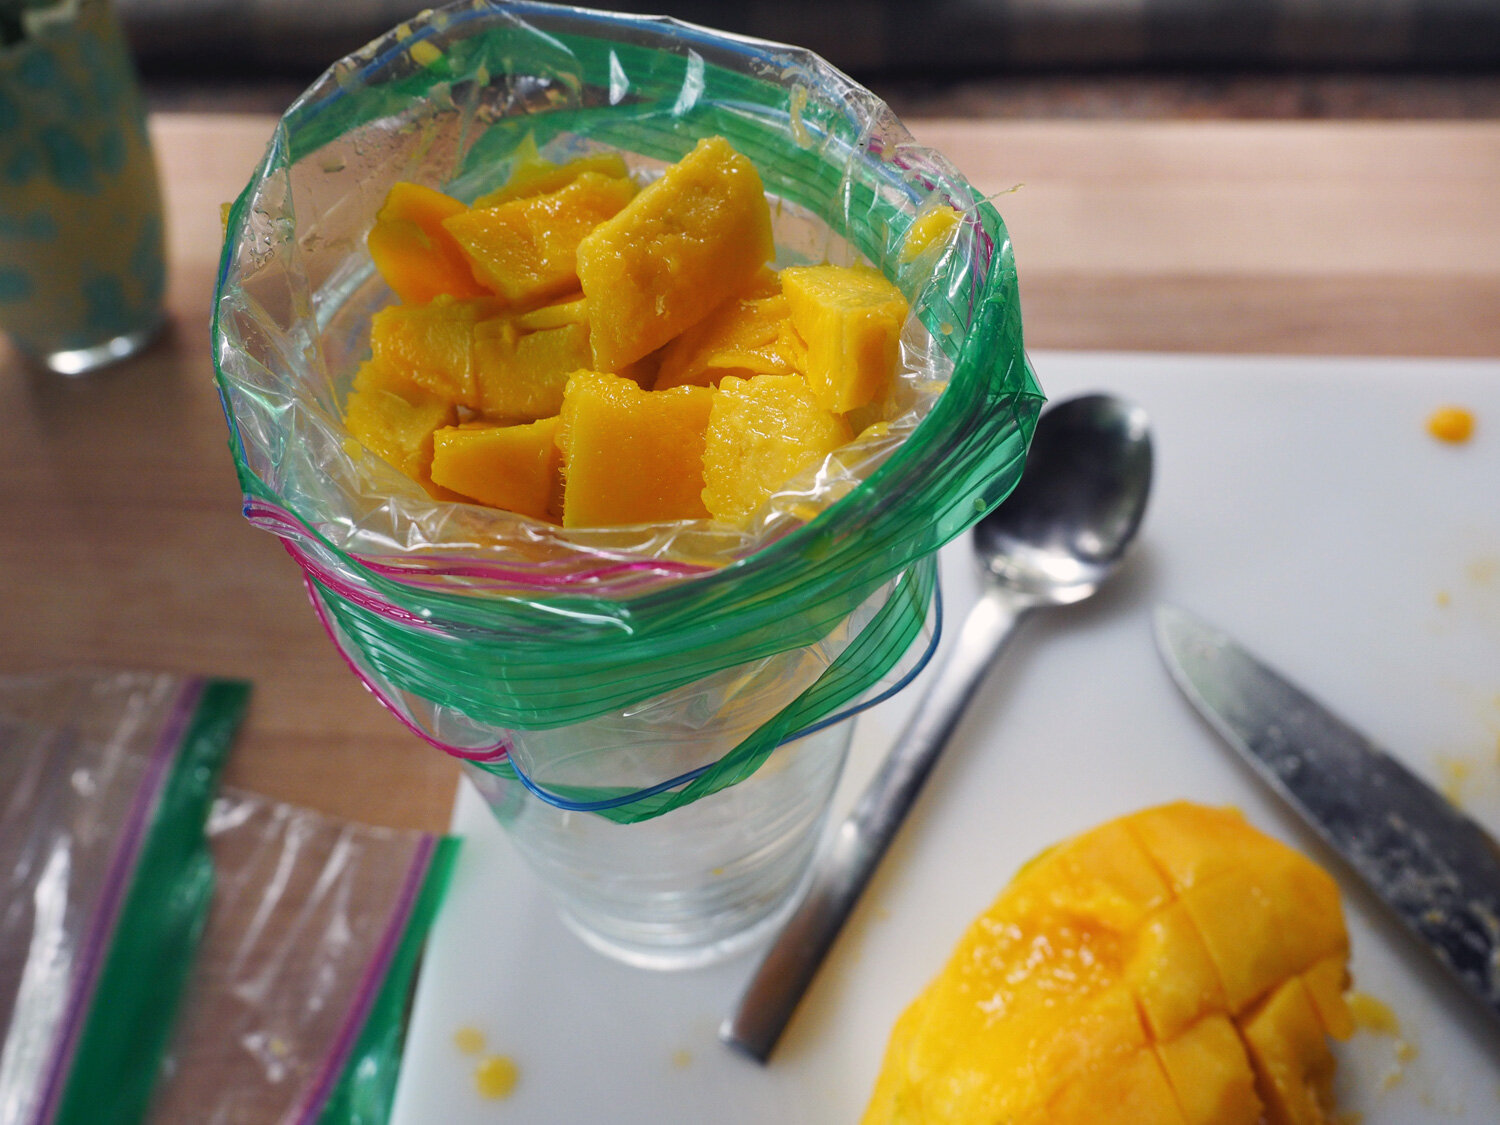
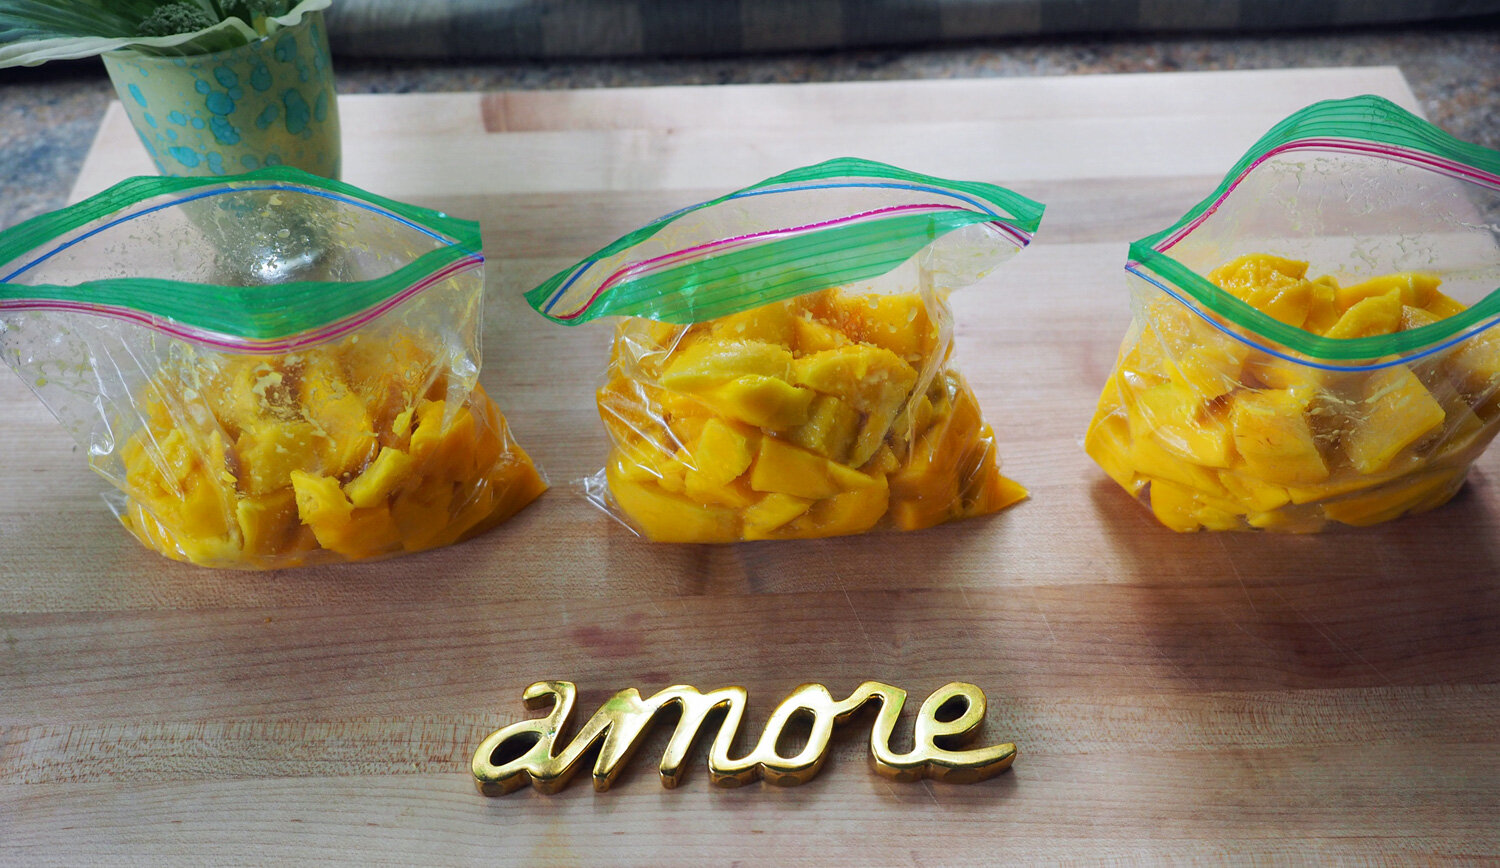
When mango are in season, I buy plenty. Then I cut them up into cubes and freeze. Since cutting and placing them into baggies can get messy, I employ the trick of using a wide mouth glass and pre stacking the bags into the glass one on top of each other. This way once I place the cut mango into the bag, the next bag is there ready to be filled. Not only is this time savings but it really keeps the whole process streamlined, clean and without getting a sticky mess all over. This method can be utilized for any number of foods that you are making multiple packages.

Of course, there are all the obvious uses for frozen mango chunks, but I’ve a given you few more.

  • Sorbet

  • Ice Cream

  • Smoothies

  • Salsa

  • In a salad with nuts & seeds

  • Cocktails

I hope these tips prove helpful, or have even given birth to some of your own brainchild methods.. All of these ideas and tips are really about saving time. It’s about doing the work once and enjoying the fruits of your labors both now and in the future.

Effort Once = Rewards Multiplied

DP-stirredwlove-ID1.jpg