Roasted Red Pepper Sauce- With Pasta

I like pasta. Hold up. Rewind, I LOVE pasta. Call it an indoctrination from childhood that completely took hold of my taste buds. Since I enjoy eating this multi-shaped, multi-useful, molto delicious carb I’m always looking for new sauces, toppings or items to toss into my favorite comfort food.

Oodles of years ago during my crazy life in the world of television production, I needed quick and easy meals to make. Call it a self fulfilling prophecy but pasta makes for quick and easy meals. Besides a variety of pasta shapes, I always made sure to keep my pantry stocked with items that I could quickly toss into the pasta. Peas, beans, canned tomatoes, capers, anchovies were among the regulars, and jars of roasted red peppers were also their constant companion. When push came to shove, I would boil pasta and then without even sautéing them in garlic and oil I would just throw them on top, add cheese and happily consume. Sounds pathetic, but on particularly long work days even taking that extra step to cook the topping was seemingly too long. But they did their job, and given the chance, roasted peppers can be much more useful and handy. So take my word, keep them stocked in your pantry as a must have staple.

That’s the way I roll. I buy them. My mom, on the other hand, always roasted her own red peppers, and then placed in plastic bags into the freezer. Let me tell you, they were delicious. I literally can still smell their sweet aromas as I ponder her peeling off the skins. But not even that extraordinary olfactory experience arms me with the patience to make them myself. There are some homemade foods I don’t mind taking the time and effort to make. And there are others I am willing to concede buying a store bought version. I will admit that homemade roasted peppers are the bomb, still I’m not motivated. I take the easy way out. (Note: It is funny how some tasks seem too much for one person while for another it’s not problem at all. I get it now when I say something is easy for me it might not be that easy for someone else, no matter how easy I think it is.)

Dreaming of my mom’s peppers made me think of the dip I made a while back using roasted red peppers, walnuts and goat cheese. I featured it in a post entitled: 3 Dips a Dipping. It dawned on me that that combo could create a creamy, no cook sauce that would melt into a big bowl of steaming hot pasta. And even though the dip has walnuts, I think the texture will be great. I do you one further. Toast some extra nuts to sprinkle on top of the pasta to amp up the crunch and bring another level of nutty flavor to the dish. Then I thought that this dish might need some extra zing. So, I made a gremolata to finish it off. The parsley, lemon and garlic are sure to add that fresh zip to the creaminess of the sauce. Now you have had a sneak peak into how my little brain conjures up dishes that my tummy approves. So let’s get started because I’m hungry now.

Roasted Pepper Sauce Pasta set up


Ingredients

1 c marinated roasted red peppers
1 1/3 c goat cheese
2/3 c walnuts, roasted
1 lb. pasta
1/2- 1 c pasta water reserved
Olive oil
1/2 t salt
1/4 - 1/2 t red pepper flakes, to your taste

Gremolata (optional)
Remaining Walnuts, chopped
3 T parsley, minced
1/4 t garlic, grated or crushed
1/2 t lemon zest
1 T lemon juice
3 T olive oil
Salt/pepper to taste

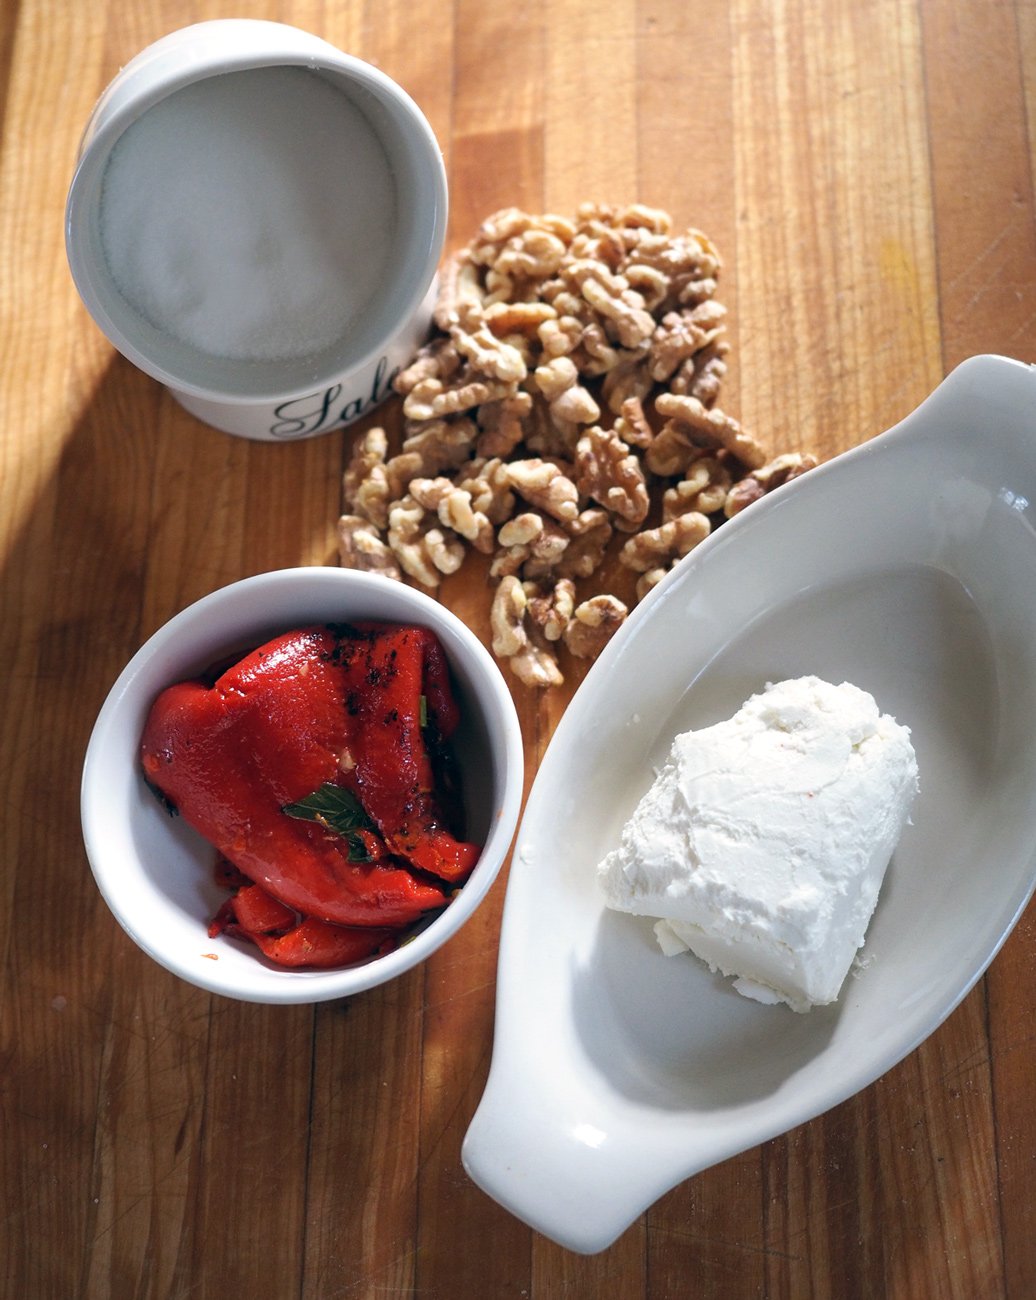
Roasted pepper, goat cheese, walnuts

Instructions

  1. Toast the walnuts in a pan over low heat or on a baking sheet for 5-7 minutes until lightly toasted. Be careful not to burn them. Set aside to cool.

Roasting any nuts releases the oils and brings out their nutty flavor.

2. Boil your favorite pasta. (I think this dish works best with a shape that the sauce can find its way into nooks and crannies like rigatoni, bow tie or fusilli. I had Papparedelle on hand, so used that.)

3. In a food processor, buzz up the walnuts to a chunky consistency. You don’t want a fine grind. (Remember to reserved the remaining nuts to sprinkle on top.) Remove them from the blender and set aside, Of course, you can rough chop them with a knife.

4. Add the roasted peppers, goat cheese, salt and red pepper flakes. You can add splash of olive oil until you get a paste.

Roasted peppers and goat cheese.

You want a creamy consistency to the roasted pepper/goat cheese mixture.

5. Add the walnuts back in and pulse only until combined or simply stir them in.

6. Meanwhile, chop up the parsley, walnuts, grate the garlic, lemon zest and combine together with lemon juice and olive oil to make the gremolata.

parsely, lemon, walnuts, garlic

7. Once the pasta is done, drain making sure to reserve about a cup of the pasta water. Place the pasta back in the pot and add the sauce and gently fold together. Add the pasta water as needed to help emulsify the mixture. Or you can put the sauce in the bowl, whisk in the pasta water and then toss the pasta.

Ready all your elements to toss together.

Thin out the roasted red pepper sauce by whisking in pasta water. Add as much or as little to your liking.

8. If you aren’t into the gremolata idea, plate and top with the toasted walnuts.

Roasted Red Pepper Pasta topped with walnuts.

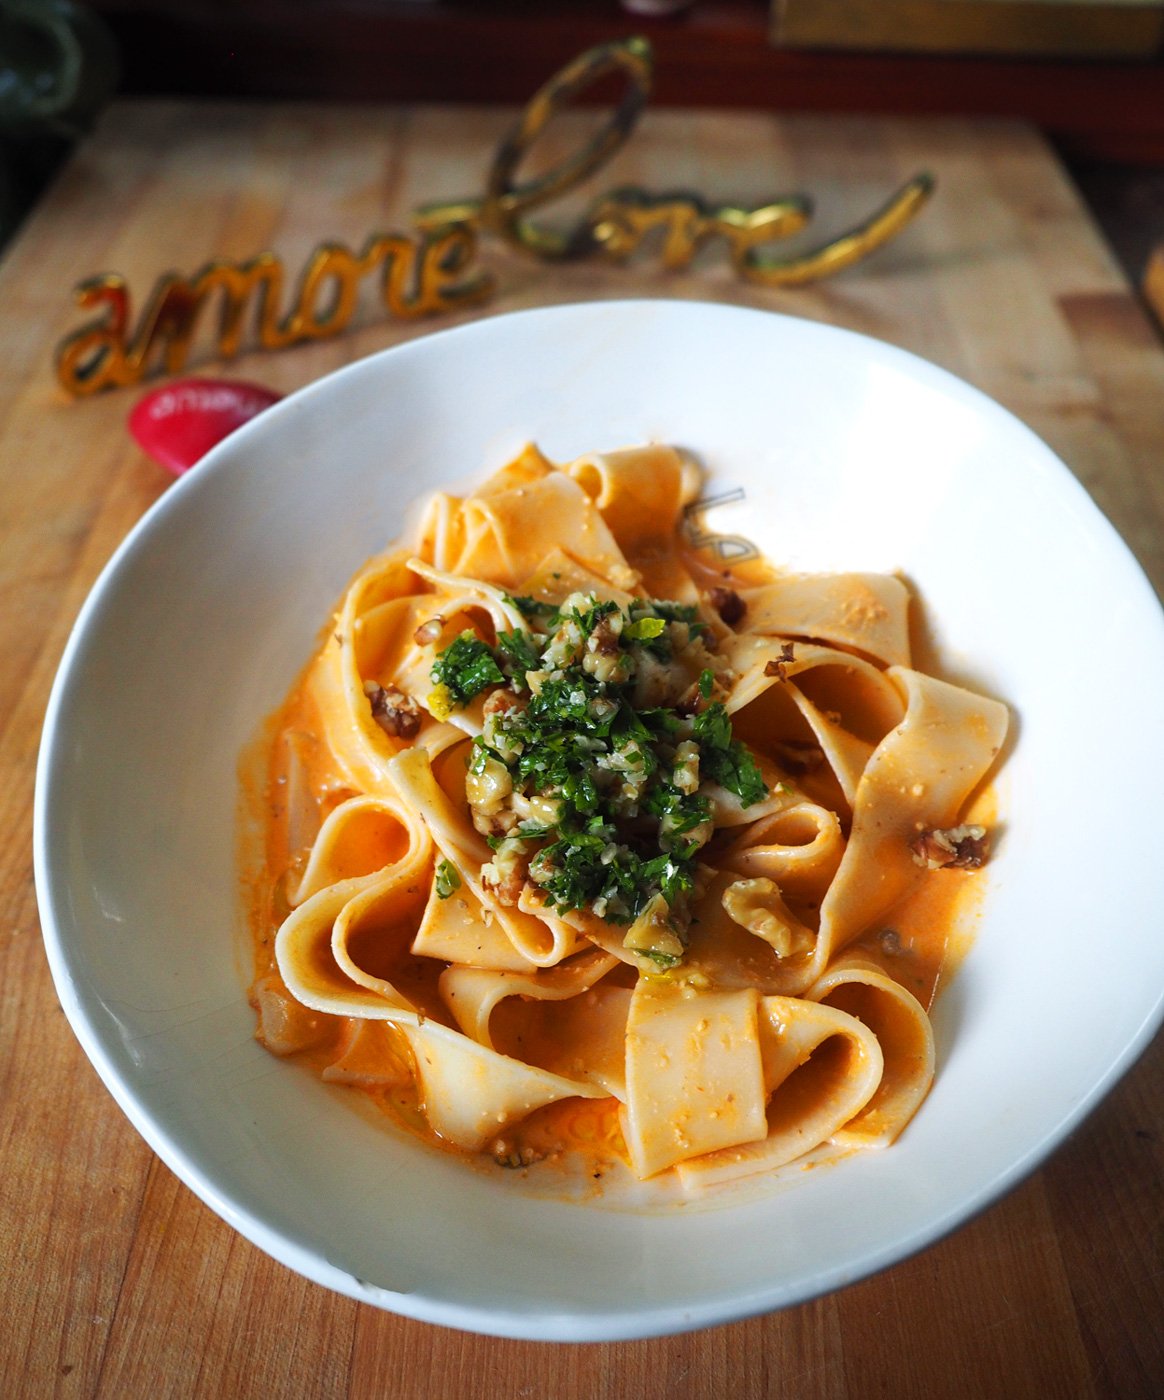
But if you want to add a little extra ‘sum-ting sum-ting’, dollop the gremolata on top as well. I love it both ways, but will attest that the garlic lemony-ness of the gremolata adds a lovely zing that cuts through the creamy sauce.

Roasted Red Pepper Pasta topped with parsley, garlic, lemon, walnut gremolata.

Yup, that simple. A no cook sauce that is creamy and delicious, and also packs some crunch.

The best part about this is that you can make the Roasted Red Pepper as a dip and then use the leftovers for pasta. Or the reverse. Either way, you get twice the benefit.

Postscript: After making all that hubbaloo about how roasting peppers from scratch was too much work, I decided to take it on. I have a very competitive nature and one that thrives on a challenge. So, of course I had to roast my own peppers. WHAT??? Plus, how could I go on and on about the aroma and not tackle the task myself. But true to form it was just as time consuming, and a labor of love process as I had imagined. But that aroma was unmatched. That said, not sure I will repeat that task again, but at least I have a recent try under my belt. Maybe my mom will just give me some of hers next time.

Halibut en Papillote - A Make Ahead Meal

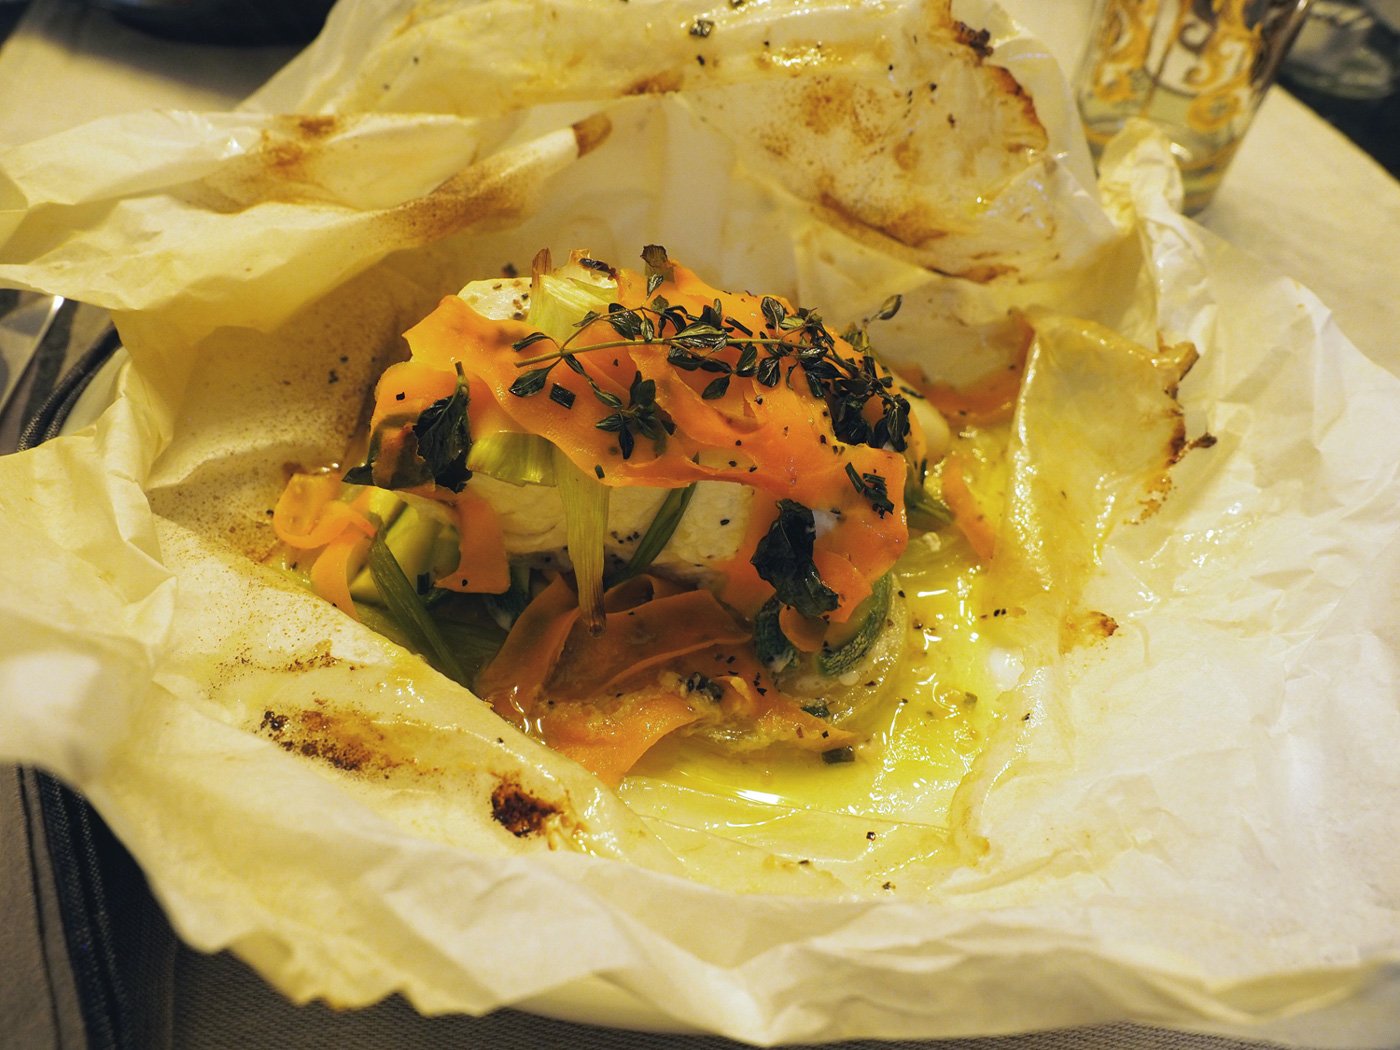
Halibut en Papillote

My cousin, Therese, loves to eat healthy, as do I. So whenever she visits the menu is focused on fish, vegetables, and no carbs. Just recently, she and her husband, Tom, took a drive from NJ to Westchester to visit to my parents in their new home in Westchester. This past January we moved them from Long Island to be closer to us, and fortunately our family and their friends have been willing and gracious to make the trip to visit them. We hadn’t seen Therese and Tom since before the pandemic so it made perfect sense to feed two birds with one crumb. They started out early in order to extend their stay to include dinner at our house. Lucky us.

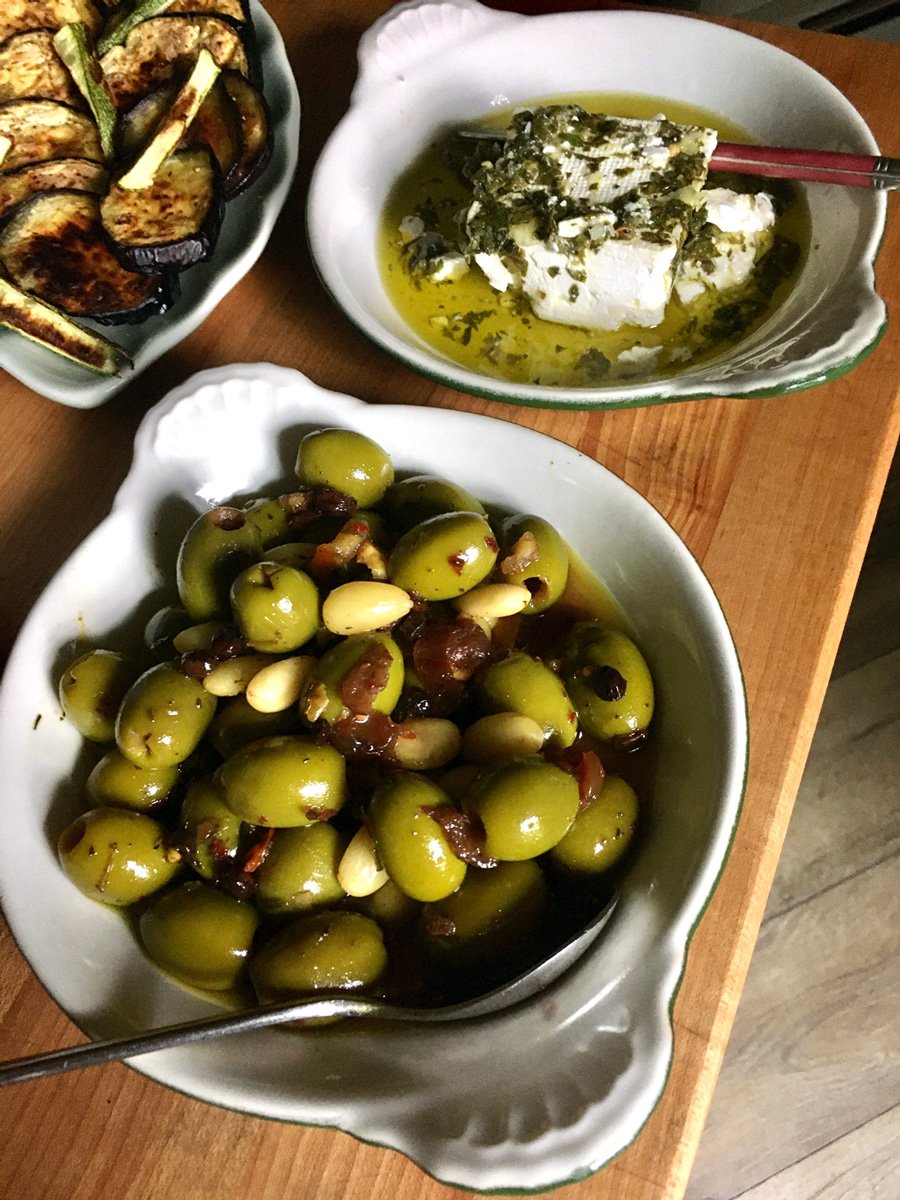
Keeping it light yet ensuring it would be filling was my main goal. So, we started off with mezze-style appetizers that would do just that.

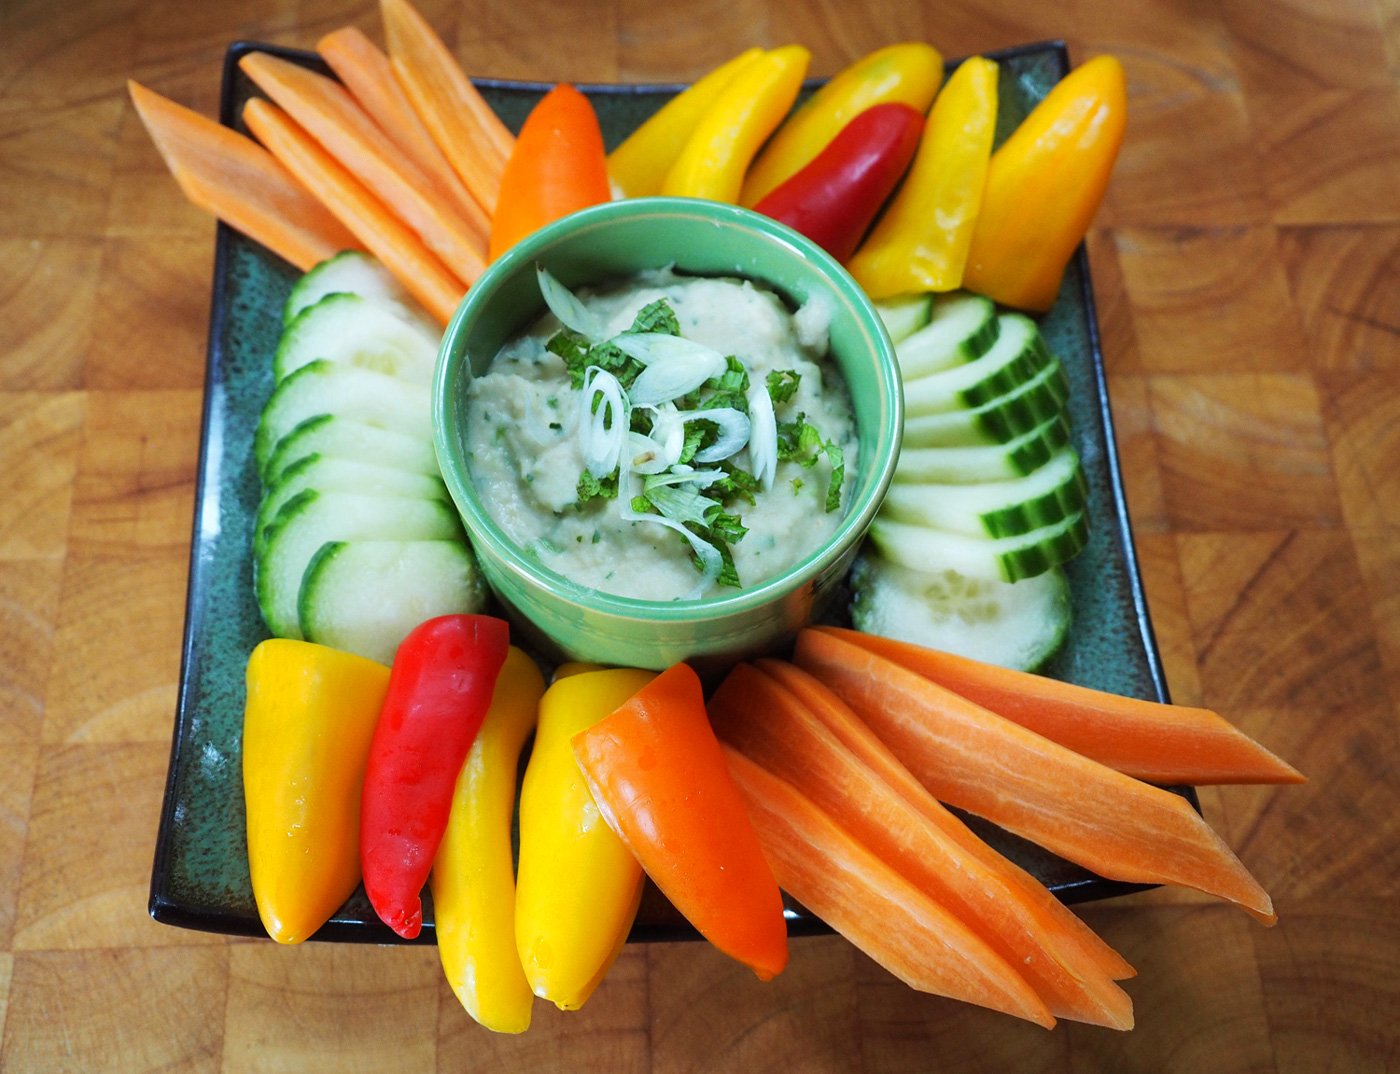
All make ahead appetizers. Just plate before guests arrive.

Also, top of mind was trying to make as much ahead of time as possible. This was a Friday night dinner and I was going to be busy most of that day. Whenever you can give yourself a running advantage to ease your work load on the dinner day, the better. Here’s what I prepped the day before.

  • Cut the crudite and kept in glass jar with wet paper towels. Carrots are kept in a covered jar of cold water.

  • Made White Bean dip

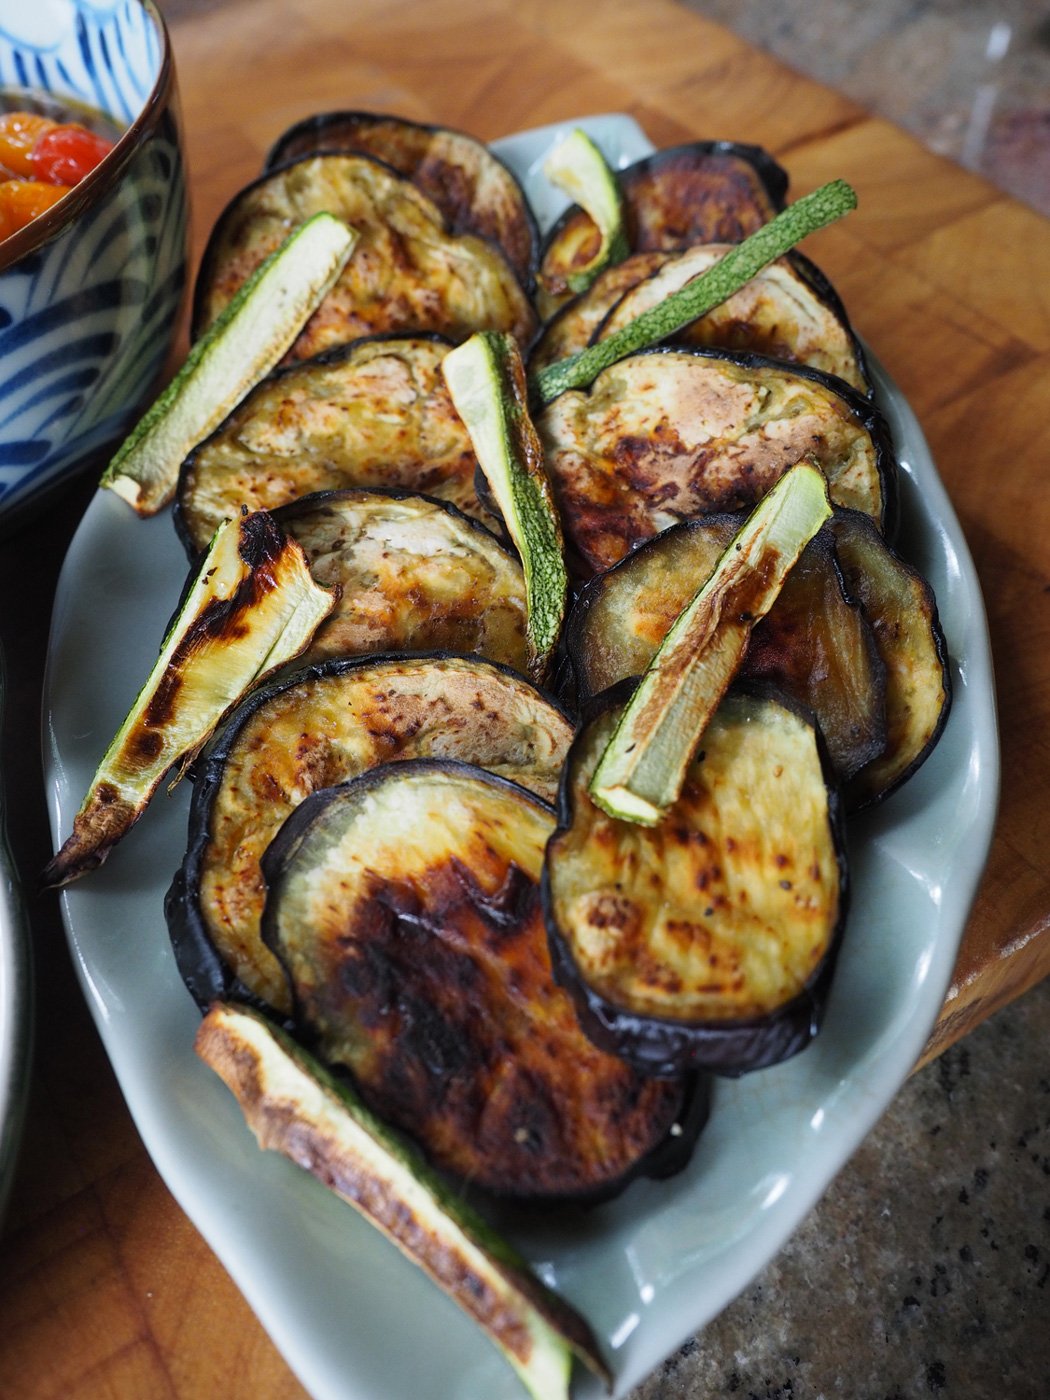
  • Grilled Eggplant

  • Roasted Tomatoes

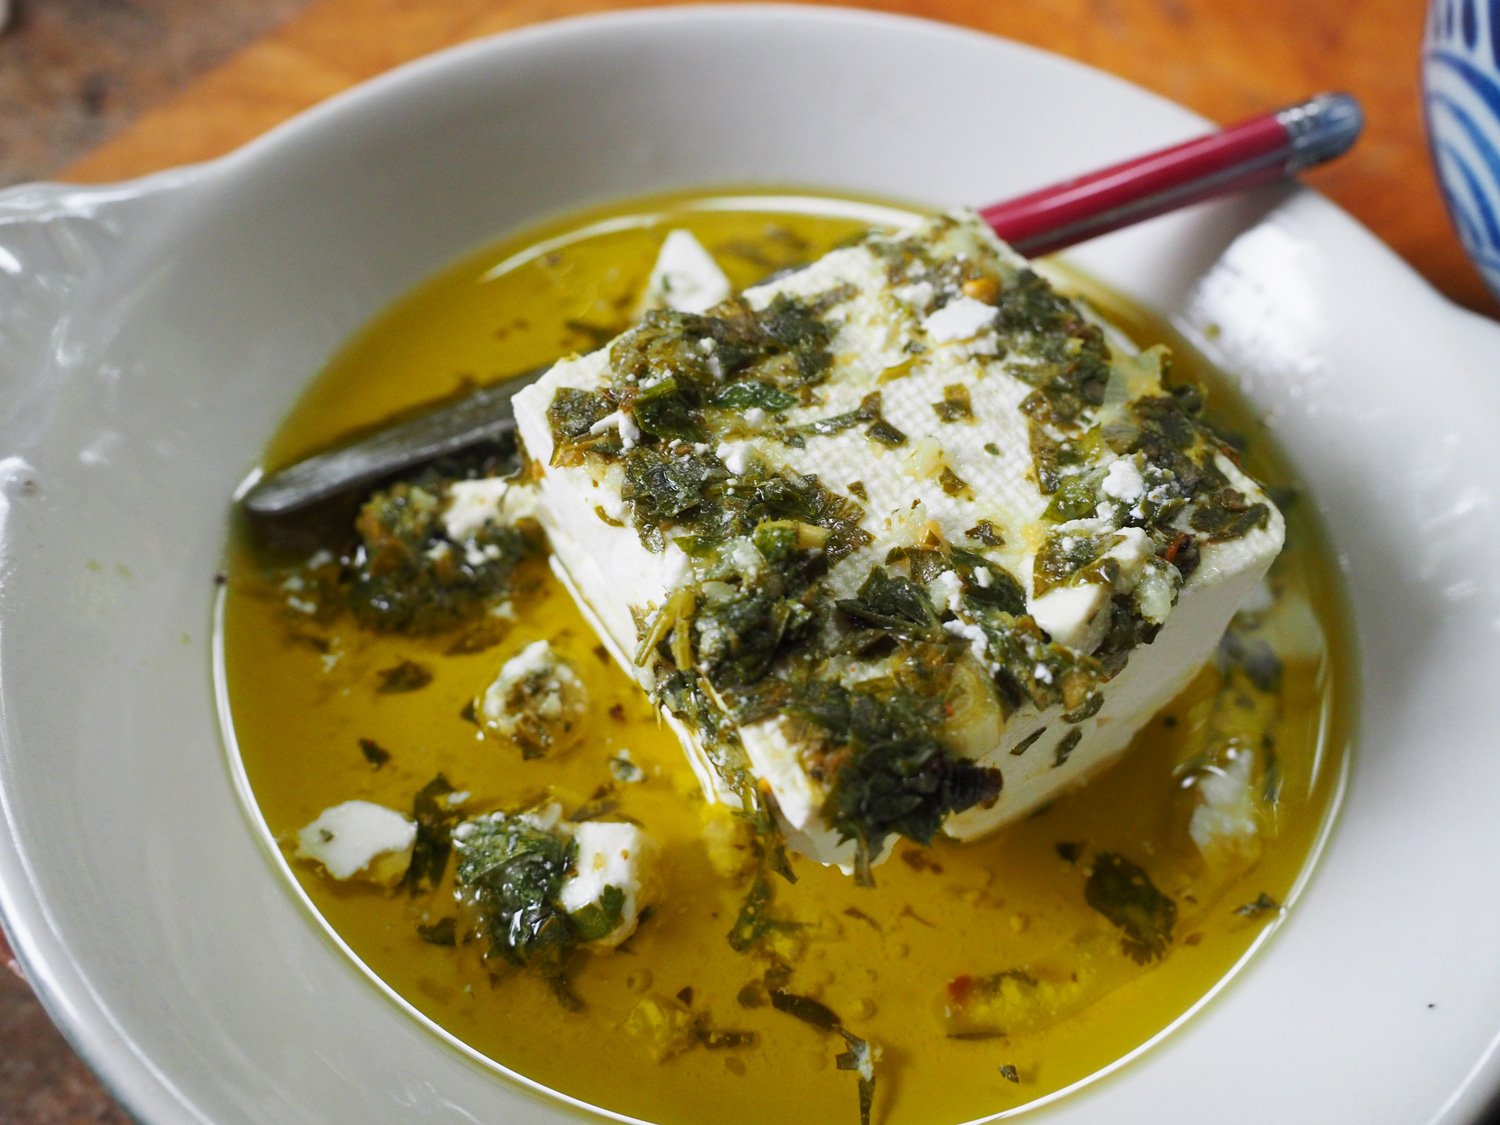
  • Made Marinated Feta

  • Store bought olives (Offering store bought items also helps ease the work load.)

Made ahead on the day of:

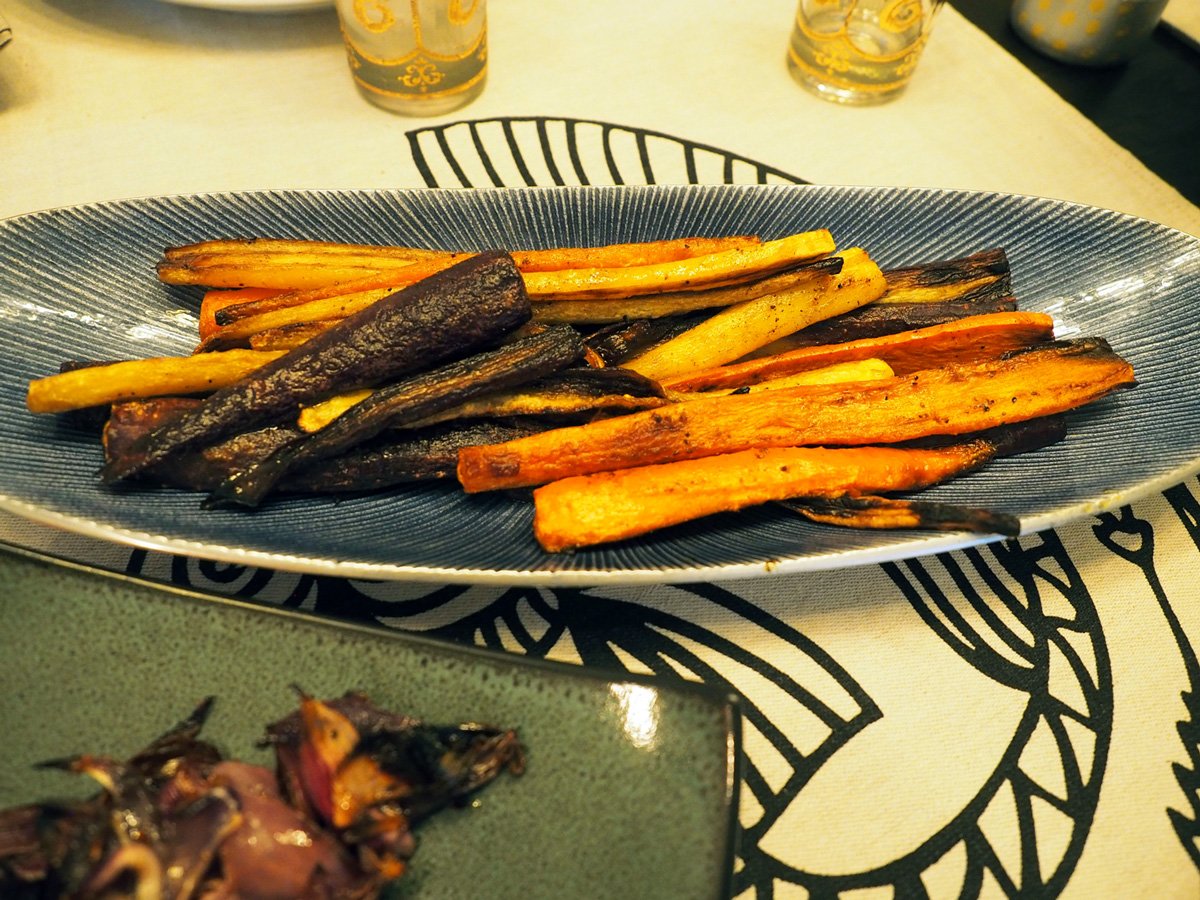
  • Roasted Spiced Carrots

    • Cut carrots lengthwise. Season with cumin, cinnamon, turmeric, salt, pepper, oil. Roast at 425 degrees until tender and browned. I made this in the afternoon, then warmed it up at the same time the Halibut baked

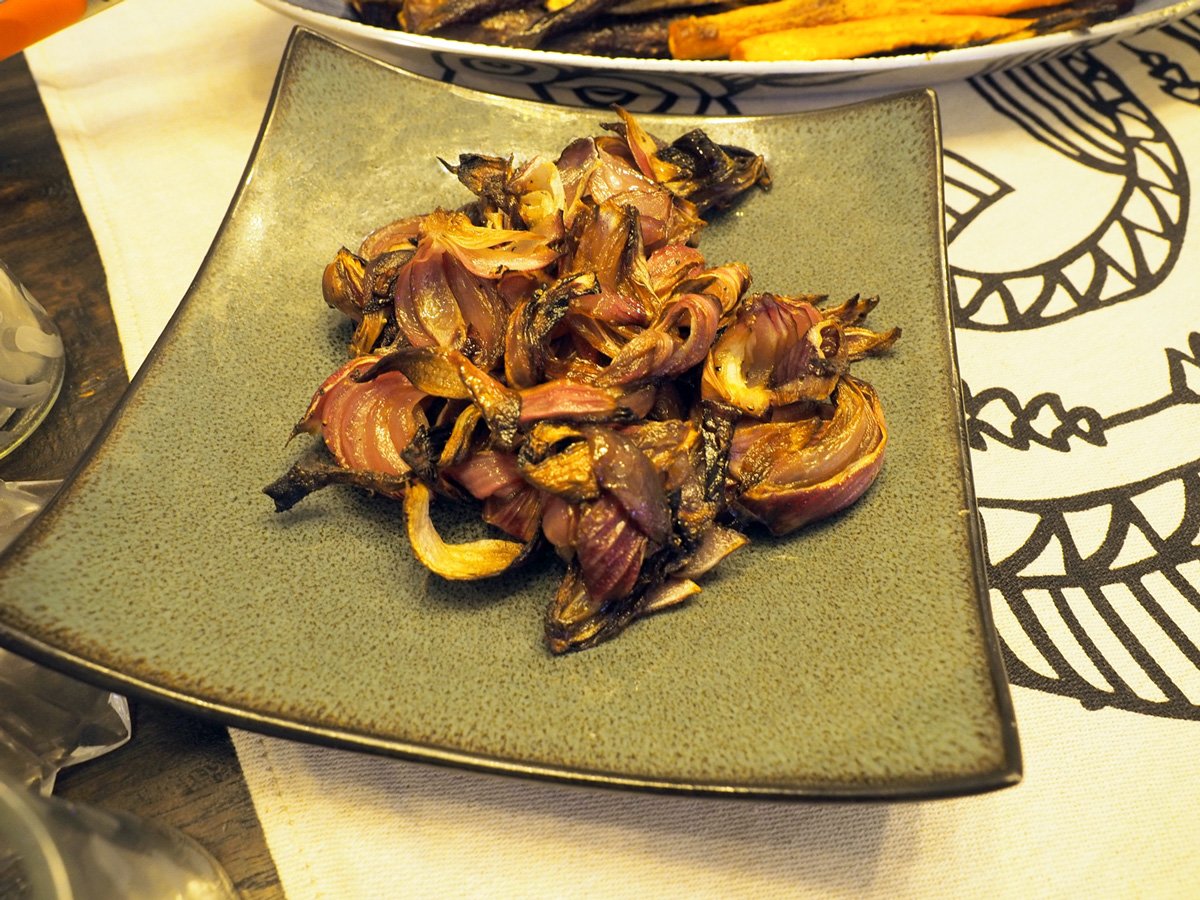
  • Roasted Onions

    • Cut in thick slices or in wedges. Season with Magic 3 (oil, salt, pepper). Roast at 425 degrees until caramelized. I made this at the same time as the carrots, then warmed it up at the same time the Halibut baked.

  • Halibut en Papillote

    • While the onions and carrots were roasting I prepped each packet and refrigerated them. Then baked it while we enjoyed the appetizers. You can prep this up to 4 hours ahead of time.
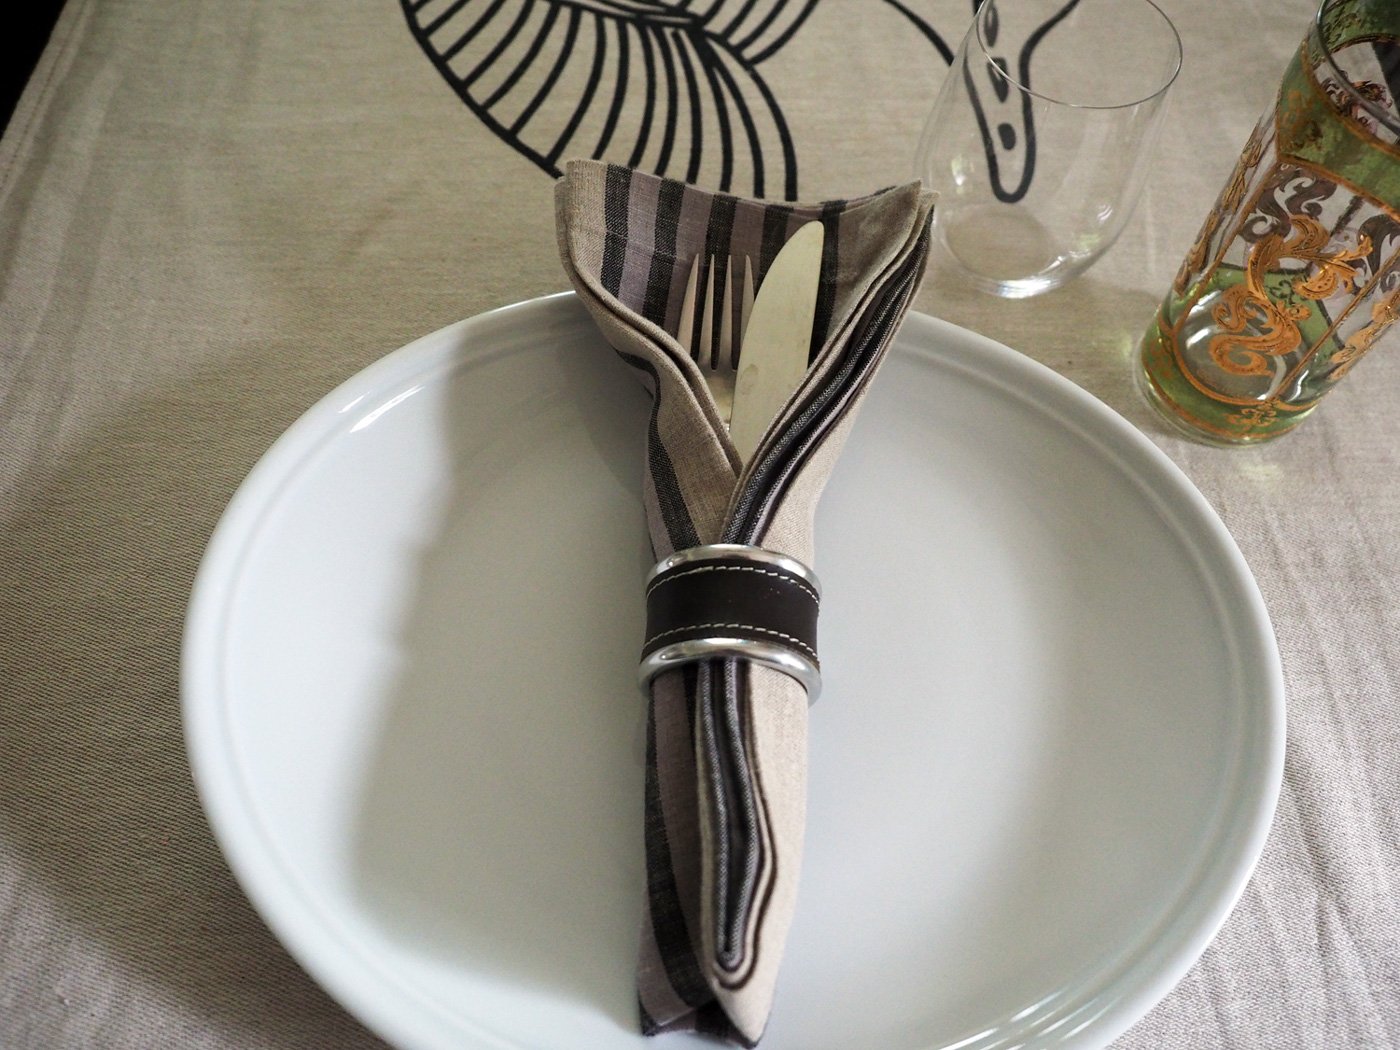
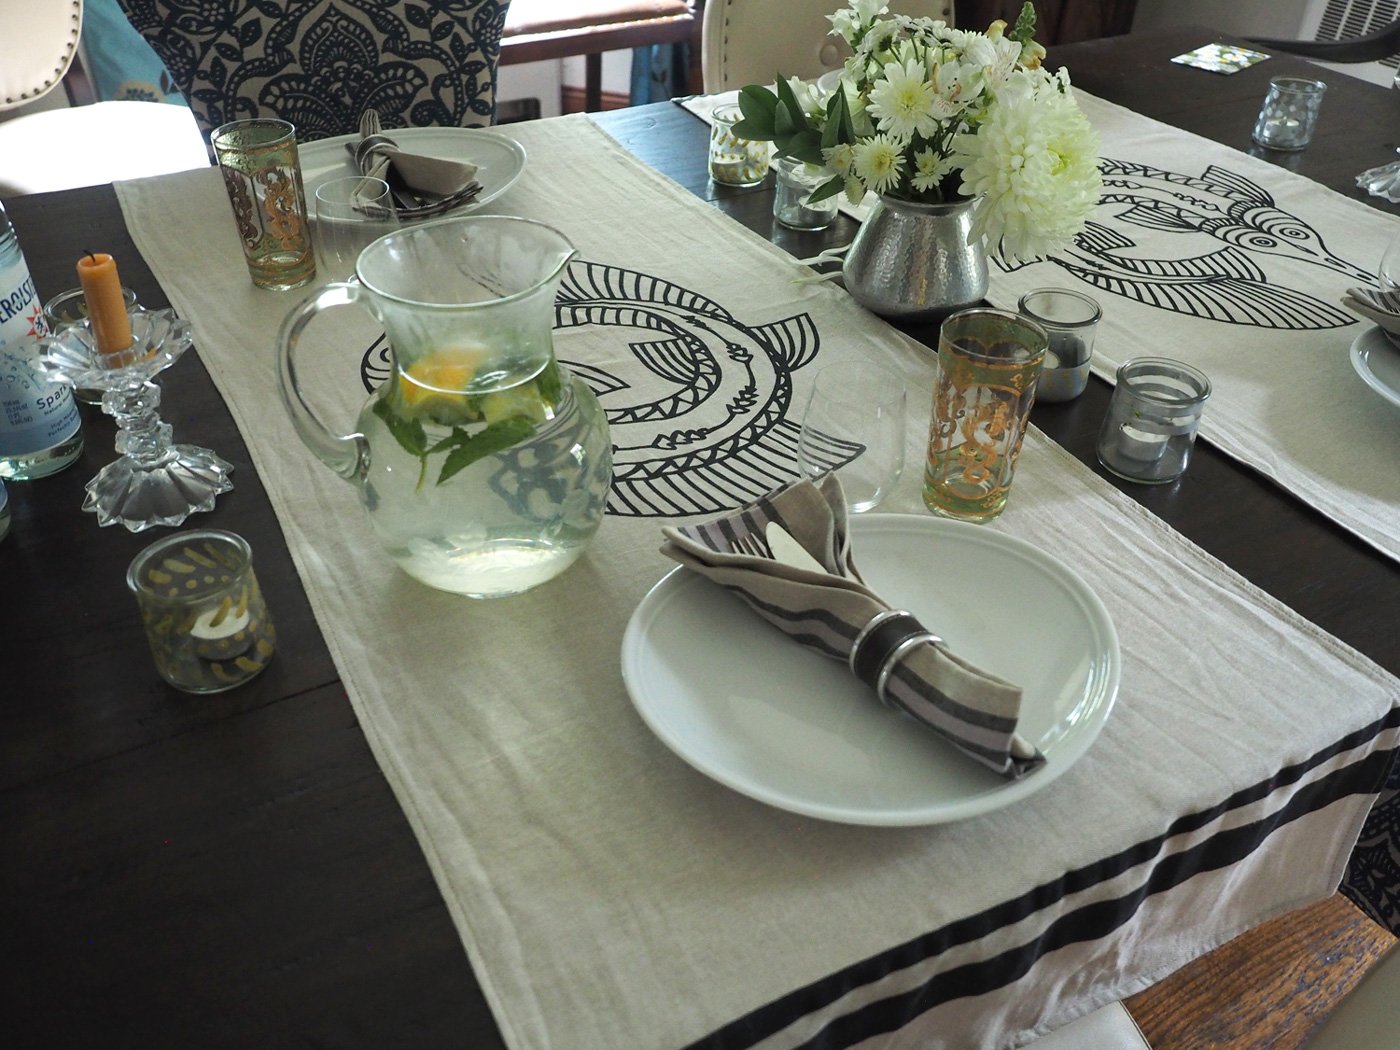
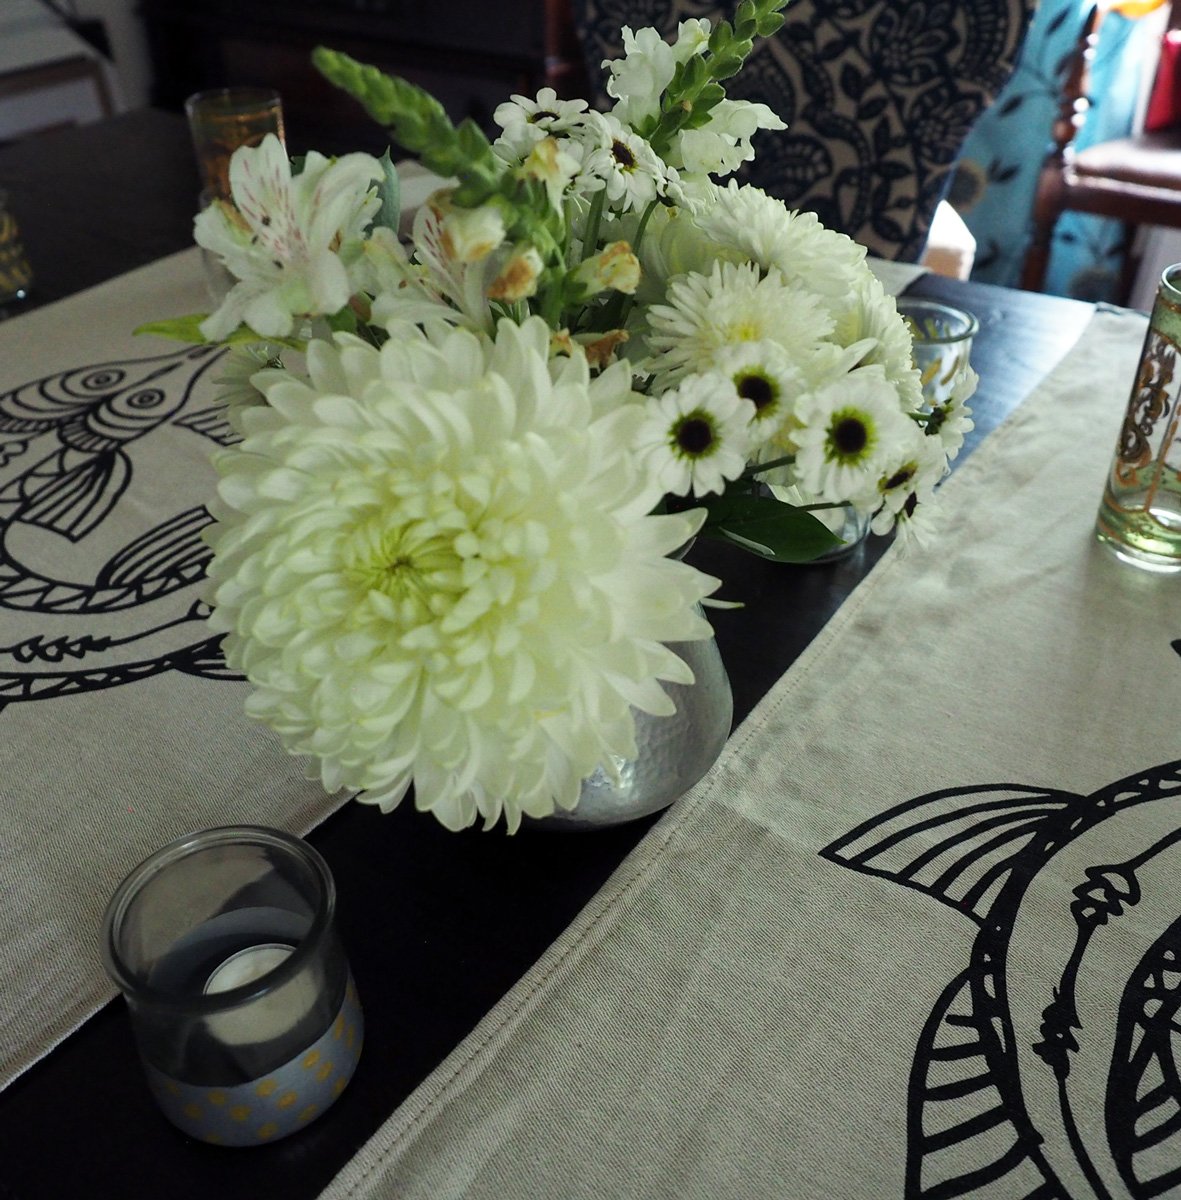
The night before while the tomatoes were roasting I set a simple but fun table. I wanted to give a nod to dinner. So I pulled out two matching runners that featured a sea creature and laid them across the short end of the table. This create a bridge from one side to the other. I picked up these runners at IKEA years ago, and have used them in so many ways. I love the bold, graphic contrast to the neutral tone. An inexpensive purchase that has paid off. I then chose complimentary napkins, swaddled the silverware in the center, then secured it with a napkin ring. The flared top of napkin gave the illusion of a fishtail. Another nod to dinner. The flowers were trimmed and rearranged from the ones my niece, Gianna, brought over for dinner earlier in the week. Glasses and some candles to make it moody, and we can call the table done.

This meal was a strike right down the alley for Therese’s palate. But not to worry, everyone else enjoyed it, too.

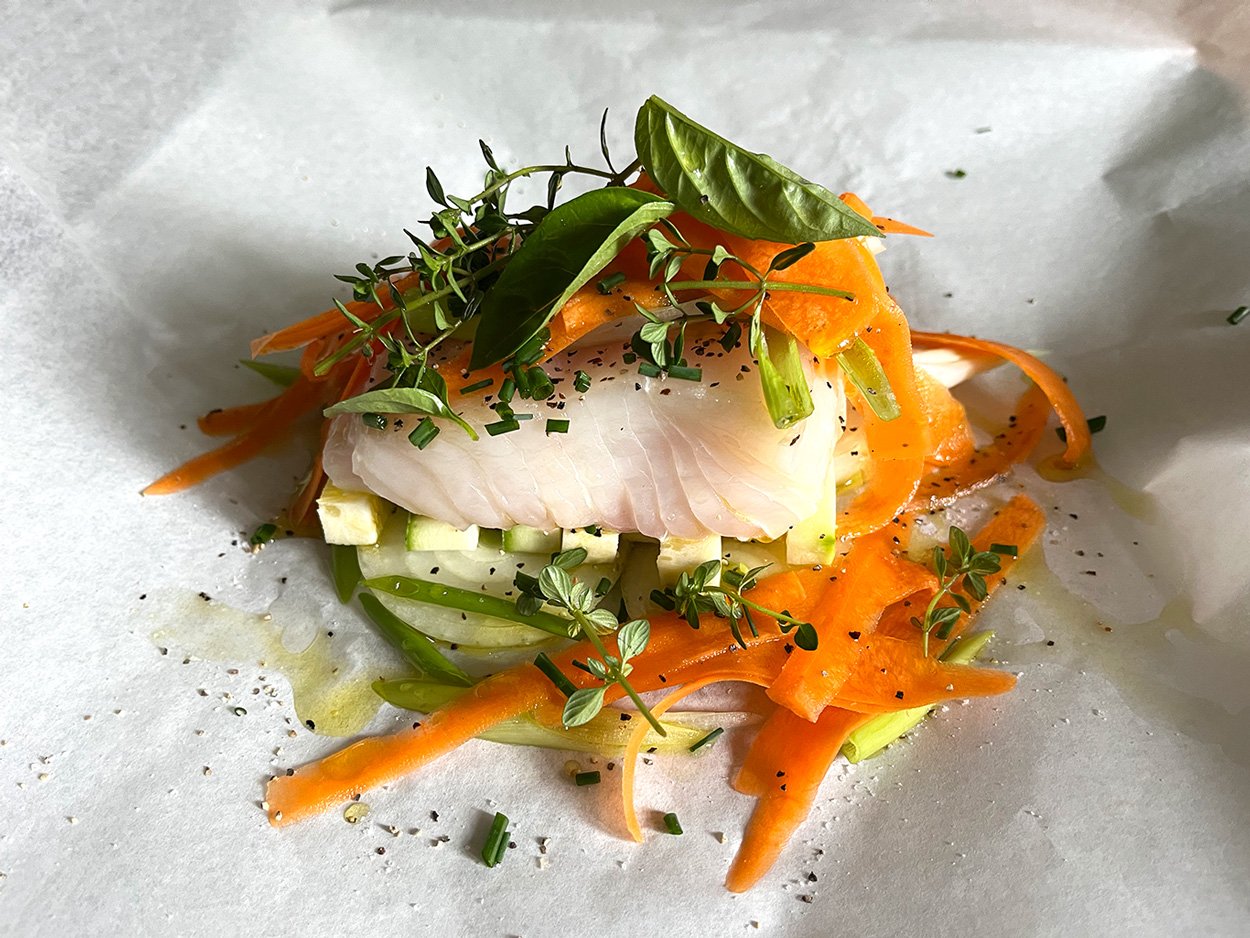
Making fish en papillote is not only a fun way to serve the main course but can be prepped ahead of time, placed in the fridge and baked right before serving. Oh, and wait, there is more; you don’t need exact amounts, or exact ingredients. Something near and dear to my heart. Use the type of fish and vegetable in the amounts that work for you and your guests. And if that wasn’t enough, it’s protein and veg all in one neat packet so you don’t need a side dish of vegetables. (I made more veggies because Therese loves, loves, loves vegetables.)

Ingredients

Halibut 6-7 oz/person ( you can use cod, snapper, flounder, salmon)
Onion, rounds
Scallion, long strips
Carrots, strands
Zucchini, rounds
fresh thyme
Lemon slices
Olive oil, salt, pepper
White wine

Instructions

  1. Slice the vegetables accordingly. This is an important step since everything will be baking together at the same time. It is essential that the ones that need more cook time be cut more finely than those that don’t. I used a vegetable peeler for the carrots, while the onions and zucchini I cut in thicker rounds. The scallions I cut in long strips.

  2. Place the parchment paper on a baking sheet. Start placing the lemon slices, onions, zucchini on top of each other at the center of the parchment. This way when you fold over you will have enough paper to fold and tuck.

  3. Then place the fish, carrots, thyme and season with salt, pepper a drizzle of oil and splash of white wine.

  4. Fold the parchment paper over the fish/veg pile then starting at one corner fold the paper all the way around creating a seal. You can either bake right away or if you are making ahead, place the entire baking sheet in the fridge until you are ready to bake.

  5. Bake at 400 degrees for 12-15 minutes depending on the thickness of the fish.

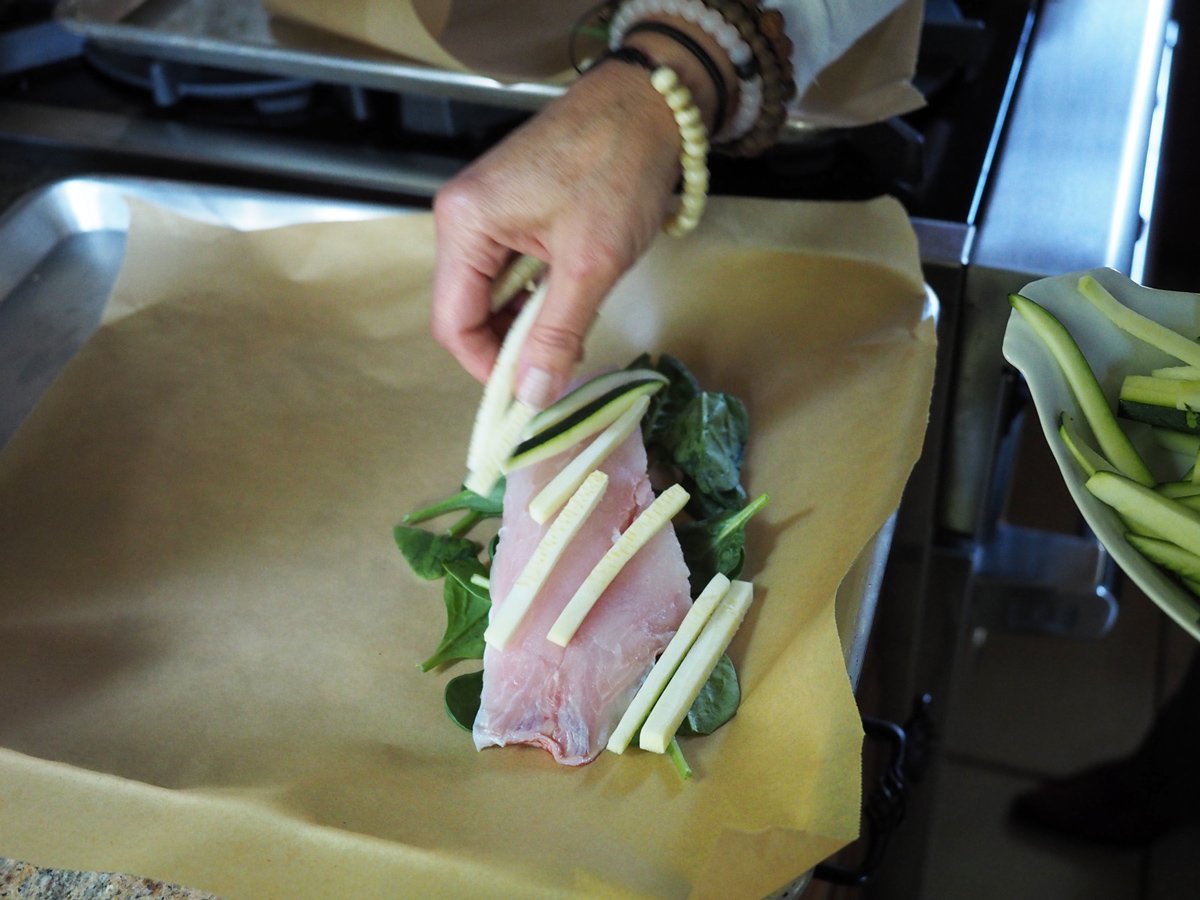
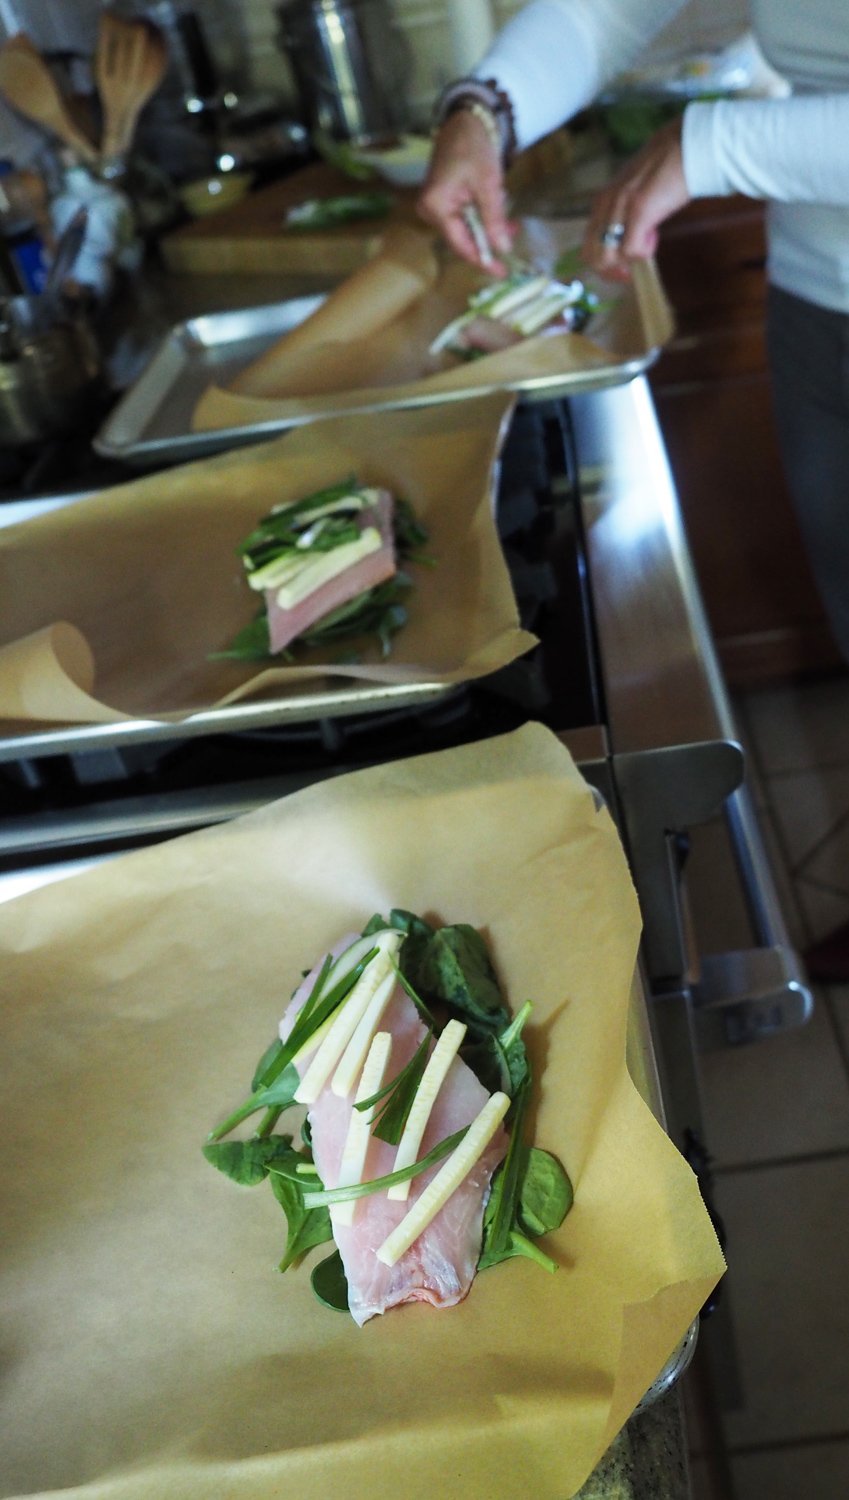
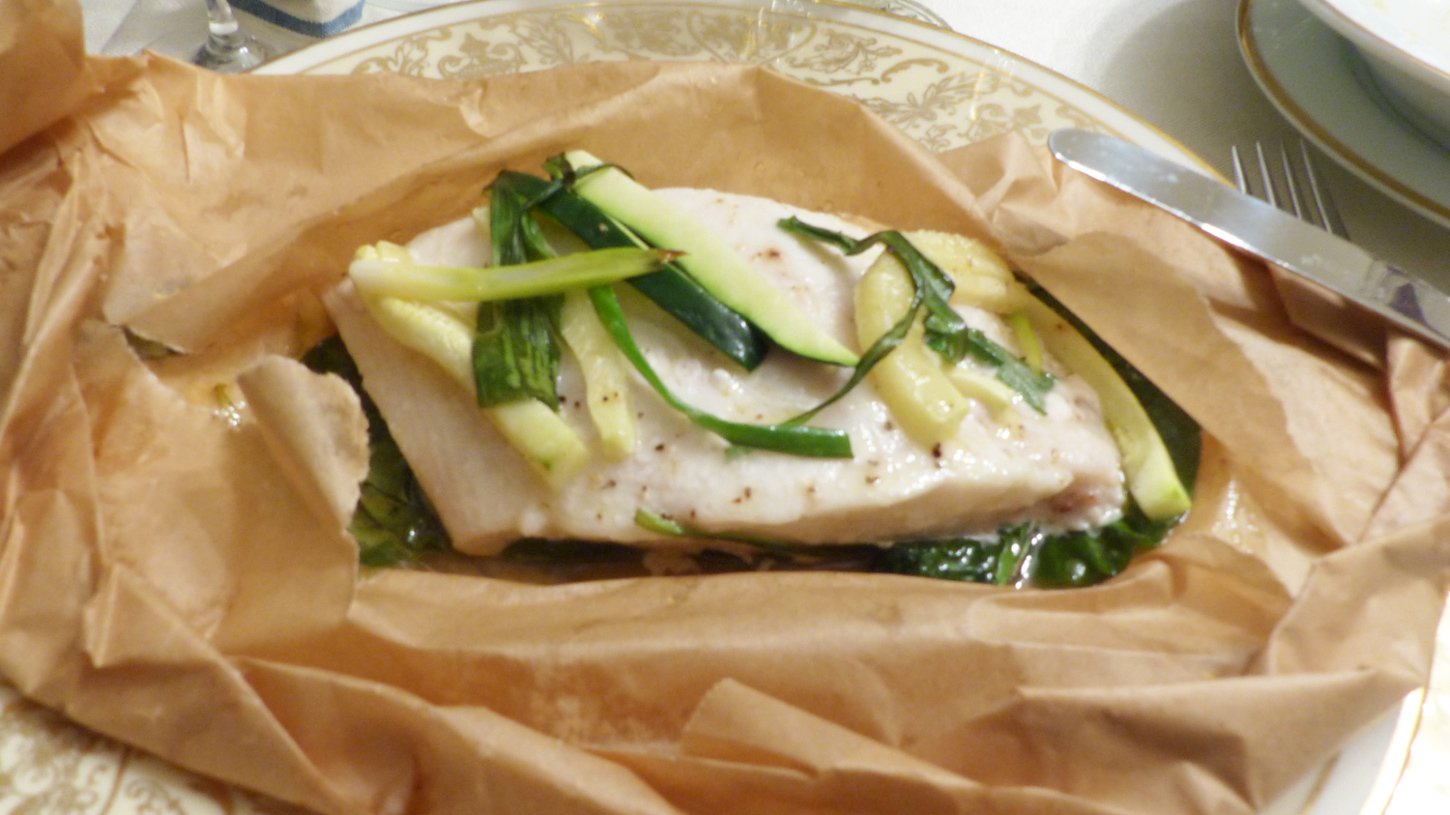
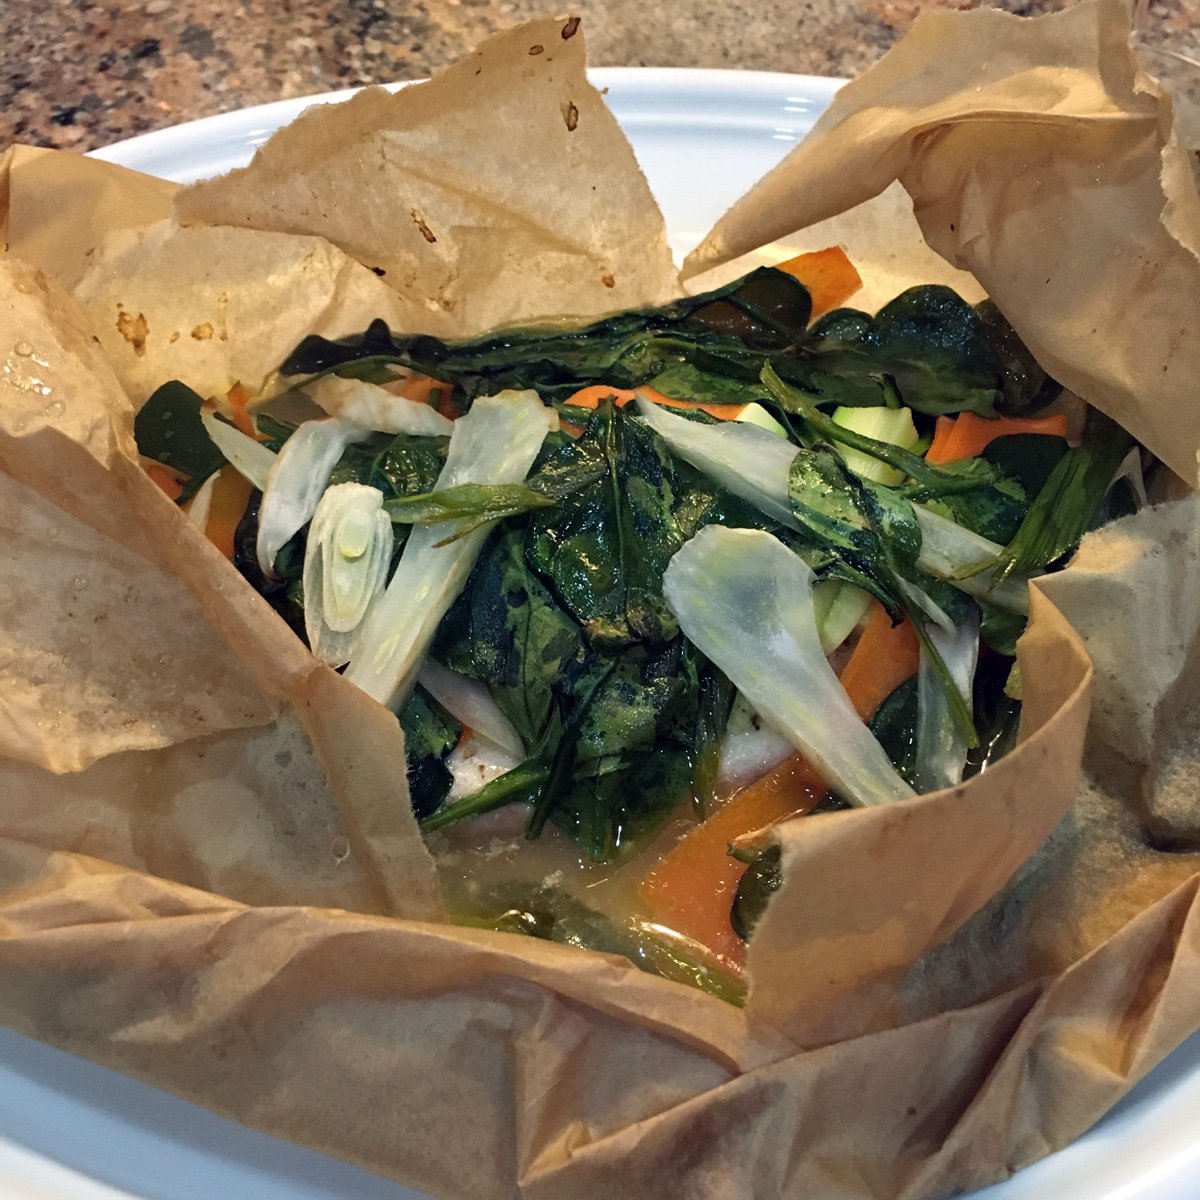
As I mentioned, I was short on time. Therefore, I didn’t have time to photograph the en papillote part. However, I did have images from the time I made it with red snapper. Which is actually an excellent example to demonstrate the many variations of this technique. In the pictured below, I used Red Snapper, Spinach, Zucchini Strips, Scallions.

With the many variations that can be made the list seems endless. But let me give you a few ideas. Other vegetables that work well: Asparagus, Spinach, Kale, Yellow Squash, Cherry Tomatoes, Olives, Capers, Basil, Sun-dried tomatoes, Broccolini.

You can even use potatoes if you slice them thin.

As you can see, this method affords a huge range of flexibility and versatility depending on your guests tastes. That is also another huge benefit. Since they are made in individual pouches, you can customized them for each guest. This might seem like asking for trouble having to make different combos for each guest. But it does allow you to accommodate guests who have allergies or food sensitivities. Or just the pesky ones who don’t like certain veggies!)

All in all, it was a fun evening of healthy eating and a great time catching up with family we love.

Feta Stuffed Yellow Squash Bake

For awhile now I’ve been making a stuffed zucchini over quinoa with roasted tomato dish that has been very popular with my customers. So when my longtime friend, Dianne, said she was coming for lunch I thought that might be a good choice. However, as I started to look through what I had just hauled home from the grocery I realized I didn’t have all the ingredients and didn’t have time to shop again. So, improvisation was in order.

The grilled zucchini version I mentioned above is stuffed with goat cheese, sautéd kale & onions served over quinoa with roasted grape tomatoes and roasted garlic oil. Although I didn’t have most of those ingredients, I was hell bent on rolling something. What I did have was yellow squash, red onions, vine ripe tomatoes, feta and leftover herb/garlic salsa. Sounded like a solid line up to me with rolling potential. I also knew I would be short on time the day of the lunch, so this was a test to see if parts/all of this dish could be made ahead of it.

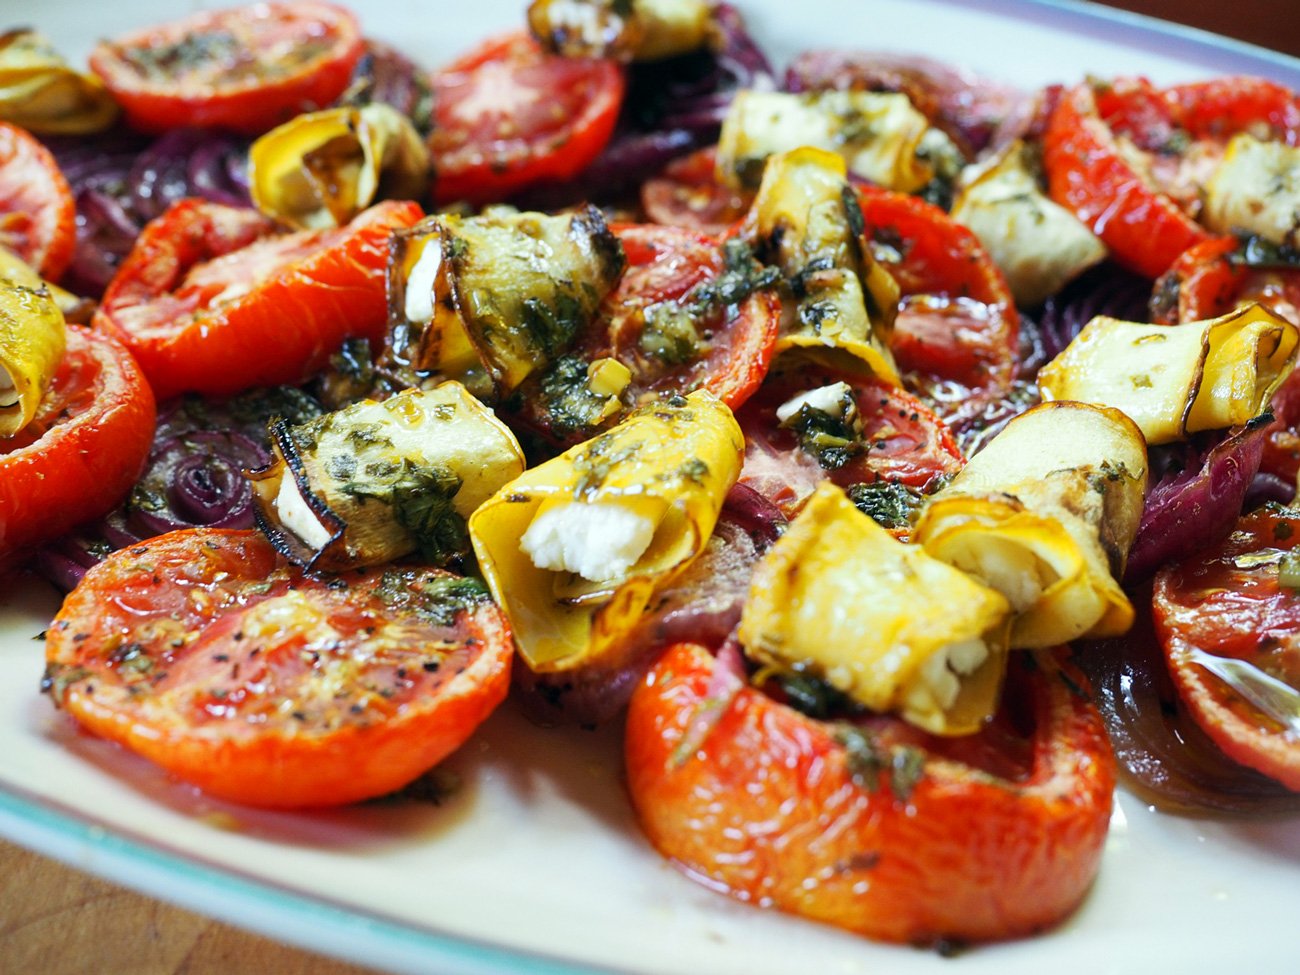
Feta, Tomatoes, Red Onion, Yellow Squash, Herb/Garlic Salsa.

This recipe was me getting back to my roots. My something from nothing style. My cooking comfort zone. Basically, my typical method of inventing a recipe; see what I have, think about how to combine them with other available items, and then use only the quantities I have on hand. This is why sometimes I am delayed in sharing recipes ideas with you. Often times I get halted by having to measure ingredients and be precise so I can properly write them up in a post. Other times I think the recipe might feel like too much of a hodgepodge dish to share. But honestly, those turn out to be some of my best creations. Which is why the intention of this post is to encourage you to experiment with the ingredients available in your fridge and pantry, and use them to the best of their ability. In that spirit, the below ingredient list will be approximations.


Ingredients

1-2 Yellow Squash, sliced thinly
2-3 Tomatoes, thick slices
1-2 red onions, thick slices
Herb/Garlic salsa*
Feta
Magic 3: Olive Oil, Salt, & Pepper

*Herb/Garlic Salsa: finely mince parsley, cilantro, basil, crush garlic, salt, red pepper flakes (optional), Olive Oil
You can also use the salsa I use for my Marinated Feta


Instructions

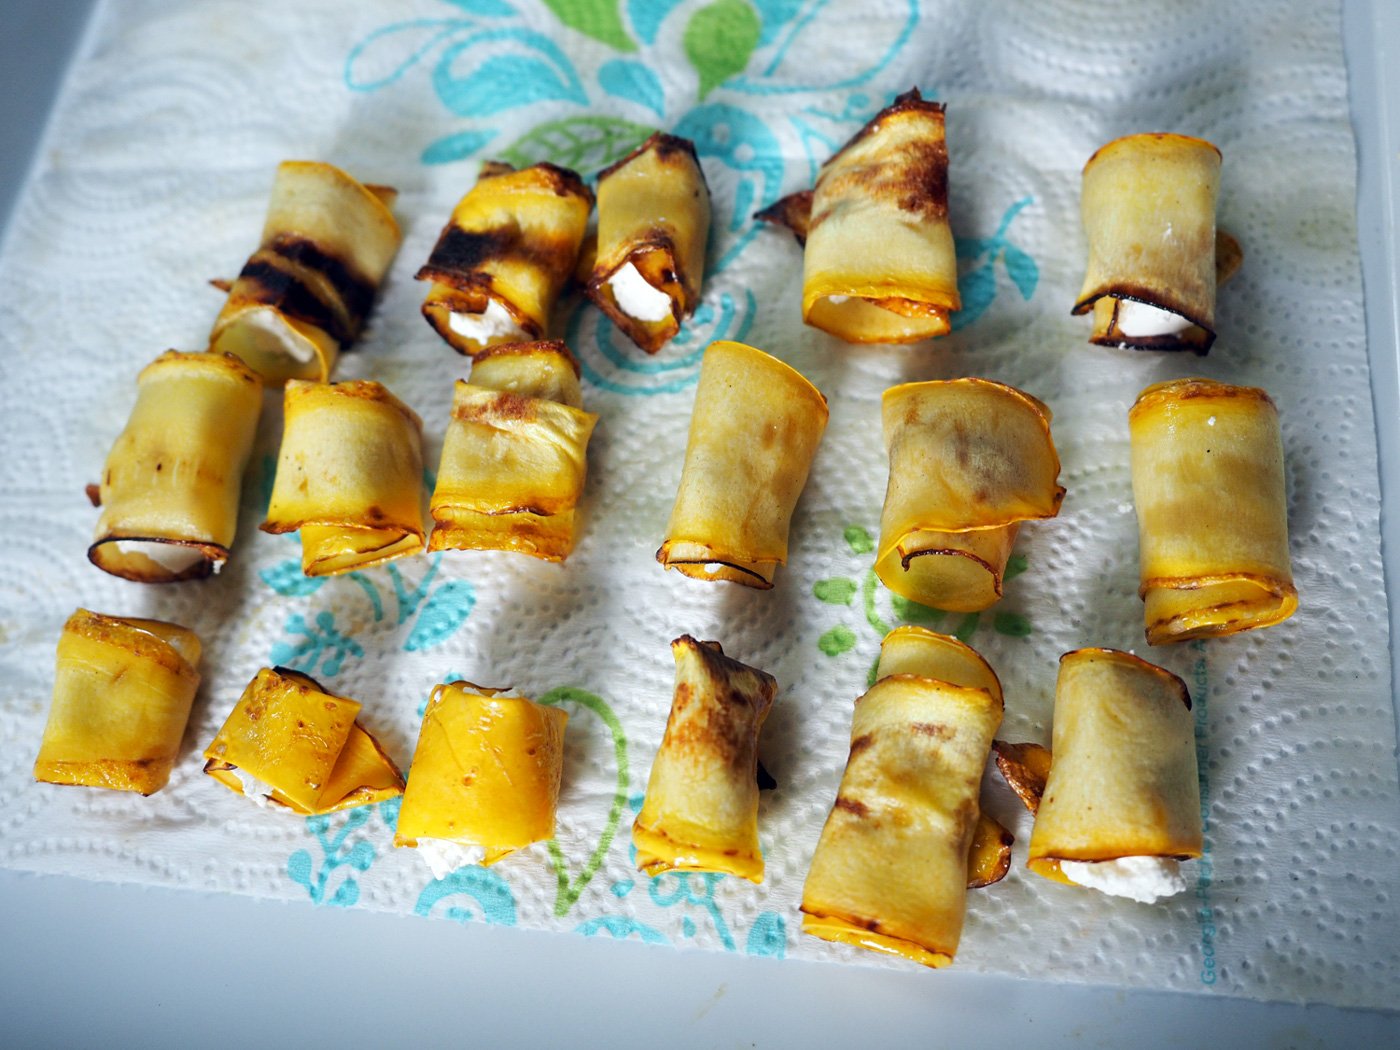
  1. Thinly slice and grill the yellow squash in a cast iron pan with just a tad of oil so they don’t stick. Note: Do not put too much oil because they will soak it up and get soggy instead of browned. Brown on each side then set them aside on a paper towel.

2. Cut the tomatoes and red onion into thick slices and add them to an oiled roasting pan, season with salt & pepper. Roast at 400 degrees for 15-20 minutes.

Cut nice thick slices.

I made this the day before, covered and refridgerated until the next day.

3. Meanwhile, cut chunks of feta cheese and place one piece on each end of the squash then roll it up.

The amount of feta you use is up to you. I used a healthy teaspoon for each.

I also made these the day before and stored them in a glass container. Then added them to the roasted veggies and baked together on the day of the lunch.

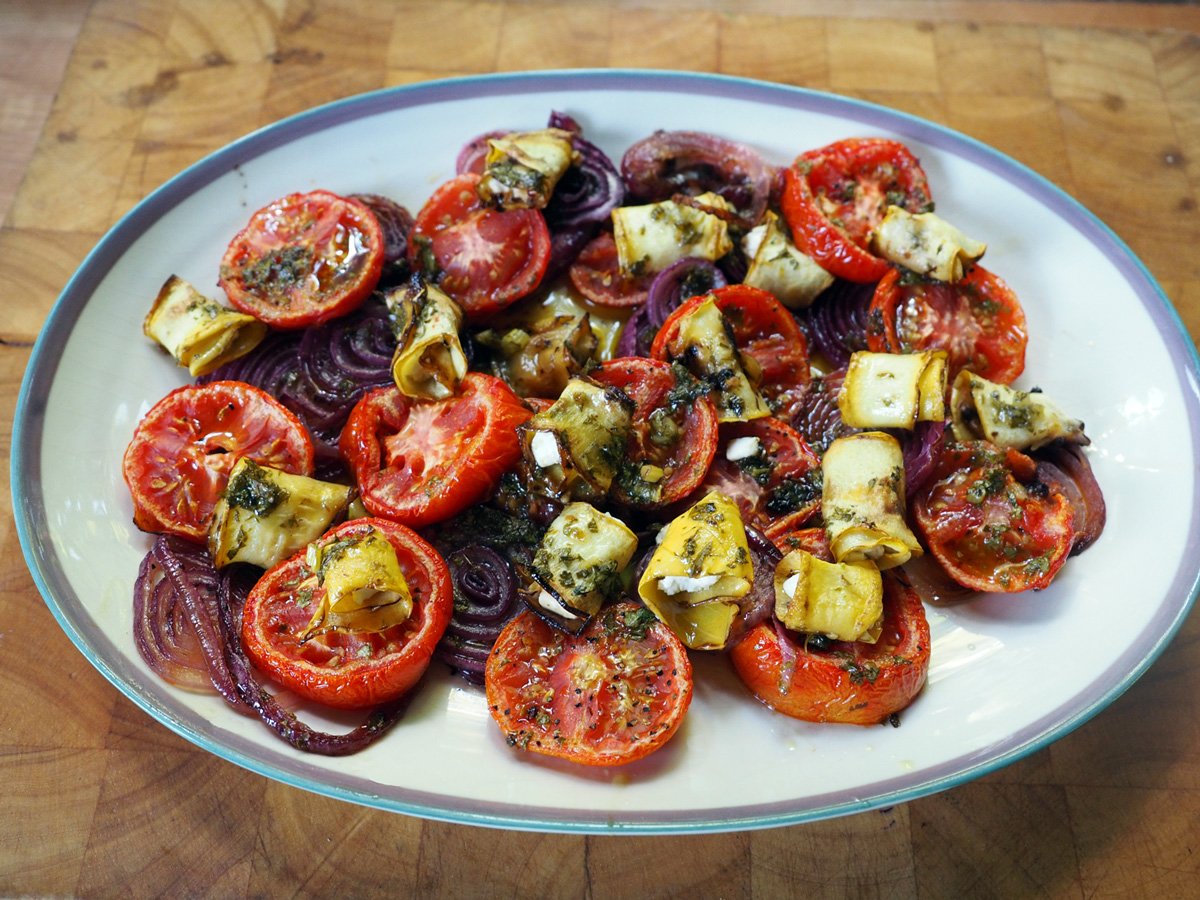
4. Once the onions & tomatoes are roasted on one side turn them over add the rolled squash and brush everything with the herb/garlic salsa. Roast for another 10-12 minutes

If you are making this the day of, follow the directions above. If you are making it the day before, then roast the onions and tomatoes but do not add the squash. I did grill and stuff the squash, then kept the rolled up pieces in a glass container. I added them to the pan right before I warmed up the entire dish. I added some extra salsa.

All the flavors blend so beautifully together. This is a great side dish but also can be used in several other ways.

Here are a few ideas how to serve it up.

  • Toss the tomatoes and onion over pasta then place the rolled squash on top. Maybe crumble more fresh feta on top.

  • Add fried eggs on top and serve with crusty bread for a breakfast or brunch.

  • Place in a shallow bowl, add more oil or herb oil, and serve it with crostini

I’m sure there are other uses. I’ll let you come up with your own, and hope that you share your ideas. This was a nice improv from my usual stuffed zucchini dish. I’m actually glad I didn’t have zucchini because I wouldn’t have been forced to think of something new. When life gives you yellow squash, stuff it and roll with it.

As I mentioned, this post was to encourage you to think of your usual recipe box. And let’s say you didn’t have on hand the above ingredients to make this recipe as is. Here are some substitutes to help get your creativity engine going.

If you don’t have red onion:

  • yellow onion

  • Shallots

  • Scallions

If you don’t have yellow squash:

  • zucchini

  • Eggplant

  • Sweet potato

  • Potato

If you don’t have feta:

  • goat cheese

  • Ricotta

  • Mozzarella

  • Cream cheese

  • Any cheese, but you may need to modify how you cut it. If you have a hard cheese, maybe grate it. If a softer cheese, then spread it over the grilled vegetable.

    I hope these help jumpstart some ideas of how you can switch up the main ingredients yet still keep the basic premise in tact. Continue creating and stirring your food with love.

Bibb, Arugula & Butternut Squash Salad

Bibb, Arugula & Butternut Squash Salad

I’m usually known as the queen of entertaining. (Mind you, that is not a self dubbed title but one others have bestowed upon me.) That said, I’ve been out of practice. The pandemic, and other life situations (all good ones) have thrown a monkey wrench into our usual hosting schedule. And so, coming up with new recipes has been put on the back burner. However, a couple weekends ago we took the leap and hosted our friends/family for a small backyard lunch.

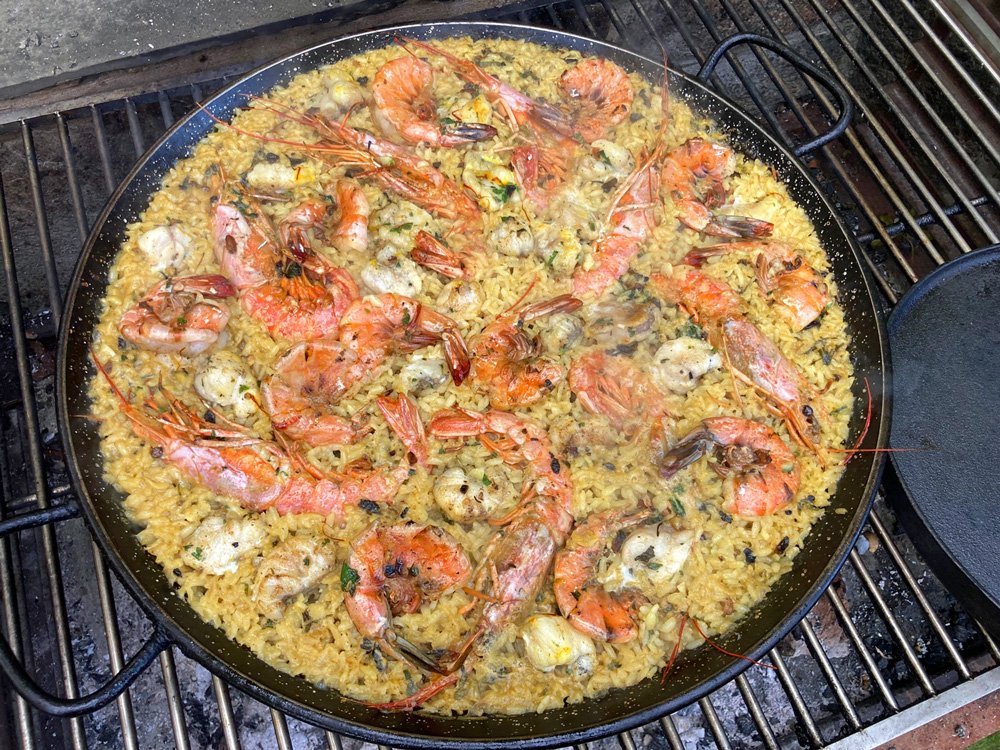
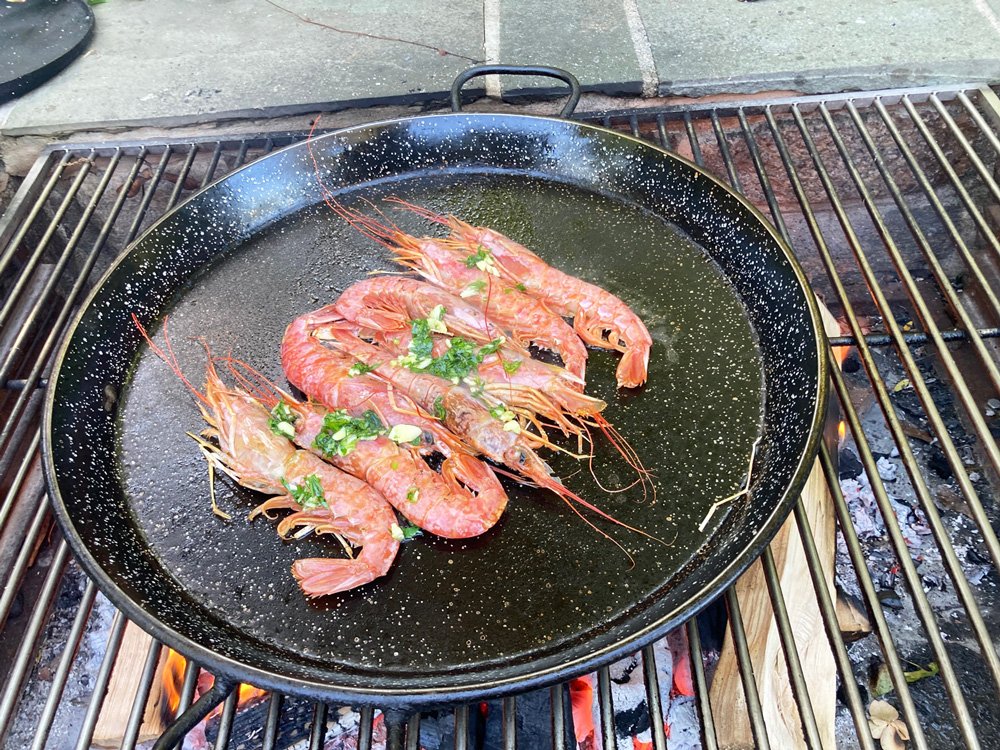
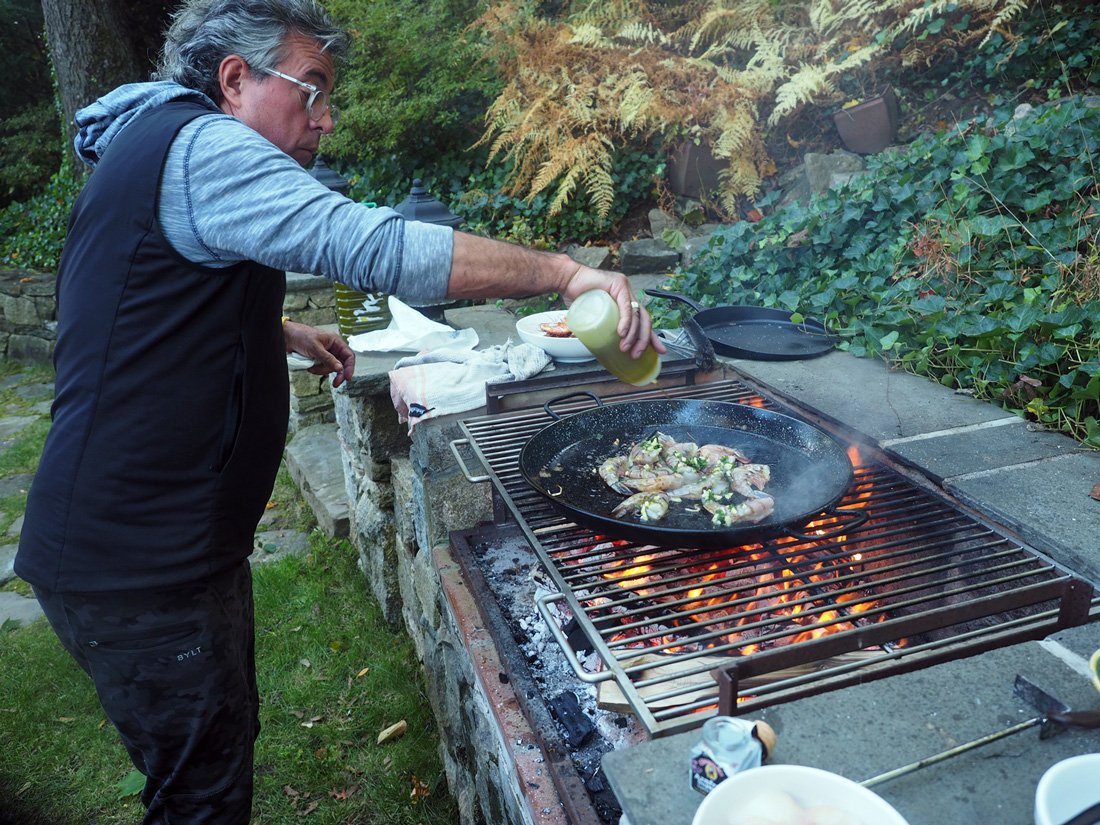
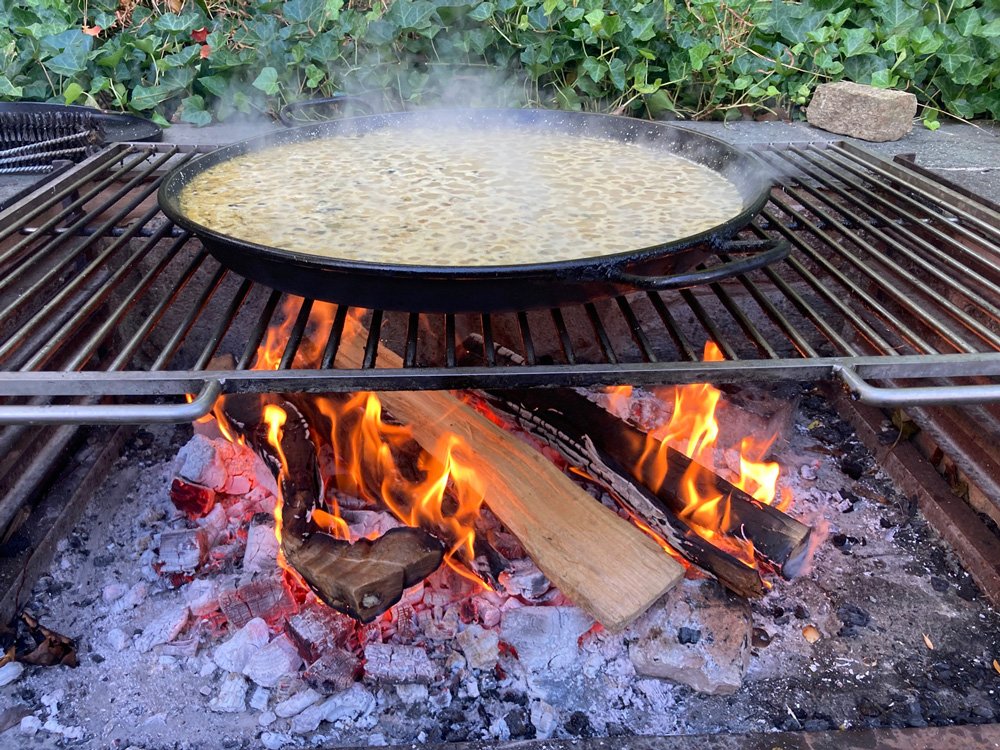
JuanCarlos had his mind set on making a paella ‘a la parilla’, which means on the grill, thus forcing us to be outside. We lucked out in the middle of NY October with glorious, sunny, warm weather. JuanCarlos has been making paellas for years but continues to research and study master paella makers in order to perfect his. Each one gets better and better. He loves making outdoor fires, and then hanging out with good friends to enjoy a glass of wine or two while he cooks.

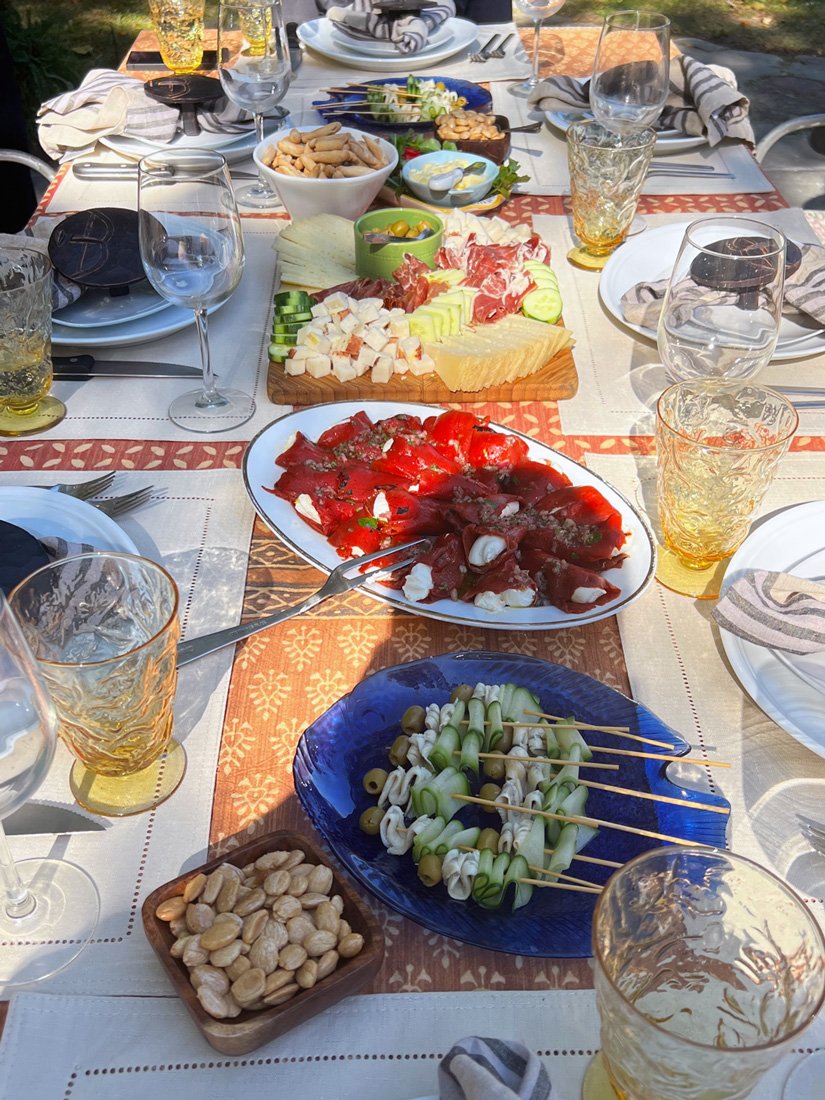
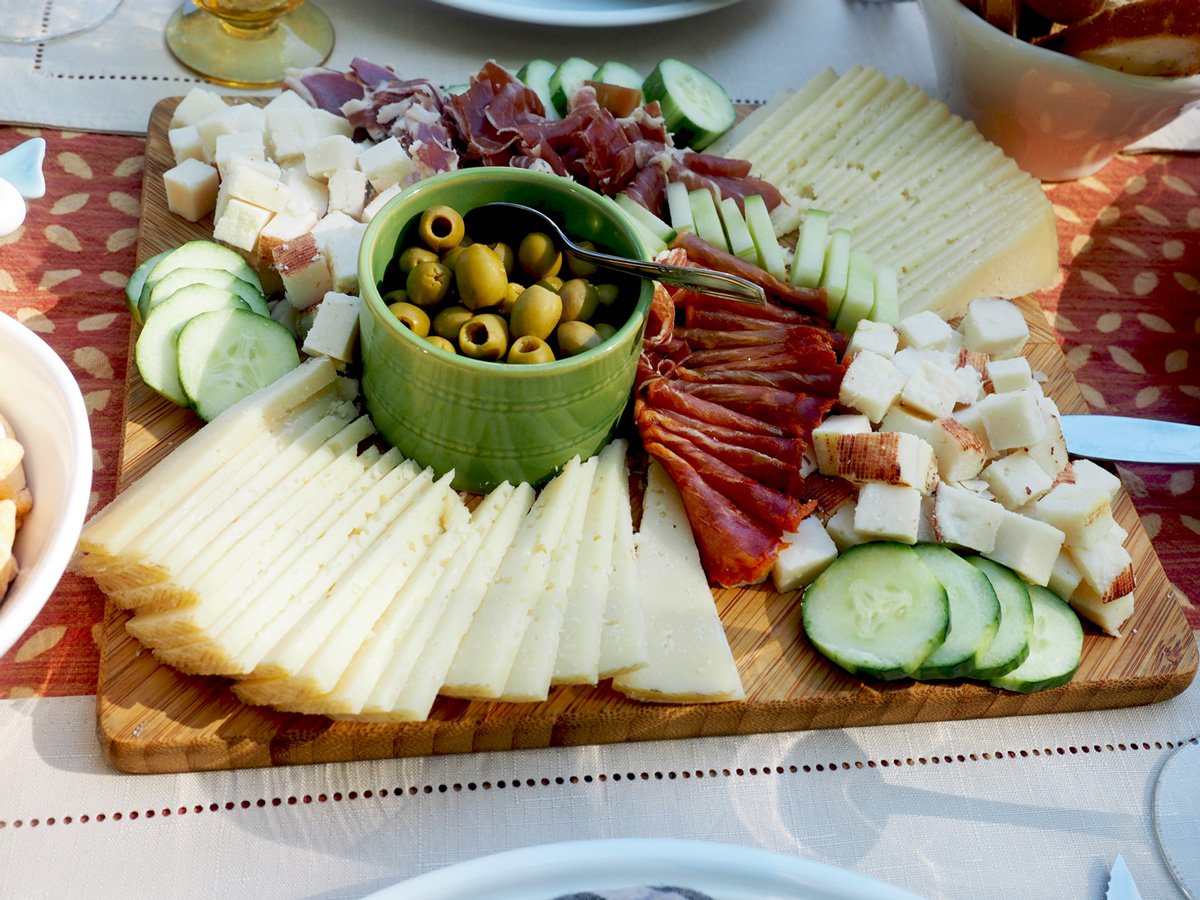
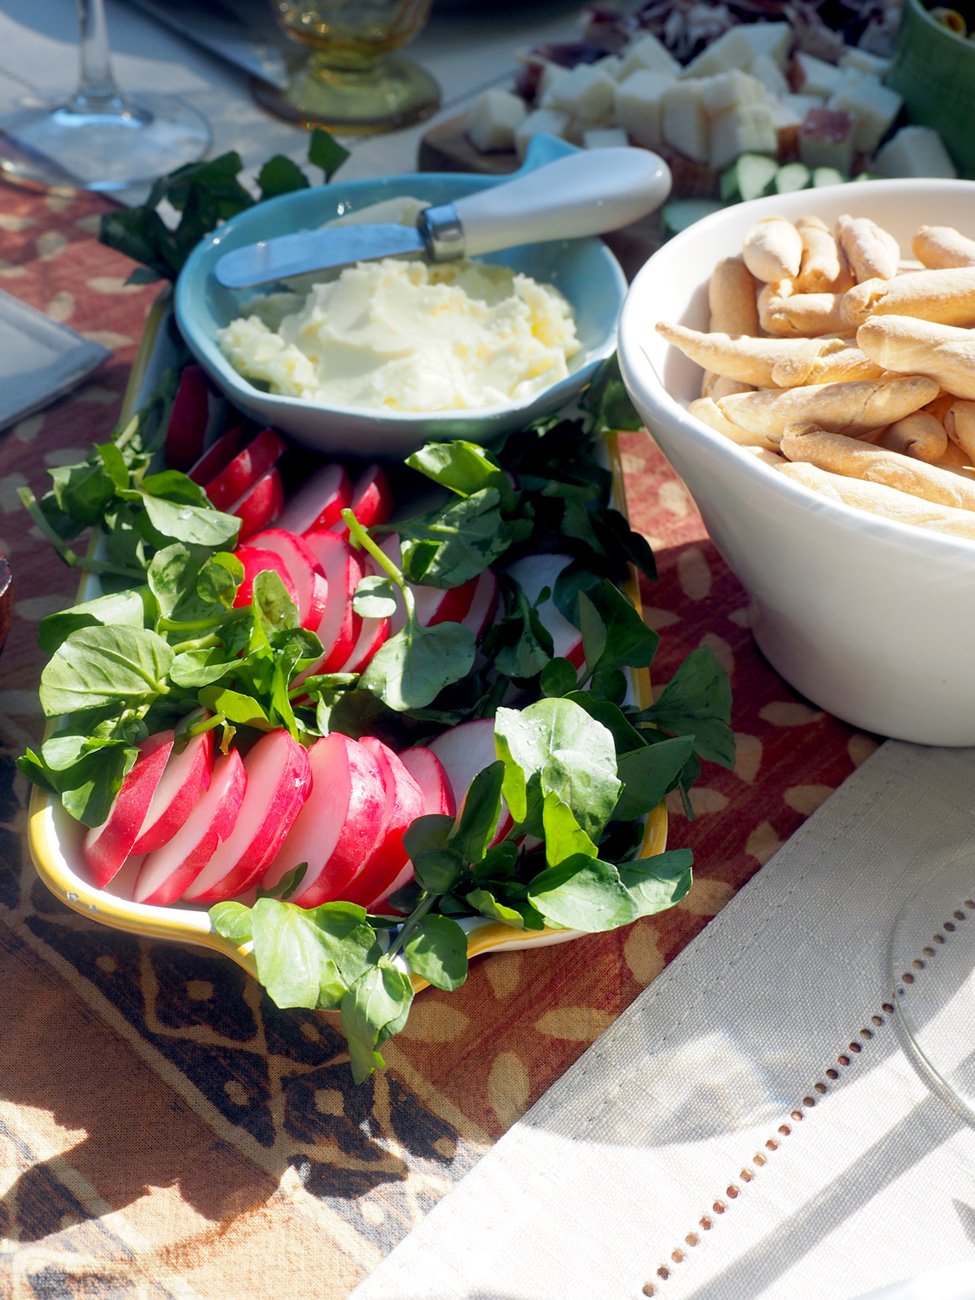
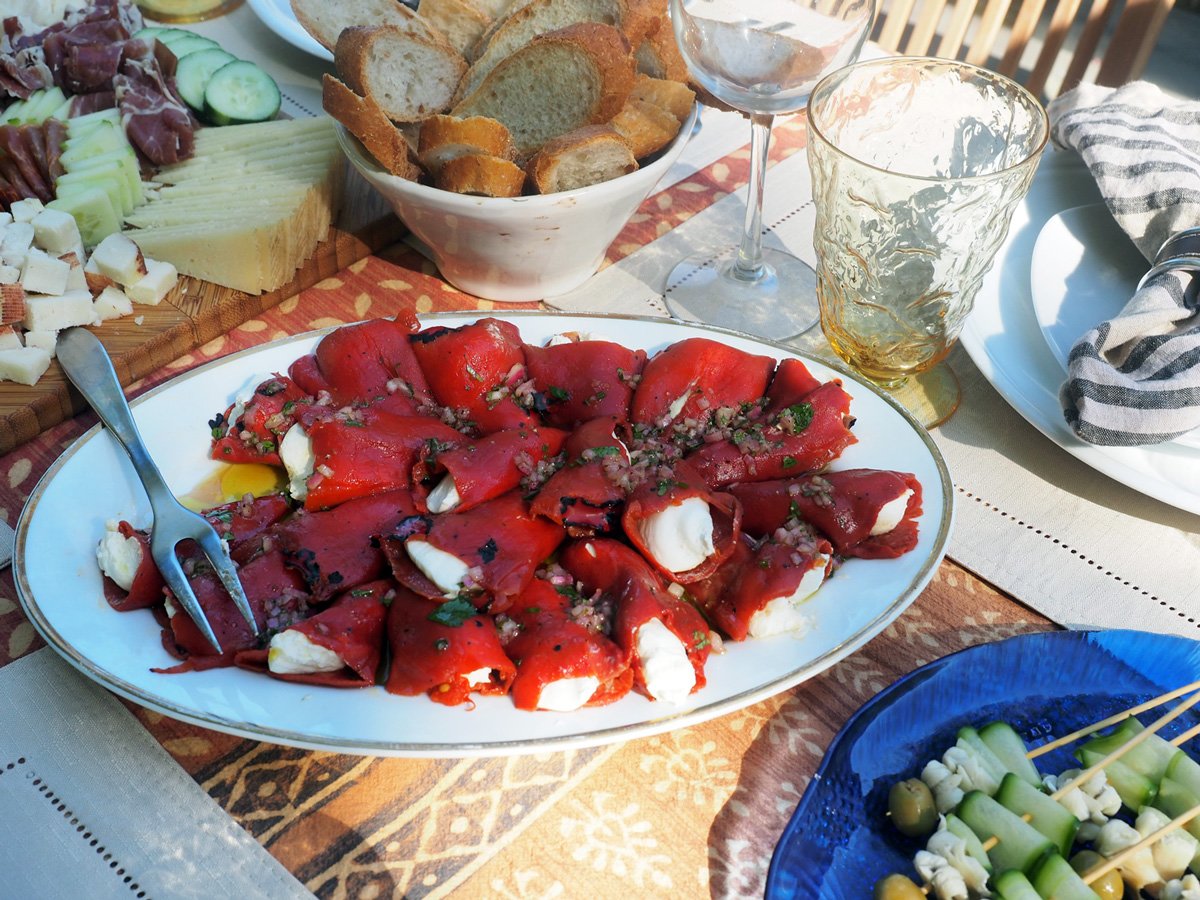
With paella in the driver’s seat, the appetizers were riding shotgun and followed along in Spanish Tapas style. I made Stuffed Piquillo Peppers, Boquerones Skewers, Charcuterie/Cheese Board, Radishes with Salted Butter

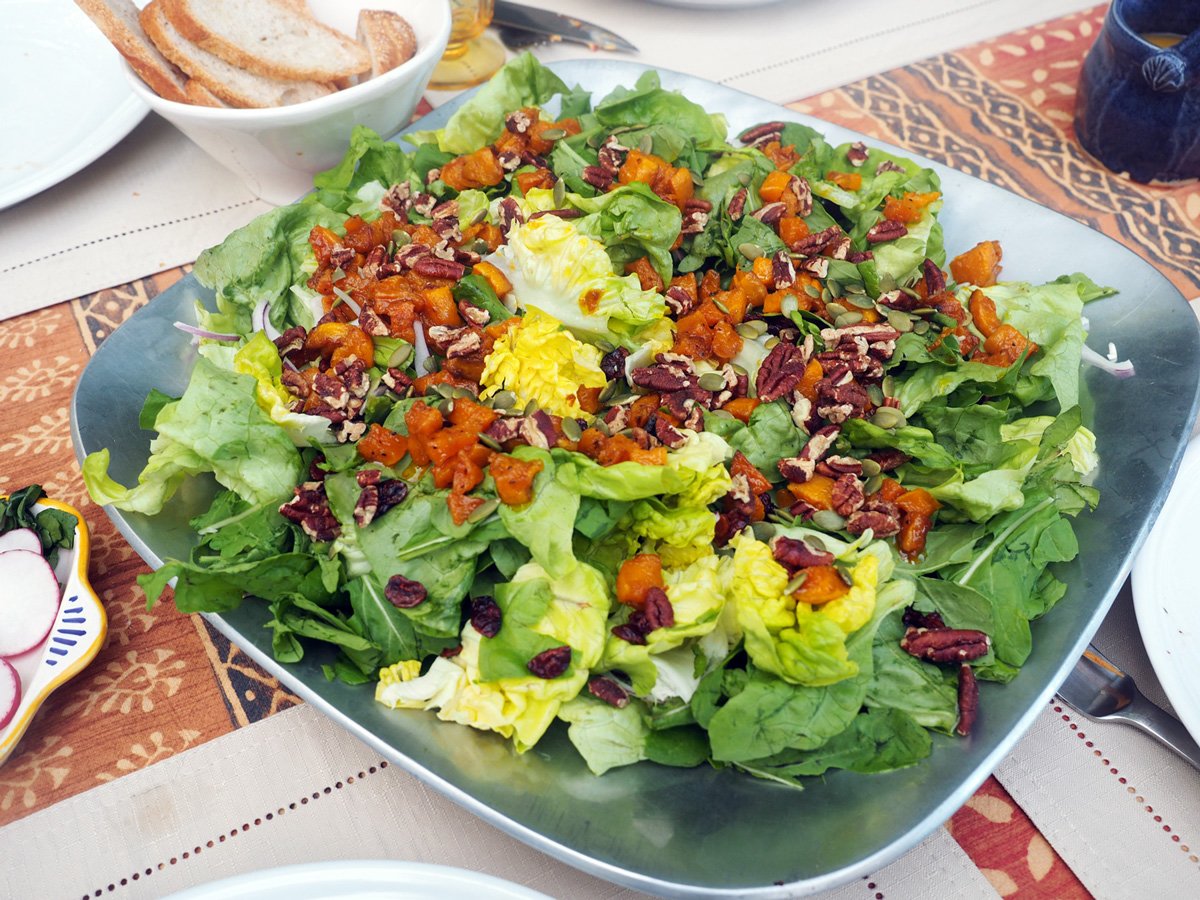
But when it came to the salad, I veered off the Iberian road, and glad I did. It’s Fall and I felt like leaning into that season using roasted butternut squash. I make roasted spiced butternut squash slabs as side dish for my customers and decided to use similar spices but cut the squash into cubes and added a touch of maple syrup. In composing the salad in my head, I thought about all the other Fall inspired accompaniments that would not only pair well with the squash but would also provide a visual wow. So, a pop of dark red from dried cranberries, a toasty brown from pecans, a lovely green from pepitas, and slivers of red onion would all do the trick nicely. These don’t just deliver on the visual impact, each one also provides a different textual element that is key to making a salad, or any dish, interesting on the palate. Arugula was still fresh at the farmer’s market so I grabbed that for a hint of peppery punch that would counter balance the sweetness. For the dressing I borrowed the idea of using dates from another recipe, but of course changed it up a bit.

Can I just say how much I love this salad. It’s crisp. It’s earthy. It’s sweet. It’s peppery. It’s damn good, and I’m damn glad I made a ton so I could have leftovers for the next day.

I’m posting this now because I think it would make a wonderful salad for Thanksgiving. It hits all the marks and is the perfect counterpoint to the heaviness of a traditional Thanksgiving meal. Please give it try either as a green salad or swap out the lettuce with quinoa as the base. It could also work with pearl couscous as well.

Ingredients

2 Bibb/Boston lettuce
1 Arugula, bunch
1 medium Butternut Squash, approx 4 c cubed
1 c Dried Cranberries
1 c Pecans, toasted
1 c Pepitas, toasted
1/2 c Red Onion, thinly sliced
1/8 t Cayenne
1/8 t Cumin
1/8 t Cinnamon
2 T Maple Syrup
2 T oil

Dressing
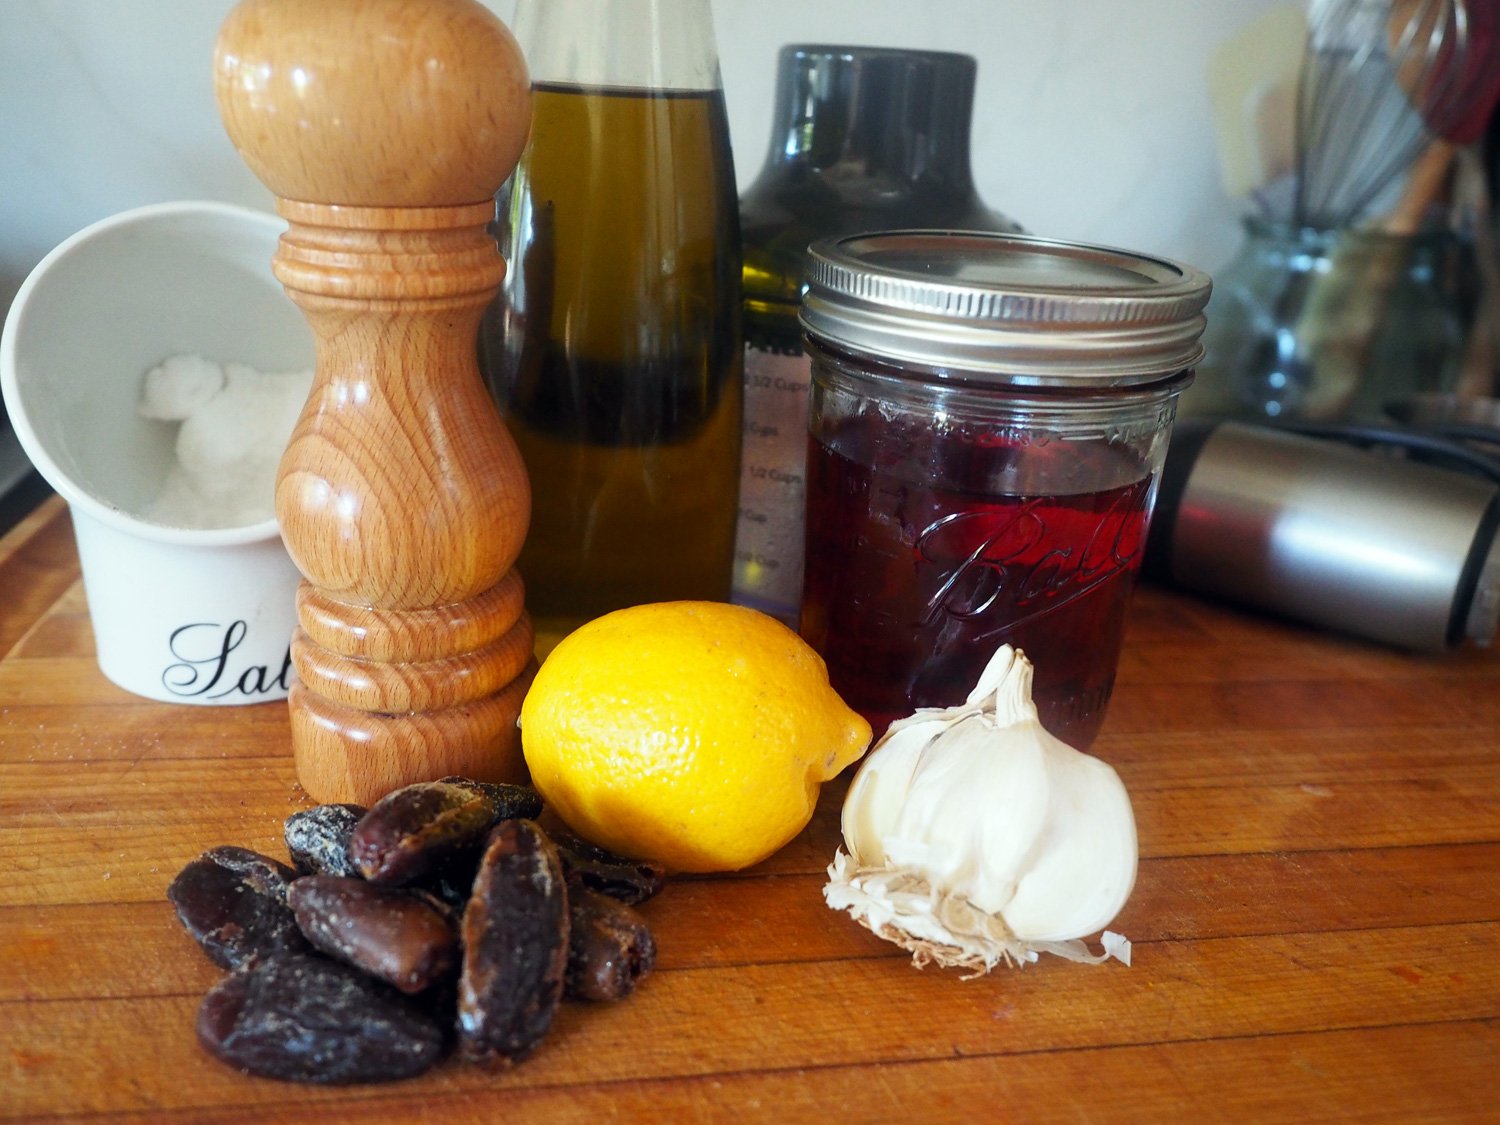
4-5 Dates
3 T Red Wine Vinegar
1/2 c Extra Virgin Olive Oil
2 t Honey (optional)
1 Garlic clove, crushed
lemon zest
1 T lemon juice
3 T water
salt, pepper to taste


Date Dressing Setup: Dates, lemon, garlic, red wine vinegar, olive oil, salt, pepper

Instructions

  1. Peel and cube the butternut squash. Place on a roasting pan and season with oil, salt, pepper, cayenne, cumin and cinnamon.

2. Roast at 425 degrees until golden on one side. Then flip them and add the maple syrup and roast until golden on the other side. Remove from oven and let cool.

Roast until squash is tender and edges are browned.

3. Meanwhile, wash the Bibb lettuce and Arugula and dry them well.

4. Roast the pecans and pepitas slightly to enhance their nutty flavors. This can be done in 300 degree oven or on the stove. Just make sure to keep an eye on them as they can burn quickly.

5. Make the dressing by first rough chopping the dates, crushing the garlic and adding to a mini food processor along with lemon zest, salt and pepper. Blend until the dates are a small crumb.

6. Then add vinegar, oil, and lemon juice and blend until emulsified. Then drizzle in a bit of honey and blend again. Add water to thin out.

Place chopped dates, crushed garlic, lemon zest, salt and pepper into a mini food processor.

Blend until dates are small crumbs.

Once you add the oil and vinegar the dates will break down even more to create a creamy consistency.

7. Assemble the salad by placing the lettuces on a big platter and then sprinkle the sliced red onions, butternut squash, pecans, dried cranberries and pepitas all over the top of the lettuces.

I sometimes hold off on dressing an entire platter of salad in case there are leftovers I don’t want the remaining salad to get soggy. So, I let the guests add the amount of dressing they want to their plate. Do what feels right or works for you. But always serve it up with love.


Bibb, arugula salad with roasted butternut squash, dried cranberries, pecans, pepitas & date dressing

Serving it up with dressing on the side, and with plenty of love

I loved it so much that I expanded the idea to use it with quinoa for a customer side dish. Which by the way was such a hit, they texted me to say it was another winner. I just love getting those texts messages.

Quinoa with all the same ingredients as the salad… minus the lettuce.

Fish & Bean Stew

Way, way back BP (Before Pandemic), when entertaining and having friends over was a common occurrence, we hosted a dinner party for our friends on Monday night. I know what you are thinking… entertaining on a school night? Indeed we did. Since it was literally the only date we all could find available we threw caution to the wind and made it happen. It was late May and we had been experiencing cooler summer weather than normal so the menu included my Fish & Bean Soup. But as typical with Mother Nature, she rules. When she flipped the weather switch from unusually cool to suddenly warm, it was she who now dictated the menu. Soup did not seem like such a great idea anymore.

Problem was, I had already purchased all the seafood, (shrimp, calamari and monkfish), and I didn’t want them to go to waste. A tiny switch-aroo was in order. Take it from a soup to a stew. Sure, you’re saying ‘How is that different? It’s still warm.’ First, let me remind you that I did say ‘tiny’ switch-aroo. I, and our guests, can attest that that slight alteration made all the difference in a dish that was originally going to be too hot, to just right.

3fishes.jpg

Monkfish, shrimp and calamari from the original stew dish.

Well, it’s now November and the reverse weather pattern has occurred. It’s unseasonably warm but it’s still Fall. We were again hosting with another set of friends at our upstate country house and this stew idea seemed perfect. Plus I’ve had this blog post in a holding pattern waiting to make its debut since 2019. It was high time that it graced our bowls again. I couldn’t find calamari or monkfish for some odd reason. But that is the beauty of this dish, you can use different combos of fish; shrimp, calamari, monkfish, scallops, cod, mussels, clams. They all work.

This recipe is similar to the soup with some revisions, mainly how you cook it.

Ingredients

Makes 4 generous servings as a first course or 8 appetizer bowls
*Note: you can adjust the amount fish you use, adding more if you want this to be a main dish

2 scallions, sliced (Use 1 for beans, 1 for fish marinade)
1 med onion, chopped (1 heaping cup)
1 large carrot, diced (1 cup)
2 stalks celery, diced (1 heaping cup)
2 garlic cloves, thin slice (beans)
2 garlic cloves, crushed (fish)
2 32 oz cans Cannellini beans
12 shrimp, cleaned & deveined (12-14 oz)
10-12 oz cod, cut into chunks
10-12 oz. Sea scallops
Red pepper flakes to your taste
Magic 3 (Olive Oil, Salt, Pepper)
1-2 T Butter
1/4c White wine
Parsley to finish

Instructions

1. Peel and devein shrimp. Wash and thoroughly dry all the fish. I cut the cod into bite size pieces but left the shrimp whole. You can chose to cut the shrimp as well.

It’s important to always wash and thoroughly dry the fish, or any protein for that matter.

2. Marinate the shrimp, cod, scallops with scallion slices, crushed garlic, 1/4 t red pepper flakes, 3/4 t salt, 1/2 t black pepper and 2-3 T oil. Refrigerator while you cook the bean portion.

Marinated Fish with scallions, crushed garlic, salt, pepper, red pepper flakes and olive oil.

3. Chop and dice all your vegetables.

Mise en place: everything ready and in its place Celery, carrots, onions, scallions and garlic

4. Sauté the onions, scallions, carrots, celery for 10 -12 minutes then add the garlic slices, season with 1/2 t salt, 1/2 t pepper, 1/4 t red pepper flakes and cook another 2-3 minutes until soft and tender.

Sauté until soft then add the garlic so it doesn’t burn

5. Add the beans with some of their aguafaba juice and let simmer for 10 minutes until flavors meld. Taste for seasonings and add accordingly.

Just a luscious pot of yum

6. While the beans are cooking, sauté the fish individually (shrimp, then cod, then scallops last) in a cast iron pan or skillet. Once each batch is cooked place them on a plate until you are ready to plate.

High heat develops a nice crust on the shrimp. You only need to cook them 1-2 minutes per side

Seared cod pieces

Seared scallops

7. In the same hot pan, sauté any remaining scallions and garlic from the marinade adding a bit more oil, a pat or two of butter. Once softened then add a few splashes of white wine to deglaze the pan. Reserve this au jus to drizzle over the finished plate.

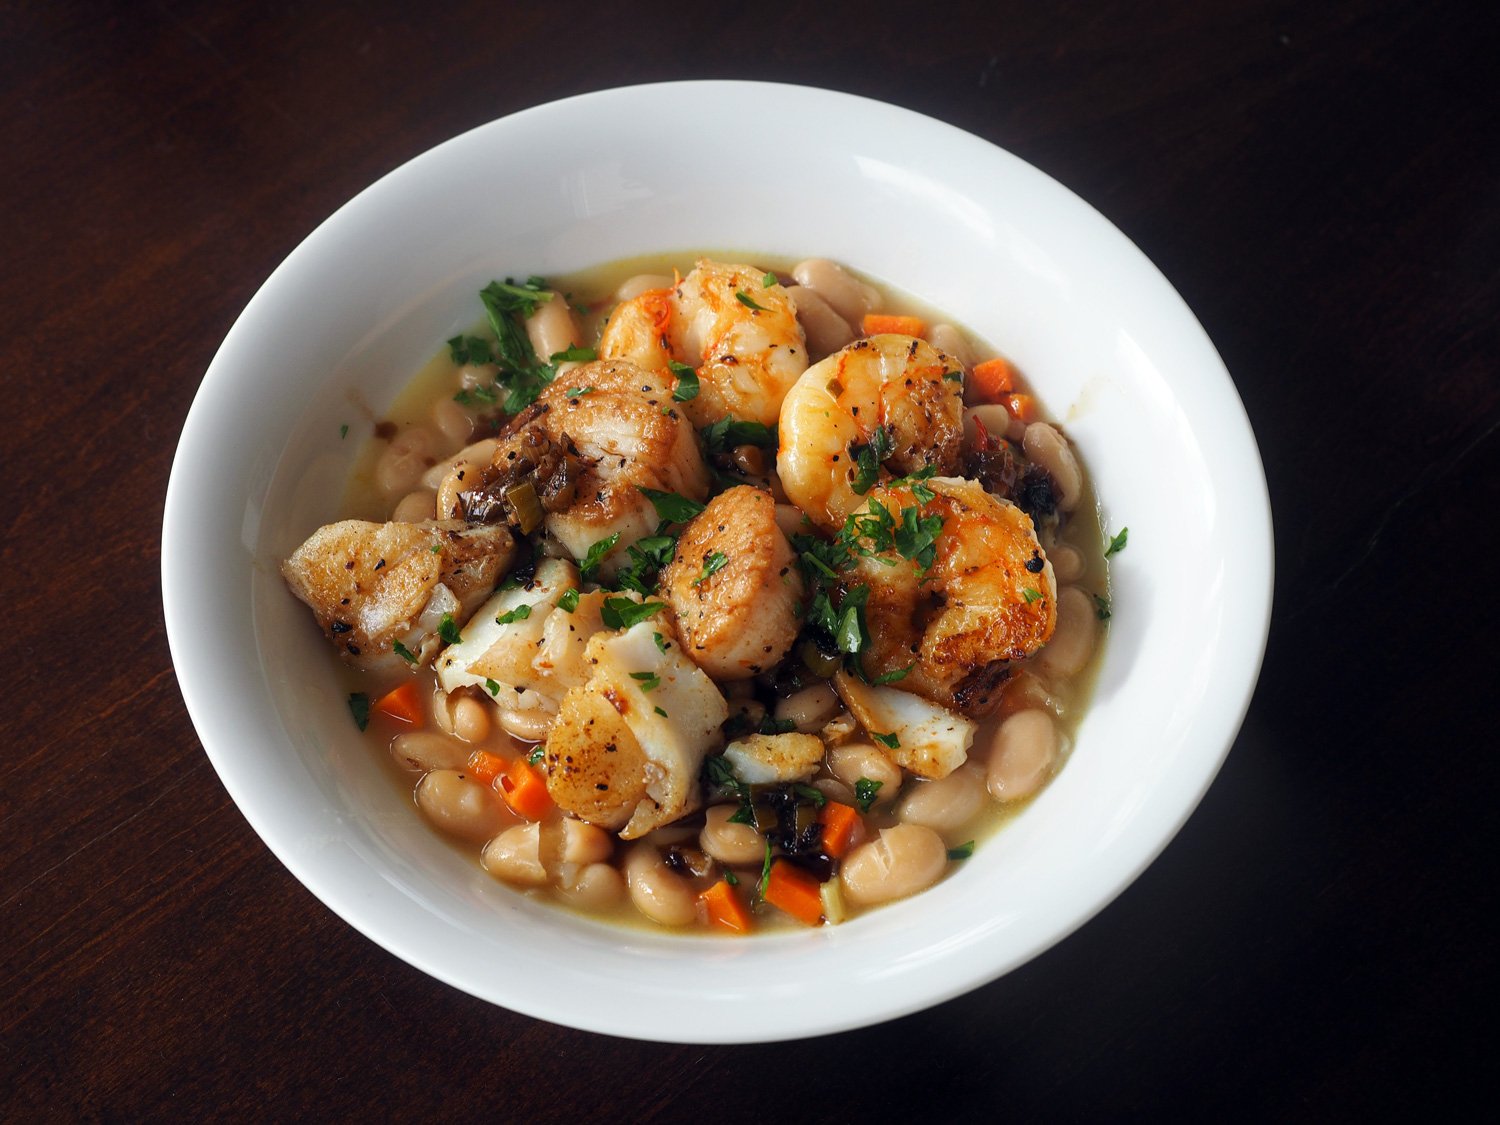
Hearty Fish & Bean Stew

You can either plate it family style using one big platter with beans on the bottom and fish stacked on top. Or individually plate it as I did, spooning the beans then placing the fish on top of each bowl, sprinkle with chopped parsley and drizzle that delicious, concentrated jus over top.

We enjoyed a few appetizers first. Then had the Fish & Stew as a starter. Followed by Grilled Pluma (Iberico Pork), Paella Rice with roasted garlic oil, Oven Roasted Tomatoes, Salad and Sautéed Broccoli Rabe.

A scaled down cheese platter along with French Breakfast Radishes and Fennel with Coarse Sea Salt, Pepper, Olive Oil & Basil

We had such a lovely, leisurely afternoon lunch with our dear friends, Tecla and Scott. We feel blessed to have them in our lives, and willing to make the drive to see our Airbnb home.
(If you are interested in renting our home in upstate NY, check it out on Airbnb
The Cozy, Country Cape House

This is such a hearty and flavorful starter. If you don’t have any plans to host a small dinner party, use this dish as a main course and maybe add some roasted potatoes or rice as a side along with a salad and vegetable As I said, this might be a warm plate, and naturally perfect for winter weather but it’s not too hot for a cool summer’s night meal or warm November afternoon al fresco.