I like comfort food. Which usually means a mouthful of pasta. I especially like it when it is small enough that I can simply scoop spoonfuls into my mouth. Gosh, I hope that doesn't sound gross. But it is quite satisfying. Which is why I love creating salads that fit that agenda. As with my Orzo Salad, this Israeli Couscous dish has that same mouthfeel. Flavor in every bite filled with the comfort of a pasta. Small enough that it's easy to spoon, swallow and spoon again. Oh, yeah, don't forget to chew.
I created this dish for a Ladies' Lunch for my Mom and the women's group at her condo. They were gracious enough to allow me to cater the lunch for them, and I had a blast doing it. I will post more about the entire meal but for now, let's focus on spooning some of this salad for your next lunch, dinner side dish or BBQ party. When I came up with idea it was to satisfy what I thought the women would enjoy as well as a dish that would be easy to make given all the other items I was making. What I didn't even realize at the time was that this Israeli Couscous, aka Pearl Couscous, plays off the same idea as my Garlic Rice with Sautéd Zucchini & Tomatoes. I found that recipe as I was writing this one so I could share other zucchini ideas. And there it was, along with several others.
Apparently, there are a million ways to serve up zucchini. So here's a quick reminder of a few I have experimented with and achieved success. Try them out while the weather is zucchini friendly.
Zucchini Crudo with Shaved Parmigiano & Mint Oil
Zucchini Orzo Pie
Zucchini Carpaccio
Balsamic Bathed Carrots Wrapped with Zucchini
An Asian Twist to Zucchini Ribbons
Now back to the main attraction. This is one of those dishes that you can literally being cooking, cutting, sautéing all at the same time. A multitasking wonder. So I have written the instructions in a way to be most efficient.
Ingredients
1.5 cups Israeli Couscous
1 large zucchini, cubed
1-2 small yellow squash, cubed
1 medium shallot, diced
1 pint grape tomatoes, oven roasted
4-5 whole garlic cloves
2-3 T basil, chiffonade
1 c olive Oil
1 t coarse salt
1/2 t pepper
*Note: You can alter the couscous to veg ratio if you like more of one. Totally up to you.

Slice the squashes lengthwise first. Then strips, then cubes.
Instructions
1. Roast the grape tomatoes in 1/2 c olive oil with whole cloves of garlic. Refer to the oil roasted recipe in my post The Great Tomato Caper.

2. While the tomatoes roast, cut the zucchini, yellow squash and shallots and sauté them separately in oil. Season with salt and pepper, adding half the shallots to each batch, once they are partially cooked. You don't want to add the shallots first as they will burn.

Nice little cubes all the same size so you get a piece in every spoonful.

Zucchini cubed up
3. While the squashes are sautéing, cook the Israeli Couscous as you would any type of pasta, in a large pot of salted boiling water.* Cook until al dente. Drain and set aside in a serving bowl, drizzle with a little olive oil so it doesn't stick and let cool.
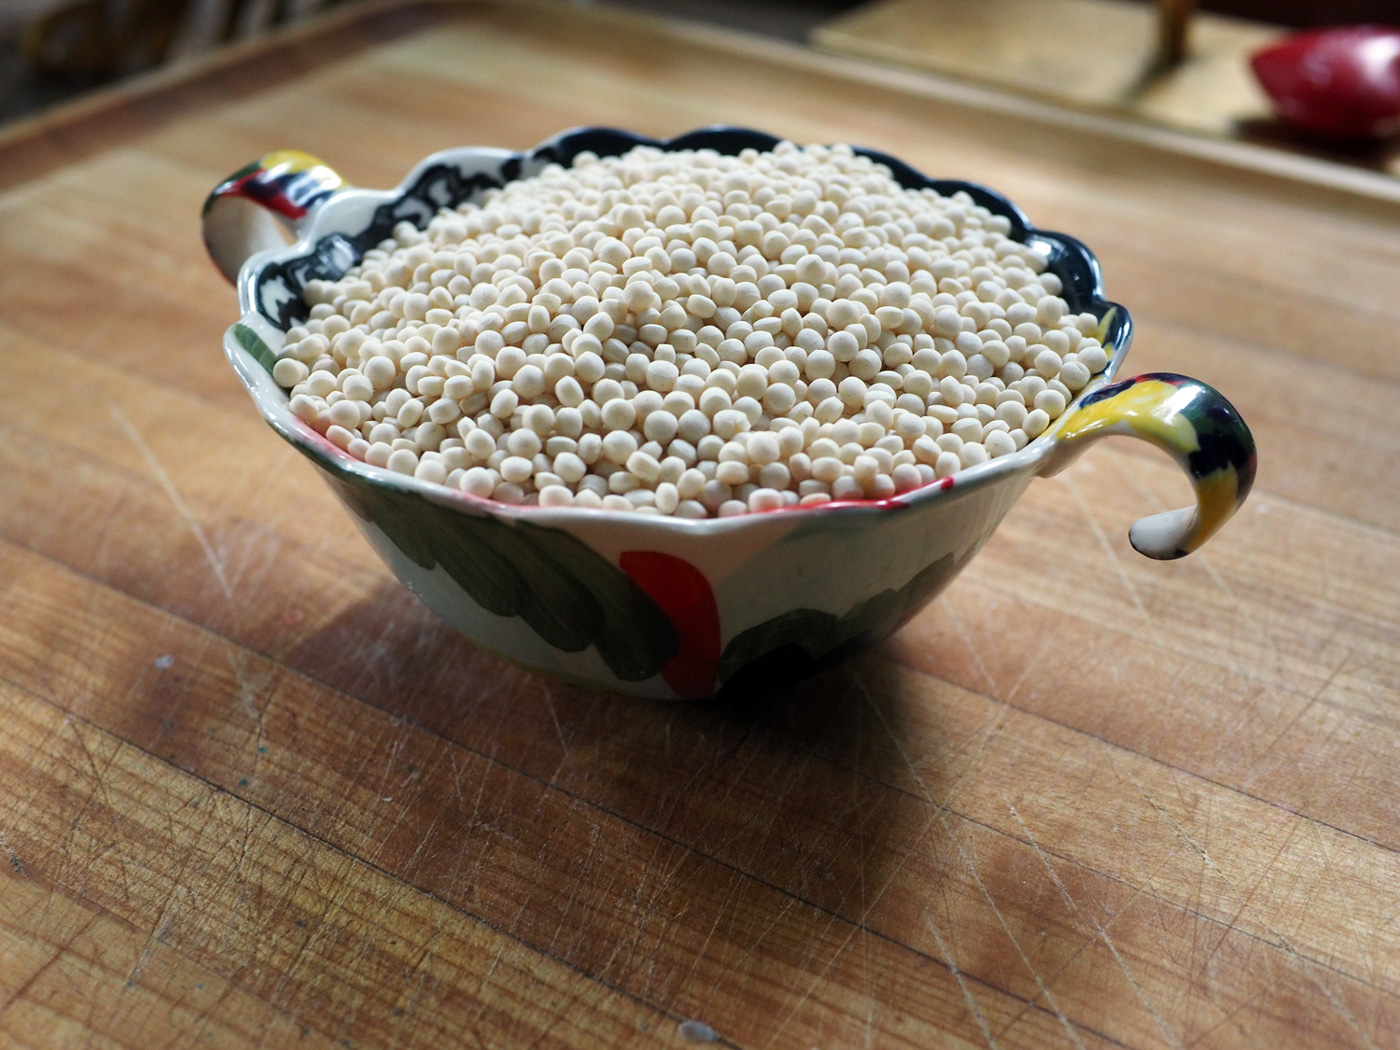
Gorgeous pearls of pasta
4. Once the tomatoes are done, remove the garlic from their skins and mash them with a fork and course salt. Add 1/4 c olive oil, pepper to taste and whisk together.

Grapes tomatoes oven roasted in luscious oil with roasted garlic.

Sweet and tender garlic.

Smash to create a paste.
5. It is best to mix the roasted garlic oil into the couscous while it is still warm so the flavors absorb, but you can mix it at room temperature, too. Be sure to thoroughly incorporate.
6. Chiffonade the basil (cutting them in strips) and add to the couscous.
7. Then add some of the juices from the roasted tomatoes, the tomatoes and sautéed squashed. Gently mix until combined. Serve room temperature.

A bowl of goodness that is pure pleasure to eat spoonful after spoonful.
This is one of those dishes that is both hearty but light at the same time. The couscous is a pasta so it does do the job of satisfyingly fill you up, but the lightness of the veggies make it feel summertime fresh, especially served room temperature or even chilled.

I made this out of love.
Love of pasta.
Love for my Mom.
Love to share with others.