Have you ever had a dessert that was so yummy it formed a mental flavor print in your mind? So much so that when someone even mentions it your taste buds start screaming? I have witnessed this effect whenever my mom has suggested that she make her cream cheese cake. Which really isn't a cake at all, but a pie. Yet calling it a cheese pie just sounds weird. Whatever the name, this dessert is like Kryptonite for some people. Just push it near them and they begin to quiver. Place a slice in front of them and they turn to mush.
Over the past several decades my mom has gained legions of fans as she baked this simple, delightful dessert for a variety of different occasions. Always being a staple on her Thanksgiving dessert menu. So with that calorie laden holiday steaming down the highway, I wanted to share this super... and I mean super easy recipe with you. Mind you, I have no idea where from where this recipe emerged. I only know that she and my family have been making it for quite some time. It's now one of those desserts that my friends ask if my mom or I will be making. A while back, a friend who has a catering company enjoyed a slice at one of my parties. Upon tasting it, she hired me to make this dessert among some of my other baked goods for her one of her clients.
This 'pie' isn't that light fluffy cheese interior of a cake, but instead offers up a rich dense filling topped with a sour cream glaze. It's creamy and velvety, and you are gonna want a second pie. So maybe double the recipe below. One for your guests, and keep one for yourself!

So simple. It has but a few ingredients
Ingredients
For the pie filling:
12 oz. cream cheese
2 eggs, large
3/4 c sugar
1/2 t vanilla
9" Graham cracker crust
(Make your own or buy a pre-made version)
For the topping:
1 cup sour cream **
1 T sugar
1/2 t vanilla
**The original recipe calls for 8 oz sour cream which will give you a thin layer atop the pie. If you like the tangy flavor, then use the 1 pint version. It will give you a layer as thick as the layer of cheese.
Instructions
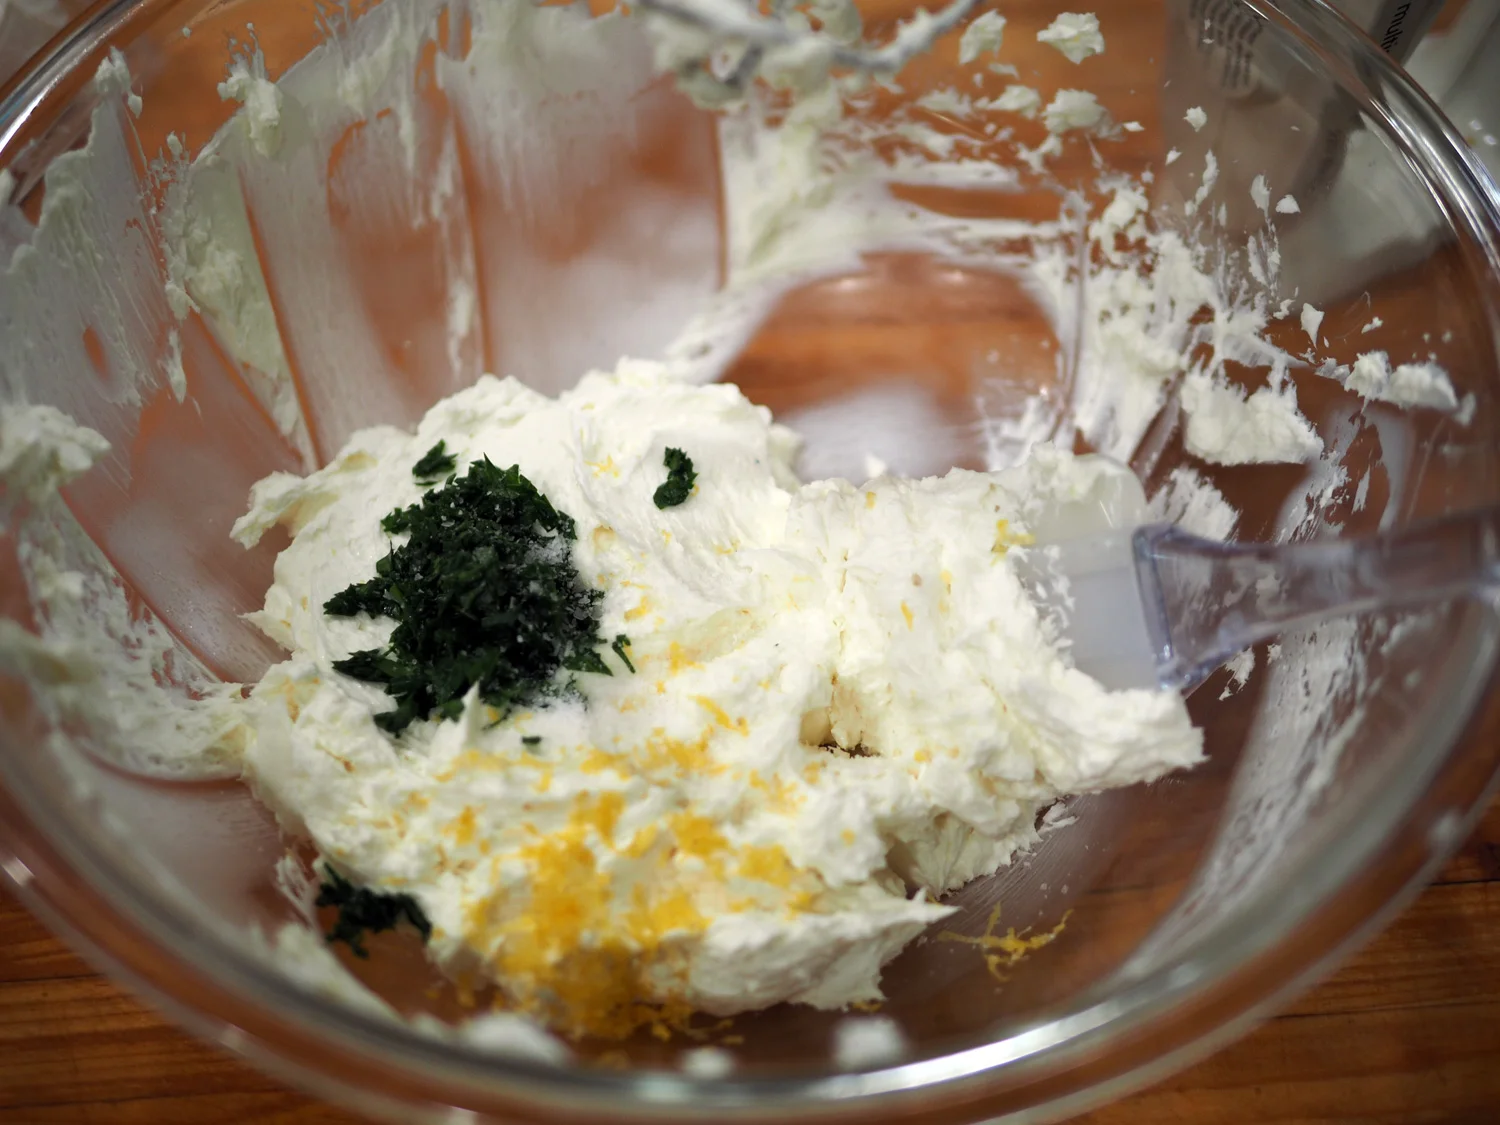
In a food processor, or with a hand mixer, beat together the cream cheese, eggs, sugar, vanilla until smooth and all combined. (Note: It helps if the cream cheese is room temperature.)

2. Fill the graham cracker crust with the cream cheese filling and smooth out to create an even surface. Bake at 350 degrees for 35-40 minutes or until the center is fully cooked. Check by piercing the center with a toothpick. If it comes out clean, the pie is done.

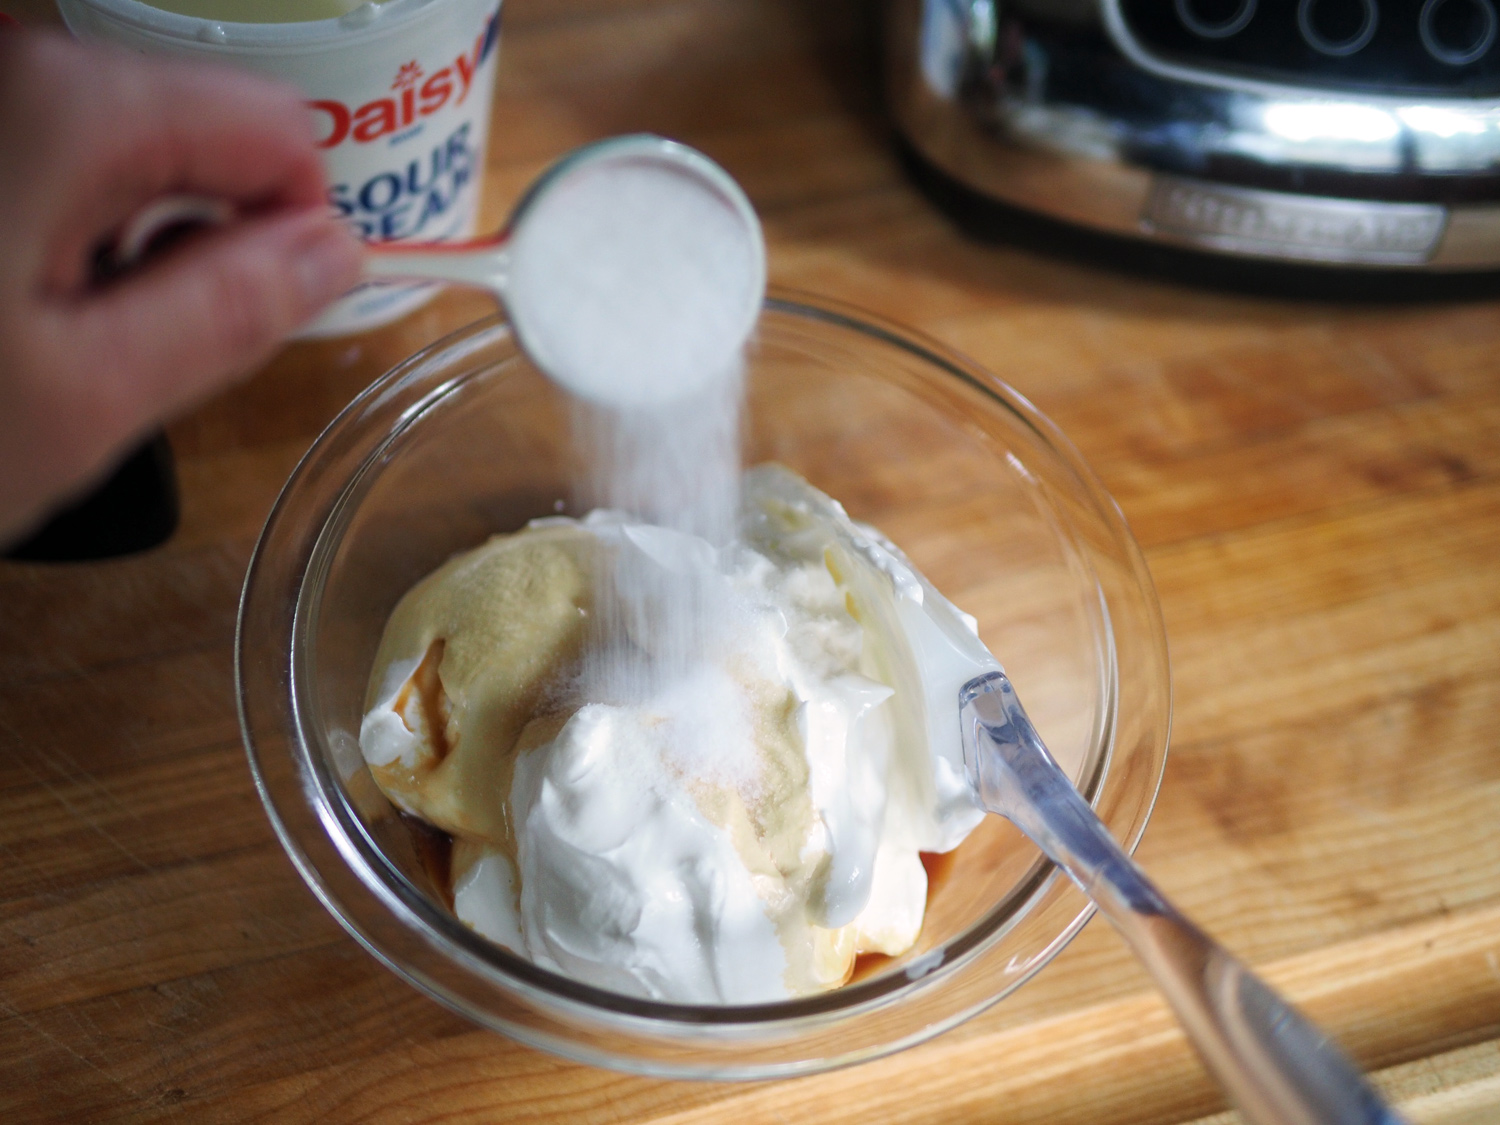
3. While the pie is baking, combine the topping ingredients together and stir until well incorporated.
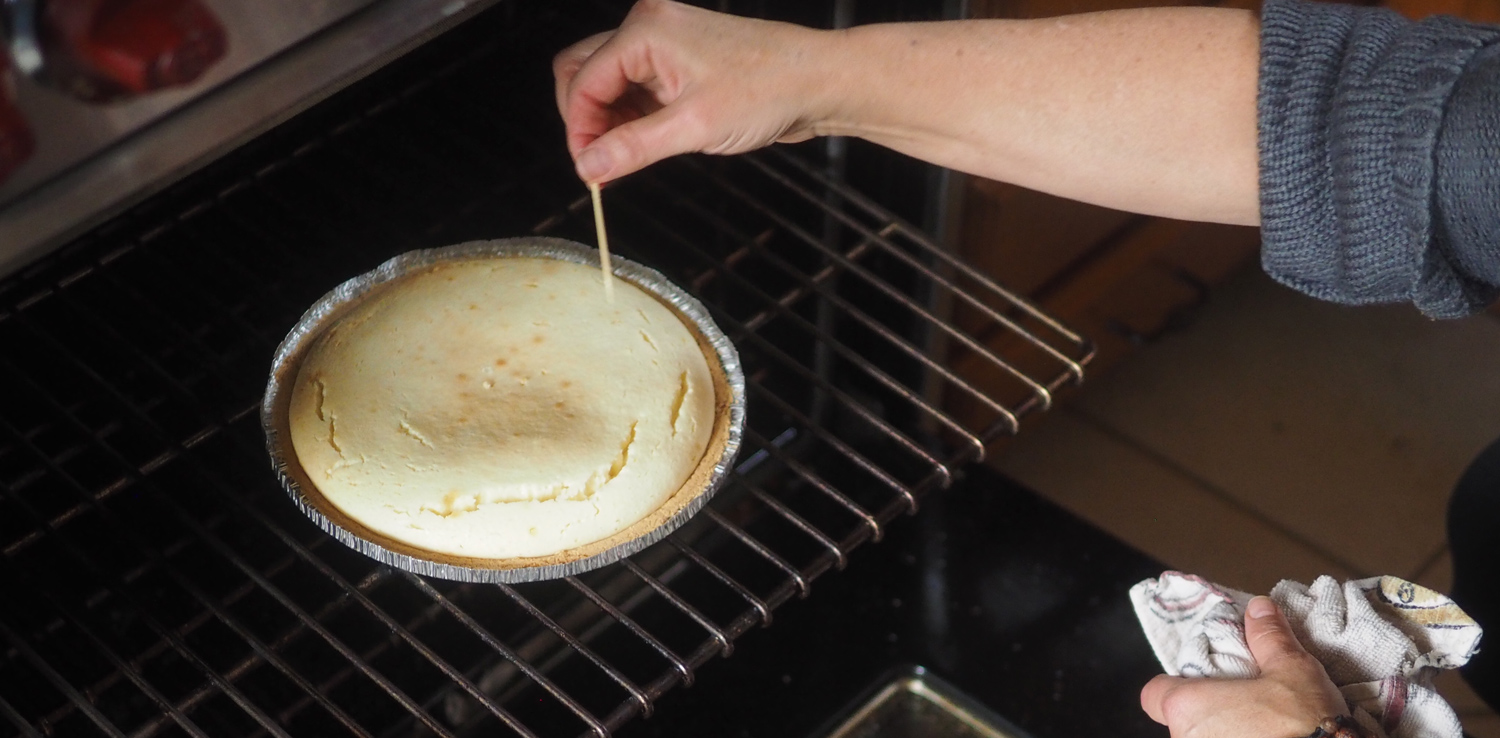
Check your pie doneness by piercing the middle with a toothpick. When it comes out clean, it's ready for the topping. Photo credit: Rob Perri
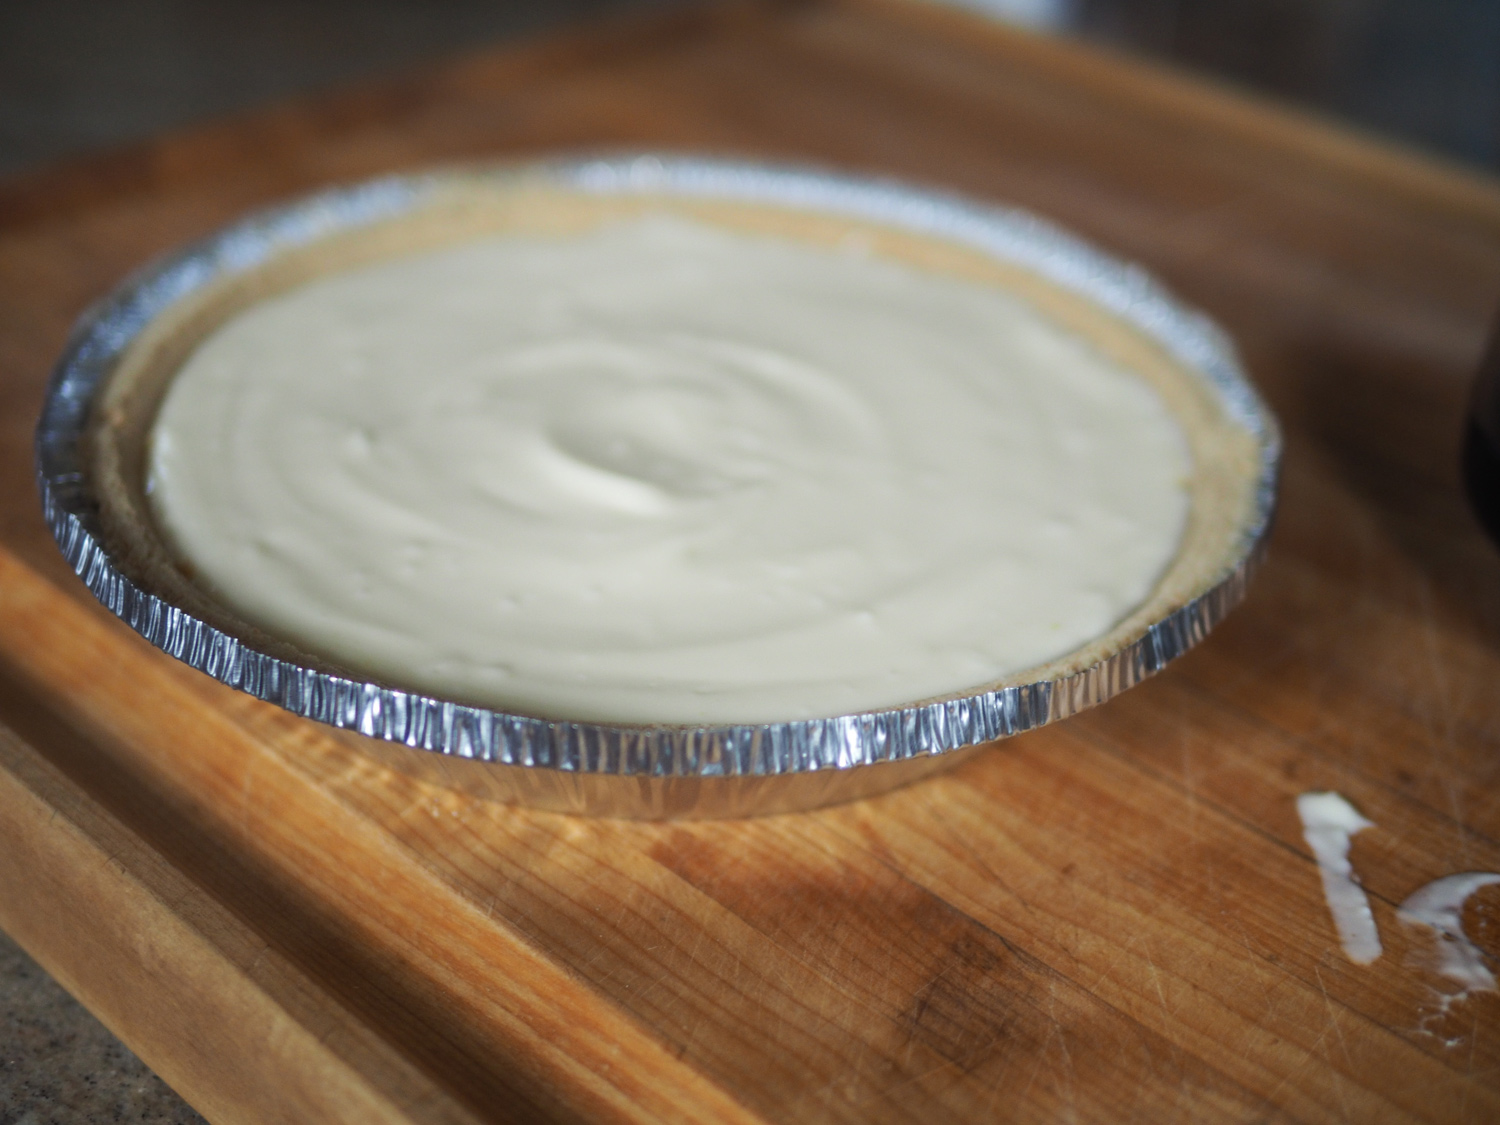
4. Once the pie is done, let cool slightly then pour the topping onto the pie. Using an offset spatula or even flat butter knife, spread and smooth the sour cream topping over the entire top, completely covering the cream cheese filling.

That's a whole lotta LOVE right there by way of falling fluffy goodness. Photo credit: Rob Perri

Photo credit: Rob Perri
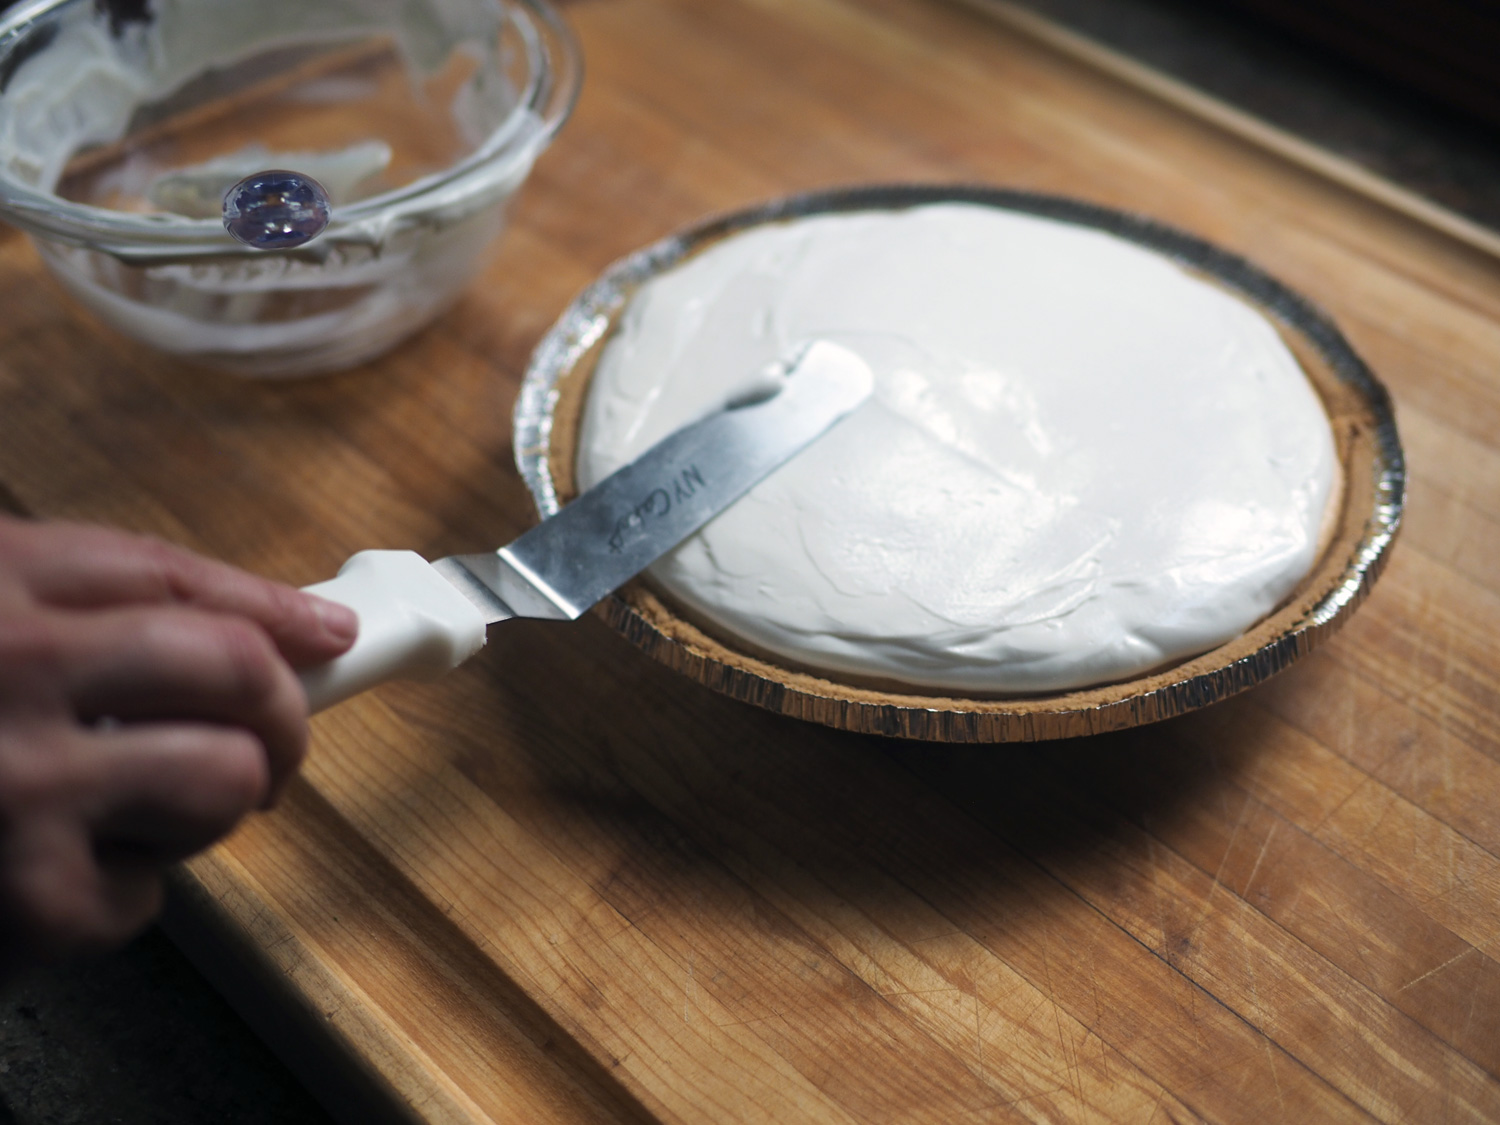
Photo credit: Rob Perri
5. Then place the pie back in the oven for another 5-7 minutes, just until the topping sets. Remove and let cool.
This pie has crunch, tart, sweet and tang. How many dessert can deliver on all that? Even though I've shown a lot of photos, this pie is but a few easy steps. Mix, fill, bake. Top, bake, eat!
So, if you are hosting, adding this dessert to your menu will not add stress in the least. (And it can be made well in advance.) And if you are a guest, volunteer to bring dessert. You will definitely be invited back and requested to bring this decadent cheese cake again. I mean pie!
Happy Sweet Tooth.

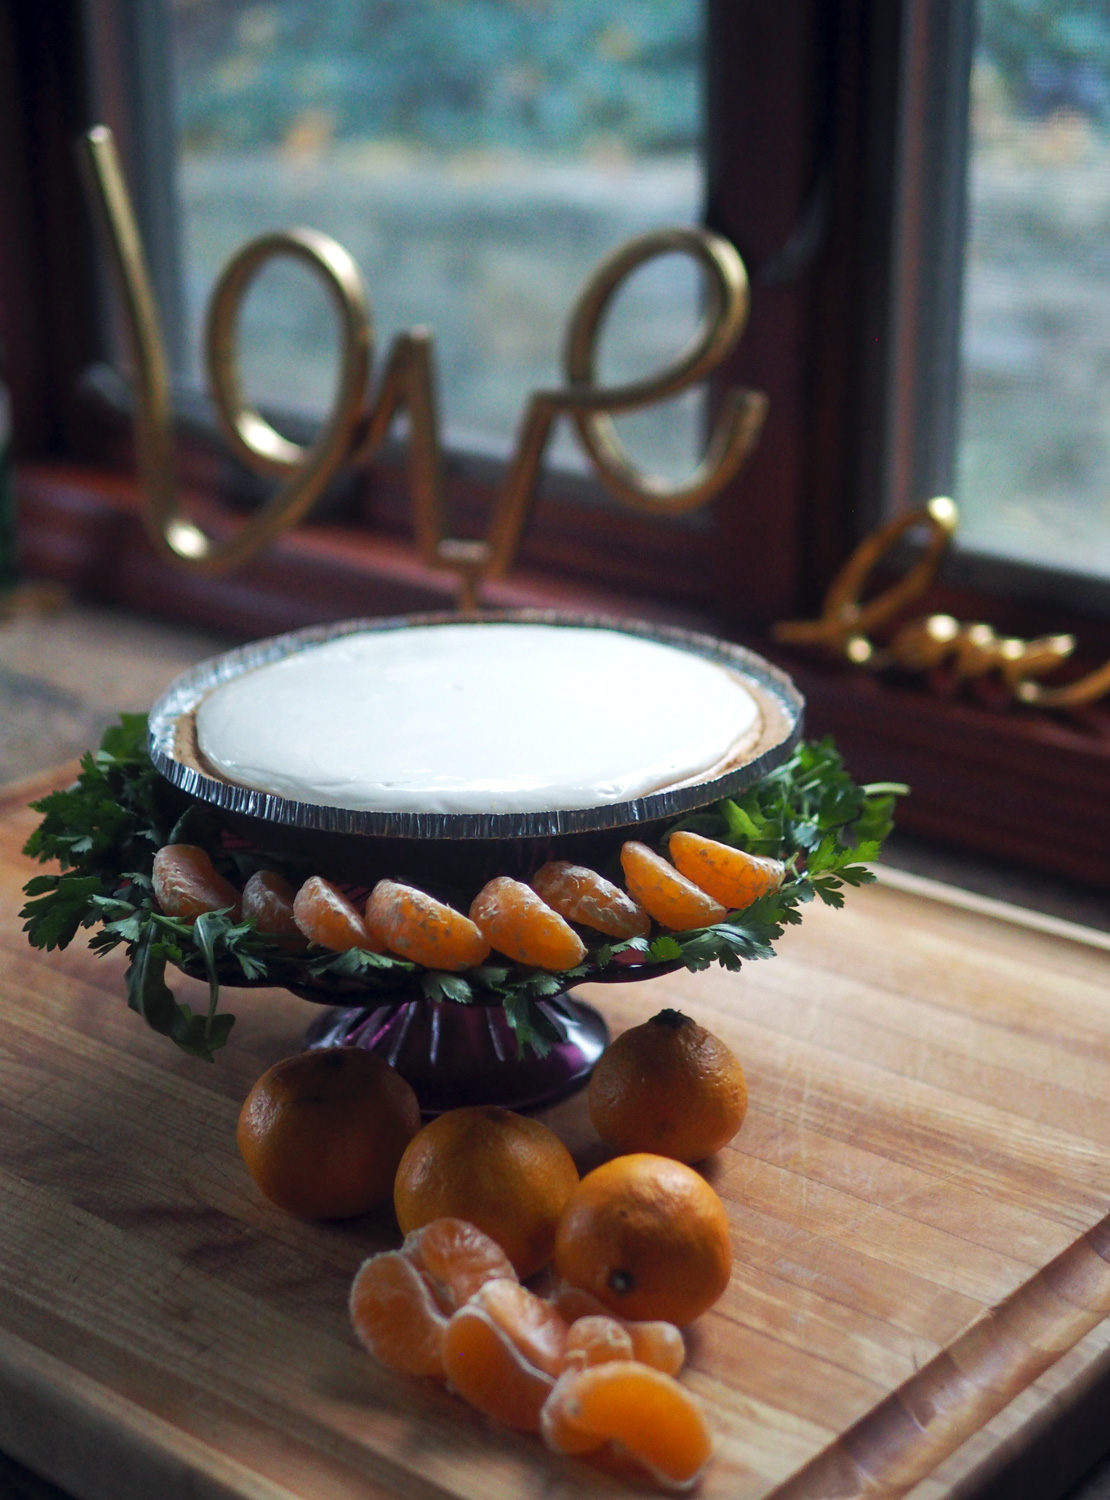
Since I used a store bought pie shell in a tin I felt the final presentation needed a little fancy schmancy. Using some parsley greens and tangerines tucked around a cake stand upped the 'pretty factor', giving it that holiday theme color pop. Please don't stress out thinking you need to fancy up this dessert. If it's not your thing, just slice it up. That said, go ahead and try copying my idea and build your confidence with styling. There's nothing wrong with imitation. Or find your own way to stylize your final presentation.