Israeli Couscous with Sautéd Squash, Roasted Tomatoes & Garlic

couscous.final.jpg

I like comfort food.  Which usually means a mouthful of pasta.  I especially like it when it is small enough that I can simply scoop spoonfuls into my mouth.  Gosh, I hope that doesn't sound gross. But it is quite satisfying.  Which is why I love creating salads that fit that agenda.  As with my Orzo Salad, this Israeli Couscous dish has that same mouthfeel.  Flavor in every bite filled with the comfort of a pasta.  Small enough that it's easy to spoon, swallow and spoon again.  Oh, yeah, don't forget to chew.

I created this dish for a Ladies' Lunch for my Mom and the women's group at her condo.  They were gracious enough to allow me to cater the lunch for them, and I had a blast doing it.  I will post more about the entire meal but for now, let's focus on spooning some of this salad for your next lunch, dinner side dish or BBQ party.  When I came up with idea it was to satisfy what I thought the women would enjoy as well as a dish that would be easy to make given all the other items I was making.  What I didn't even realize at the time was that this Israeli Couscous, aka Pearl Couscous, plays off the same idea as my Garlic Rice with Sautéd Zucchini & Tomatoes.  I found that recipe as I was writing this one so I could share other zucchini ideas. And there it was, along with several others.

Apparently, there are a million ways to serve up zucchini.  So here's a quick reminder of a few I have experimented with and achieved success.  Try them out while the weather is zucchini friendly.
Zucchini Crudo with Shaved Parmigiano & Mint Oil
Zucchini Orzo Pie
Zucchini Carpaccio
Balsamic Bathed Carrots Wrapped with Zucchini
An Asian Twist to Zucchini Ribbons

Now back to the main attraction. This is one of those dishes that you can literally being cooking, cutting, sautéing all at the same time.  A multitasking wonder. So I have written the instructions in a way to be most efficient. 

Ingredients

1.5 cups Israeli Couscous
1 large zucchini, cubed
1-2 small yellow squash, cubed
1 medium shallot, diced
1 pint grape tomatoes, oven roasted
4-5 whole garlic cloves
2-3 T basil, chiffonade
1 c olive Oil
1 t coarse salt
1/2 t pepper
*Note: You can alter the couscous to veg ratio if you like more of one.  Totally up to you.

Slice the squashes lengthwise first. Then strips, then cubes.

Slice the squashes lengthwise first. Then strips, then cubes.


Instructions

1. Roast the grape tomatoes in 1/2 c olive oil with whole cloves of garlic.  Refer to the oil roasted recipe in my post The  Great Tomato Caper.

72AA45BA-C509-48F9-BCD7-D3C5AB9F889F.JPG


2.  While the tomatoes roast, cut the zucchini, yellow squash and shallots and sauté them separately in oil. Season with salt and pepper, adding half the shallots to each batch, once they are partially cooked.  You don't want to add the shallots first as they will burn.

Nice little cubes all the same size so you get a piece in every spoonful.

Nice little cubes all the same size so you get a piece in every spoonful.

Zucchini cubed up

Zucchini cubed up

3. While the squashes are sautéing, cook the Israeli Couscous as you would any type of pasta, in a large pot of salted boiling water.*  Cook until al dente.  Drain and set aside in a serving bowl, drizzle with a little olive oil so it doesn't stick and let cool.

Gorgeous pearls of pasta

Gorgeous pearls of pasta

4.  Once the tomatoes are done, remove the garlic from their skins and mash them with a fork and course salt.  Add 1/4 c olive oil, pepper to taste and whisk together.

Grapes tomatoes oven roasted in luscious oil with roasted garlic.

Grapes tomatoes oven roasted in luscious oil with roasted garlic.

Sweet and tender garlic.

Sweet and tender garlic.

Smash to create a paste.

Smash to create a paste.

5. It is best to mix the roasted garlic oil into the couscous while it is still warm so the flavors absorb, but you can mix it at room temperature, too. Be sure to thoroughly incorporate.
6. Chiffonade the basil (cutting them in strips) and add to the couscous.
7. Then add some of the juices from the roasted tomatoes, the tomatoes and sautéed squashed. Gently mix until combined.  Serve room temperature.

A bowl of goodness that is pure pleasure to eat spoonful after spoonful.

A bowl of goodness that is pure pleasure to eat spoonful after spoonful.

This is one of those dishes that is both hearty but light at the same time.  The couscous is a pasta so it does do the job of satisfyingly fill you up, but the lightness of the veggies make it feel summertime fresh, especially served room temperature or even chilled.  

couscous.final2.jpg

I made this out of love.
Love of pasta.
Love for my Mom.
Love to share with others.


Print Friendly Recipe


Screaming Shrimp Cooled by Creamy Avocado & Tomato

shrimp.final.plate3.jpg

Shrimp; sure their name might denote that they are small in size, but they are big in versatility.  As Bubba so notably recited, "Shrimp is the fruit of the sea. You can barbecue it, boil it, broil it, bake it, sauté it. There’s shrimp-kabobs, shrimp creole, shrimp gumbo. Pan fried, deep fried, stir-fried. There’s pineapple shrimp, lemon shrimp, coconut shrimp, pepper shrimp, shrimp soup, shrimp stew, shrimp salad, shrimp and potatoes, shrimp burger, shrimp sandwich. That, that’s about it.”  Well, that's where I disagree with Bubba. There are a thousand ways to prepare a shrimp.  Which makes them a perfect non meat dish to serve for a dinner party or crowd. Plus most people love shrimp. (Minus those poor souls with that horrible allergic reaction in the form of swelling, non breathing and other awful symptoms. So sorry for that group.)  

Shrimp, in any form, on a big platter equals party pleaser.  I have found this out the hard way.  Early on in our entertaining days, since I'm a pescatarian, we would make shrimp for me when meat was the main course.  But soon found out that everyone else loved them so much that they would eat up the small amount we made.  We realized that we often didn't make enough for everyone to partake.  Rookie move...that we remedied that quite quickly.  Now, if shrimp is on the menu, it's in quantities that can feed the entire crowd, not just selfish me.

If we get larger size shrimp (does that mean they aren't really shrimp?) then we often leave the shells on. It exudes a ton of flavor.  Marinate and cook them fully cloaked so that all that flavor from the shell cooks into the shrimp meat.   Then suck on the shell before peeling it off.  Don't groan and tell me that's gross.  It's delicious.  For this recipe you can peel the shell first or leave it on.  Your choice.  Either way this dish is about the play off the heat of the spicy shrimp cooled by the creaminess of the avocado and fresh cool tomato that makes it so satisfying.  I like this dish for a summer outdoor party or a late Saturday afternoon lunch. 

The setup.

The setup.

Ingredients

1.5 lb. large shrimp
2 avocados, cut into chunks
scrapings of avocado from the skin
2-3 medium (heirloom) tomatoes, thick slices
3-4 large garlic cloves, crushed
2-3 T jalapeño pepper, finely minced*
1/2 - 1 T Chili oil, or 1-2 t crushed red pepper flakes* 
1.5 -2 T ginger, grated*
1.5 T cilantro, chopped
1/2 c red onion, sliced
1 t salt
1/3 c olive oil
1/2 c white wine to deglaze pan
2 c basmati rice
1/4 c scallions, sliced
1/3 c cilantro
1 lemon, quartered
* These ingredients bring the heat. Adjust the amount according to how hot you like your food.

Dressing

avocado scrapings from the inside of the shell
2 T fresh lemon juice
salt, pepper
1/2 c Olive oil
Whisk together all above ingredients
1 T cilantro, minced for garnish
1 T scallions, sliced for garnish


Instructions

In a bowl, combine garlic, jalapeño, chili oil, cilantro, ginger, scallions, red onion, salt and oil.  Mix together with shrimp ensuring all are coated.  Place in the refrigerator for at least 1/2 hour to marinate.  

Make it sing with spice!

Make it sing with spice!

Combine it all in non reactive bowl. I like glass

Combine it all in non reactive bowl. I like glass

Let those shrimps get cozy with heat.

Let those shrimps get cozy with heat.

While the shrimp are marinating, cook the rice.  I use 1.5 times water to rice ratio, bringing the water to a boil then adding rice.  I add a touch of salt to the water, cover and lower the heat to a simmer.   Let it cook around 15-18 minutes until light and fluffy.

Nothing better than fluffy rice. It's begging for some accents, like scallions and cilantro.

Nothing better than fluffy rice. It's begging for some accents, like scallions and cilantro.

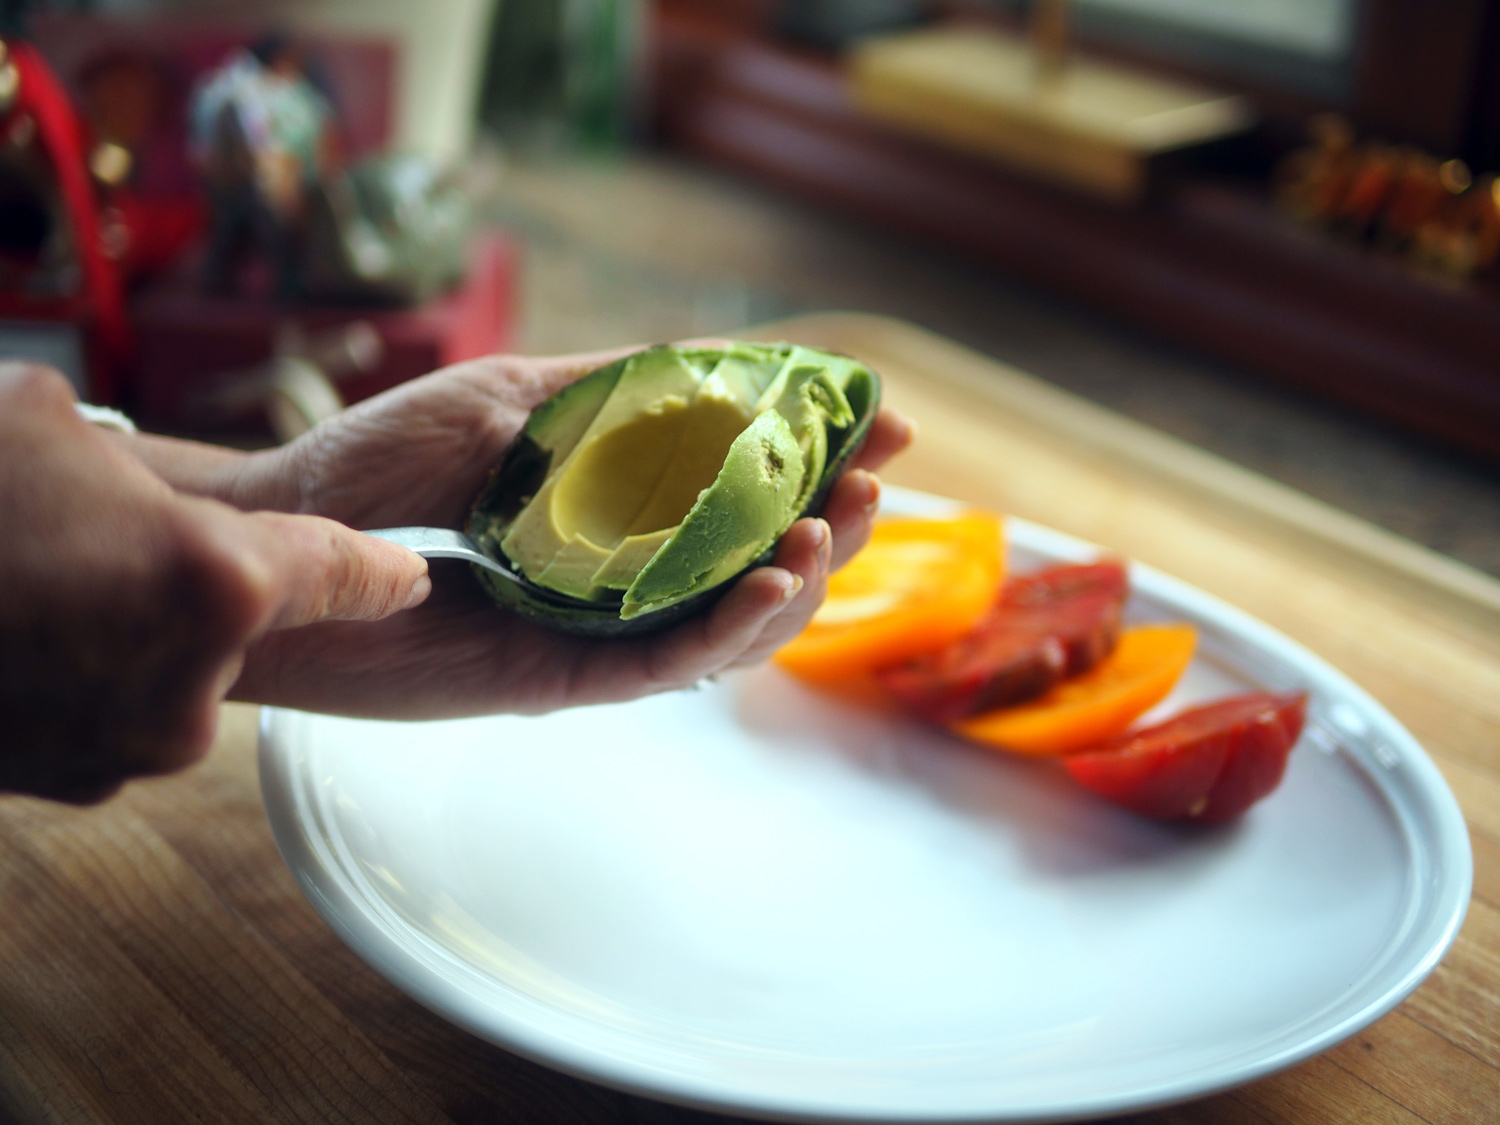
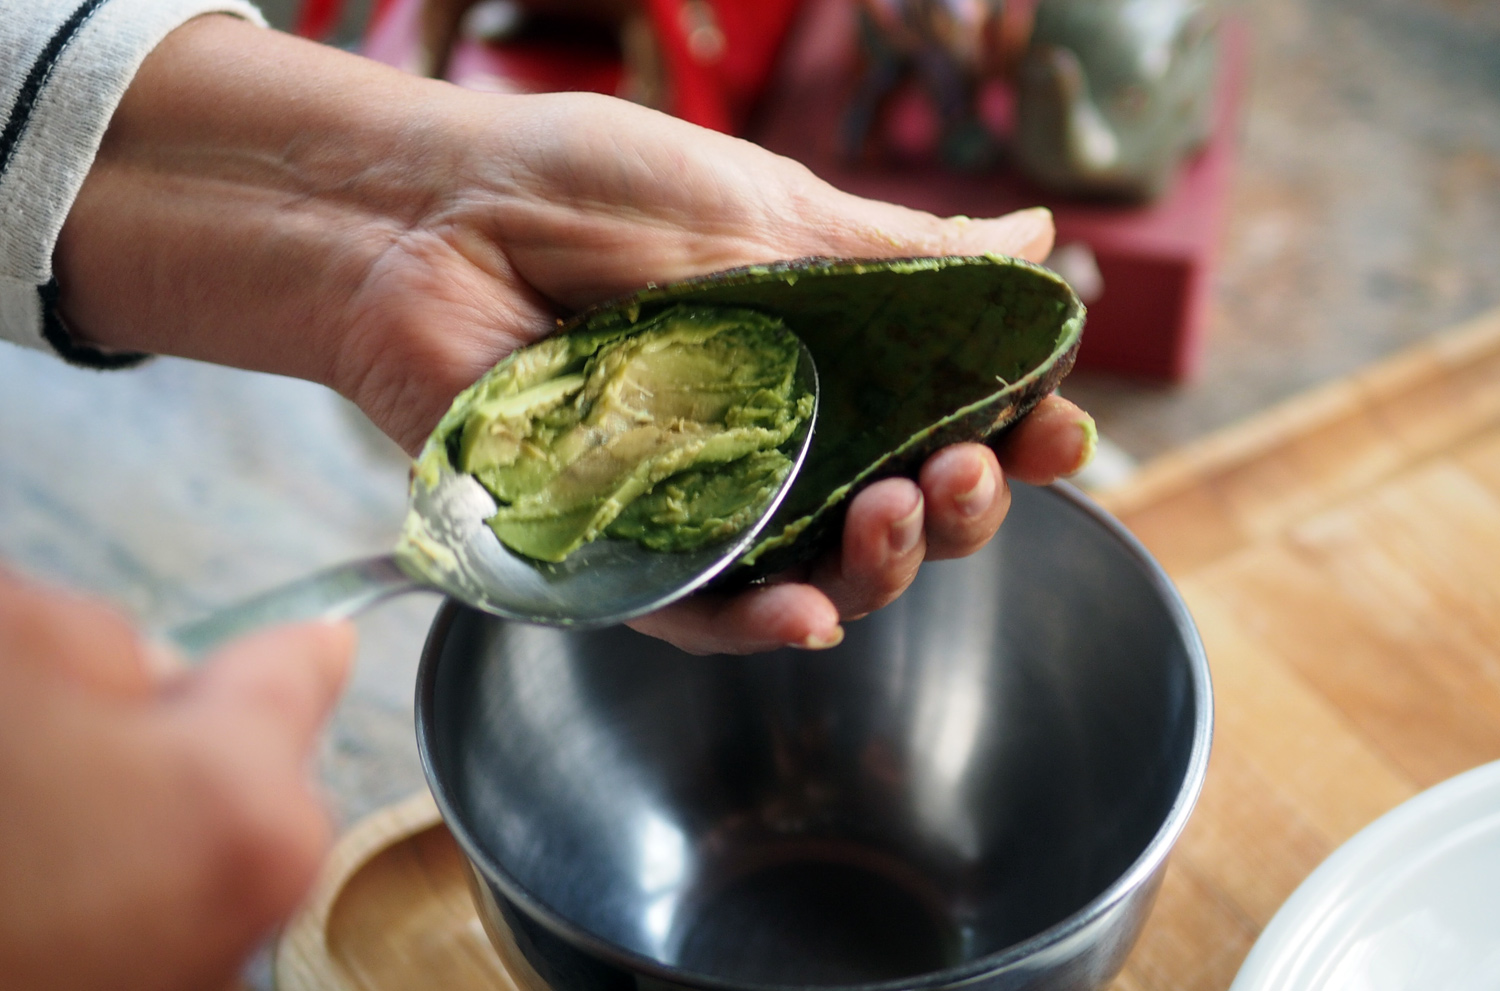
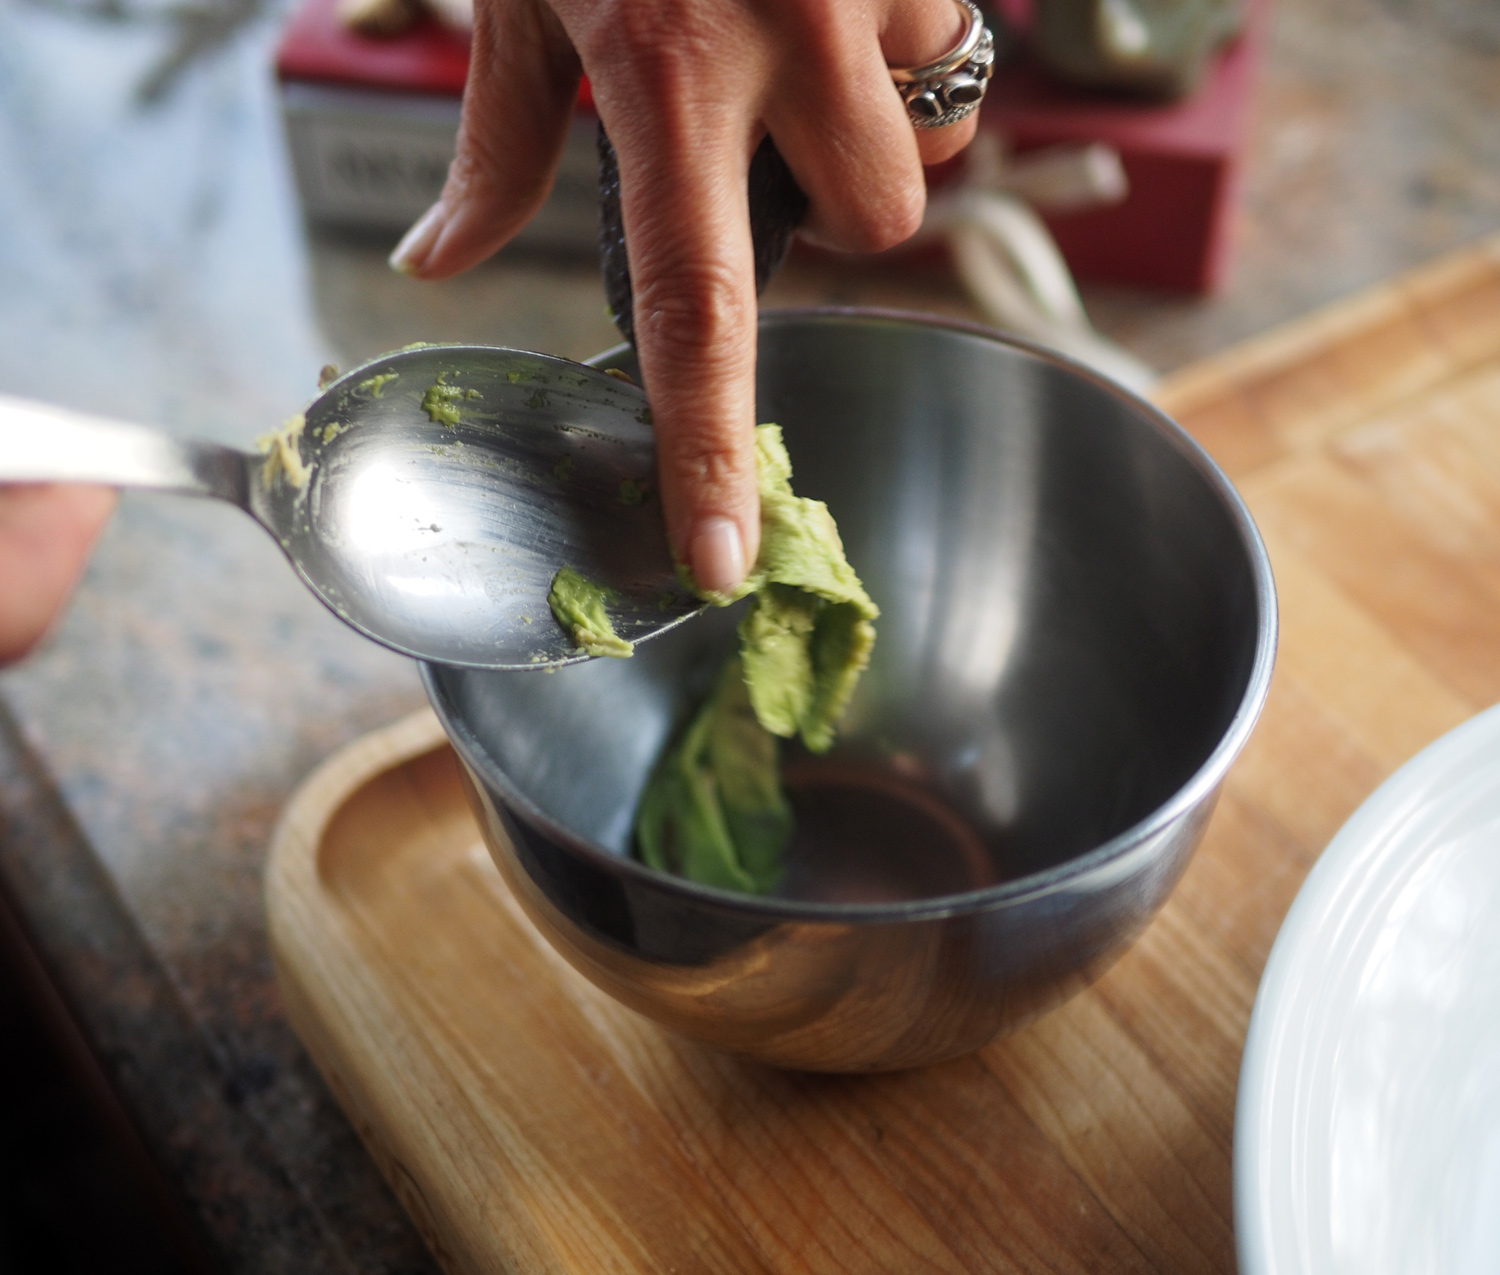
Cut the tomatoes and avocado and assemble your plates so that you only have to add the shrimp and serve.  Make the dressing by scraping out the odds and ends from the avocado shell.  Add them to all the dressing ingredients an whisk together, and set aside. 

avocado.cut.jpg
avocado.jpg
avocado.scrapings.jpg

You can create a family style platter. Or you can individually plate them using the avocado shells to hold the rice.   

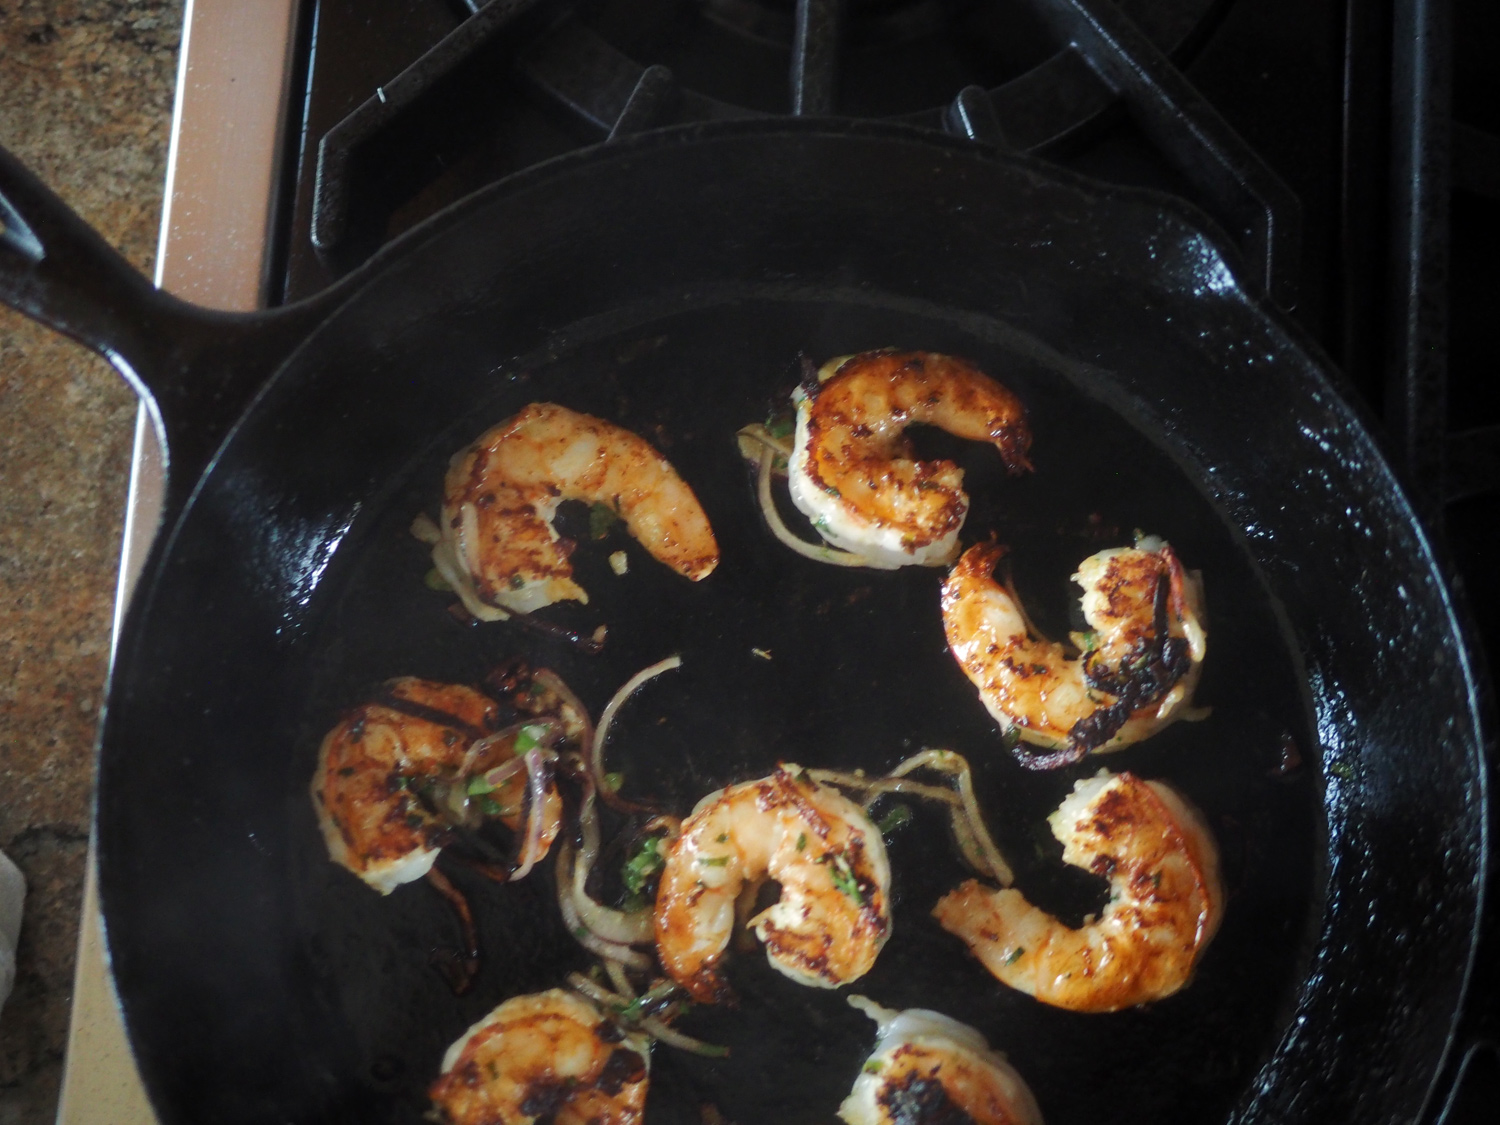
Then sauté the shrimp in a cast iron pan over medium high heat.  You want to get a nice sear on both sides. Shrimp do not take but 2-3  minutes to cook.  Keep in mind that they will continue to cook once removed from the heat. 

Get some good color and crust on them. Yum!

Get some good color and crust on them. Yum!

While the shrimp are cooking, toss the scallions and cilantro into the rice.  You can plate it by using the avocado shells, or simply plate alongside the tomato and avocado. Be creative, and make a pretty plate.

Fill the shell as a rice holder.

Fill the shell as a rice holder.

Or just lay the rice up against the tomatoes.

Or just lay the rice up against the tomatoes.

After all the shrimp are cooked, sauté the marinade in the pan, then add a splash of white wine. 

wine.jpg
sauce.jpg

Pour over the shrimp and place them on the platter, garnishing with the lemon pieces.  Drizzle the avocado dressing over the tomatoes and avocado. You can sprinkle more cilantro over the shrimp with a squeeze of lemon, too. Serve immediately. 

dressing.pour2.jpg

I love all the textures of this dish.  Fluffy, soft rice. Crisp, sweet but spicy shrimp. Creamy Avocado and Cool, sweet tomatoes.  What's not to love?  Let your shrimp scream.

Zucchini Carpaccio

final-plate.jpg

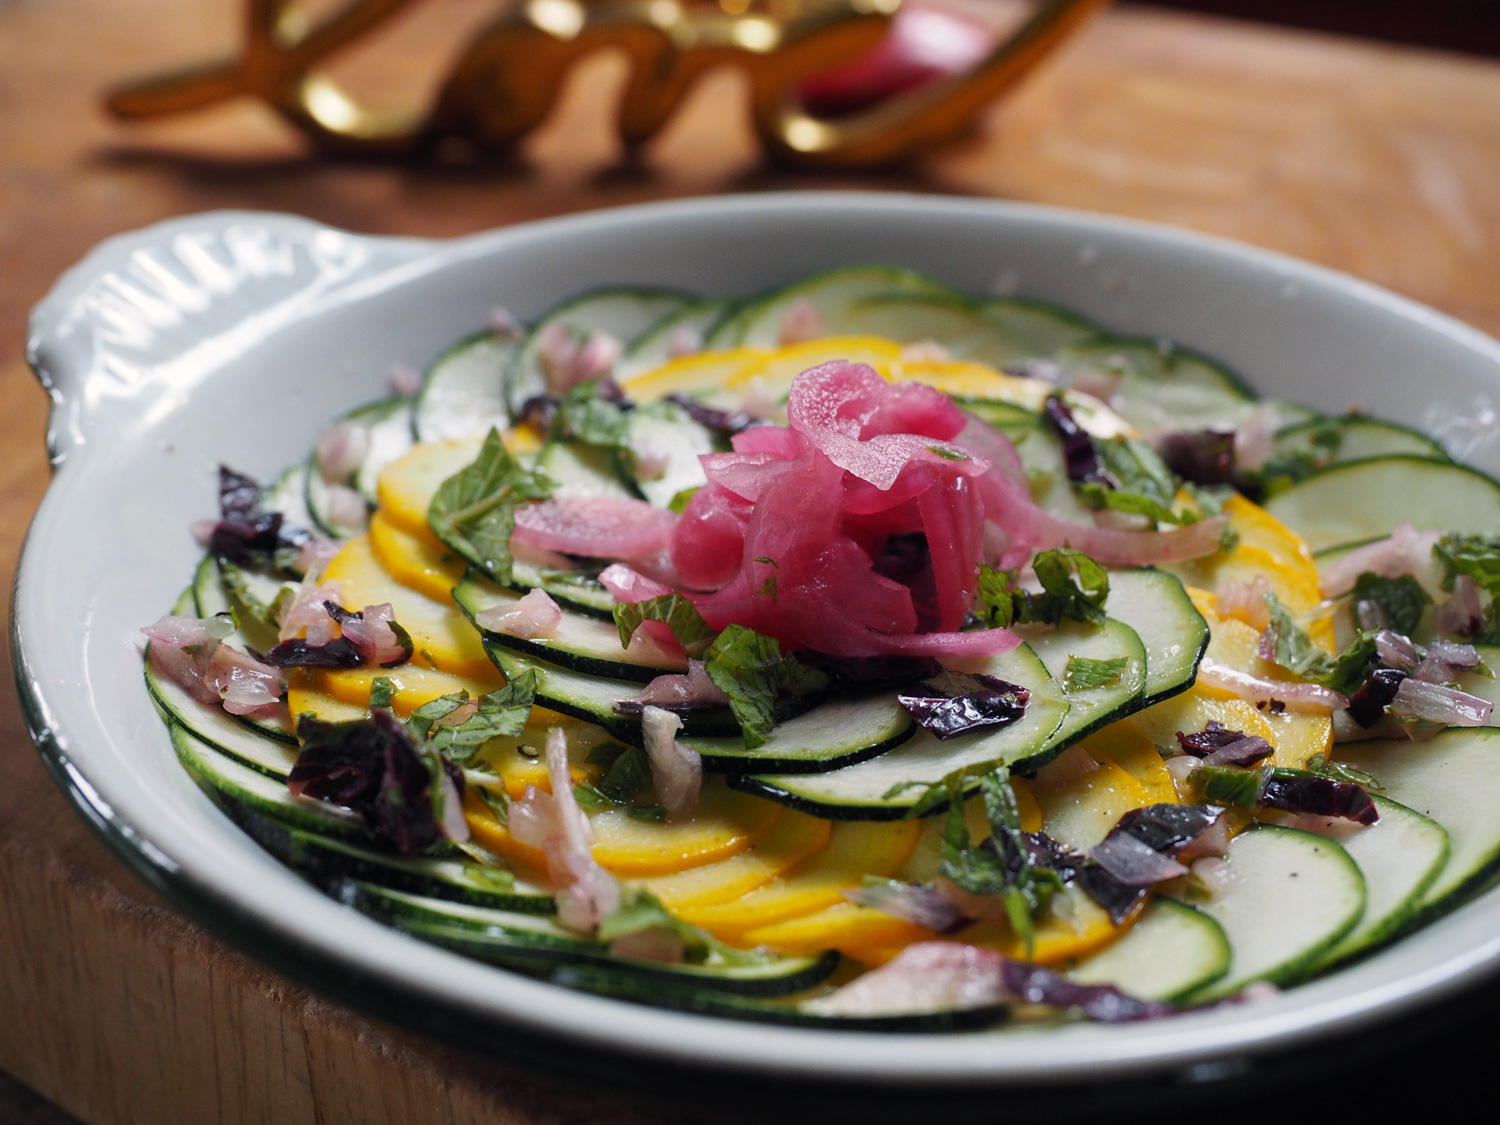
Carpaccio refers to raw, thin slices.  Most people typically use this method for beef or fish. But why limit its focus.  The technique can be applied to any food really.  That's when I elected to employ its useful style to zucchini; both green and yellow. 

Once upon a time on a warm summer's day in the country, I had zucchini. AGAIN.
Another dilemma of what to do with this ubiquitous kinda bland veg. And so, the idea of creating a dish that would be fresh and cool given the heat of the day sparked the idea for carpaccio.  Slice it thin.  No need to cook it.  Add a zingy sauce and call it day.  

That is how this dish came to be. Out of sheer not wanting to turn on the stove or oven or eat anything hot.   I don't need to bore you with any more adjectives, adverbs or other fancy descriptions.  This is a simple once upon a time story, with a happy ending.  Now, down to the 'how to'.

Ingredients

1  zucchini, thinly sliced approx. 2 c
2 small yellow squash, thinly sliced approx. 2 c
1 small red onion, thinly sliced
1/2 c red wine vinegar
1/4 c white wine vinegar
salt


Dressing
1-2 T honey (depending on your taste)
1/3 c fresh lime juice
1/3 c fresh lemon juice
1 T rice wine vinegar
1/4 shallots. minced
1.5 T mint, finely chopped
1.5 T basil, chopped
1+ tsp salt / 1/4 t pepper to taste

Instructions

1. First things first.  Thinly slice the red onions so they have time to pickle. I use a mandolin for this so I can cut them quickly, evenly and thinly. Next, combine the red and white vinegar with salt and submerge the onions.  Cover with plastic wrap and refrigerate while you prepare the zucchini and dressing.

sliced.onions2.jpg

2. Thinly slice both the zucchini and yellow squash using a mandolin.  Unless you have a sushi master skill of using a knife, the only real way to get these thin enough, and consistent, is to use a mandolin.  Sorry, sometimes it's just that way. I like to make sure that I am slicing them so they are round, not oval.  I just groove off the overall visual look. But go ahead and slice as you like, just as long as they are thin. Then begin to layer them.  Again, I like order and visual appeal. So my aesthetic is one color for each row in a circular fashion.  I overlap slightly as I go to create a wheel of green and yellow swirls. But lay them down in whatever fashion suits your style.

Round and round we go. Layer anyway you like. I like circles.

Round and round we go. Layer anyway you like. I like circles.

It looks neat and visually appealing... and mesmerizing.

It looks neat and visually appealing... and mesmerizing.

zucchini.slice.cu.jpg

3. Once that is done, make the marinade/dressing.  Combine the lemon and lime juices, vinegar with honey, shallots, mint and basil.  Salt and pepper to taste.  Pour over the entire dish and allow the dressing to settle in for 15 minutes to 1/2 hour to absorb and "cook" the zucchini.  Drain and add the pickled onion in the center.

The first couple of times I made this dish I used regular basil. This time around I had purple basil, so that's what I used.

The first couple of times I made this dish I used regular basil. This time around I had purple basil, so that's what I used.

Sometimes I start my circles with yellow squash, then zucchini. Other times the versus. I know, I live dangerously.

Sometimes I start my circles with yellow squash, then zucchini. Other times the versus. I know, I live dangerously.

The purple basil adds another color pop.

The purple basil adds another color pop.

Warning, this dish is tart and tangy. (Use more honey to balance the flavor to your palate. I like it tangy.)
Perfect for the summer.
Perfect for BBQ meats.
Perfect solution to not sweating over a stove. 
Another zucchini dilemma solved. 
Another happy ending.

Espresso Ice Cream

I recently had the awesome opportunity to work as an intern in the prep kitchen for a James Beard Award winning restaurant group.  I know, pinch me, I’m a lucky woman.  I will definitely write more about that experience, and share some of the many pastry items I made, but first since it’s summer, let’s start with ice cream.  I made several ice creams during my 4 week residency.  Two of my absolute favorites were Popcorn Ice Cream. Yes, you read that correctly.  And Espresso Ice Cream.  Both were made using a traditional cream base then whisking in egg yolks, cooking them to temperature, then using an ice cream machine.  Velvety smooth result.

Since I don’t have one of those big hunky things in my home, I searched for easier ways to bring home the flavor, and make my hubby happy. He loves ice cream, and devoured both those flavors when I brought home samples.
In researching homemade methods, it seems that without using an ice cream machine, most recipes eliminate the yolks. Just as well.  No yolks. No stress. Without the eggs, the whole process is much easier, since tempering the eggs, then cooking them slowly is a lengthy and delicate process. In a split second you can end up with scrambled eggs. (Although, then you would have a complete breakfast - espresso right inside your scrambled eggs.) 
A no egg ice cream is just as yummy and 10 times easier.  I think we can all agree that making our lives simpler is a good thing. Believe me when I say, I am always looking for more efficient ways to do anything. (As a matter of fact, during my time in the kitchen there, I came up with a different ways to punch donuts. And they were gracious enough to let me reorganized the menu books.  Reorganized the utensil and gadget areas.  And were open to a suggestion on assembling the coconut cakes. I am an efficiency junky.)  So, let's get right to making this eye opening Espresso Ice Cream, shall we?  Just in time for the 4th of July weekend.

Ingredients

2.5 c whole milk
4 c heavy cream
1 c sugar
1 t vanilla
4 T instant espresso , diluted
pinch salt

But a few ingredients, and all mixed together. You can't get easier than that, my friends.

But a few ingredients, and all mixed together. You can't get easier than that, my friends.

Instructions

Mix all the ingredients in a mixer.  Whisk until combined. I diluted the espresso powder with a couple tablespoons of warm water. 

Pour in the cream and milk

Pour in the cream and milk

Sugar

Sugar

Espresso and vanilla.

Espresso and vanilla.

Whisk it all together. Seems silly to show you but I have a thing for telling a story with images.

Whisk it all together. Seems silly to show you but I have a thing for telling a story with images.

For the next step, there are a few different methods to get it to soft ice cream state. Some people eat the ice cream at that stage. It seemed a bit too soupy for me. Mine went into freezer so the mixture to get to a harder consistency. I split my batch into two so I could use two methods for comparison. (Experimentation is hard work but I'm willing to do it for you to bring the best results. Who I am kidding? The end result was ice cream!!)

Shake Until Your Arms Scream Method:
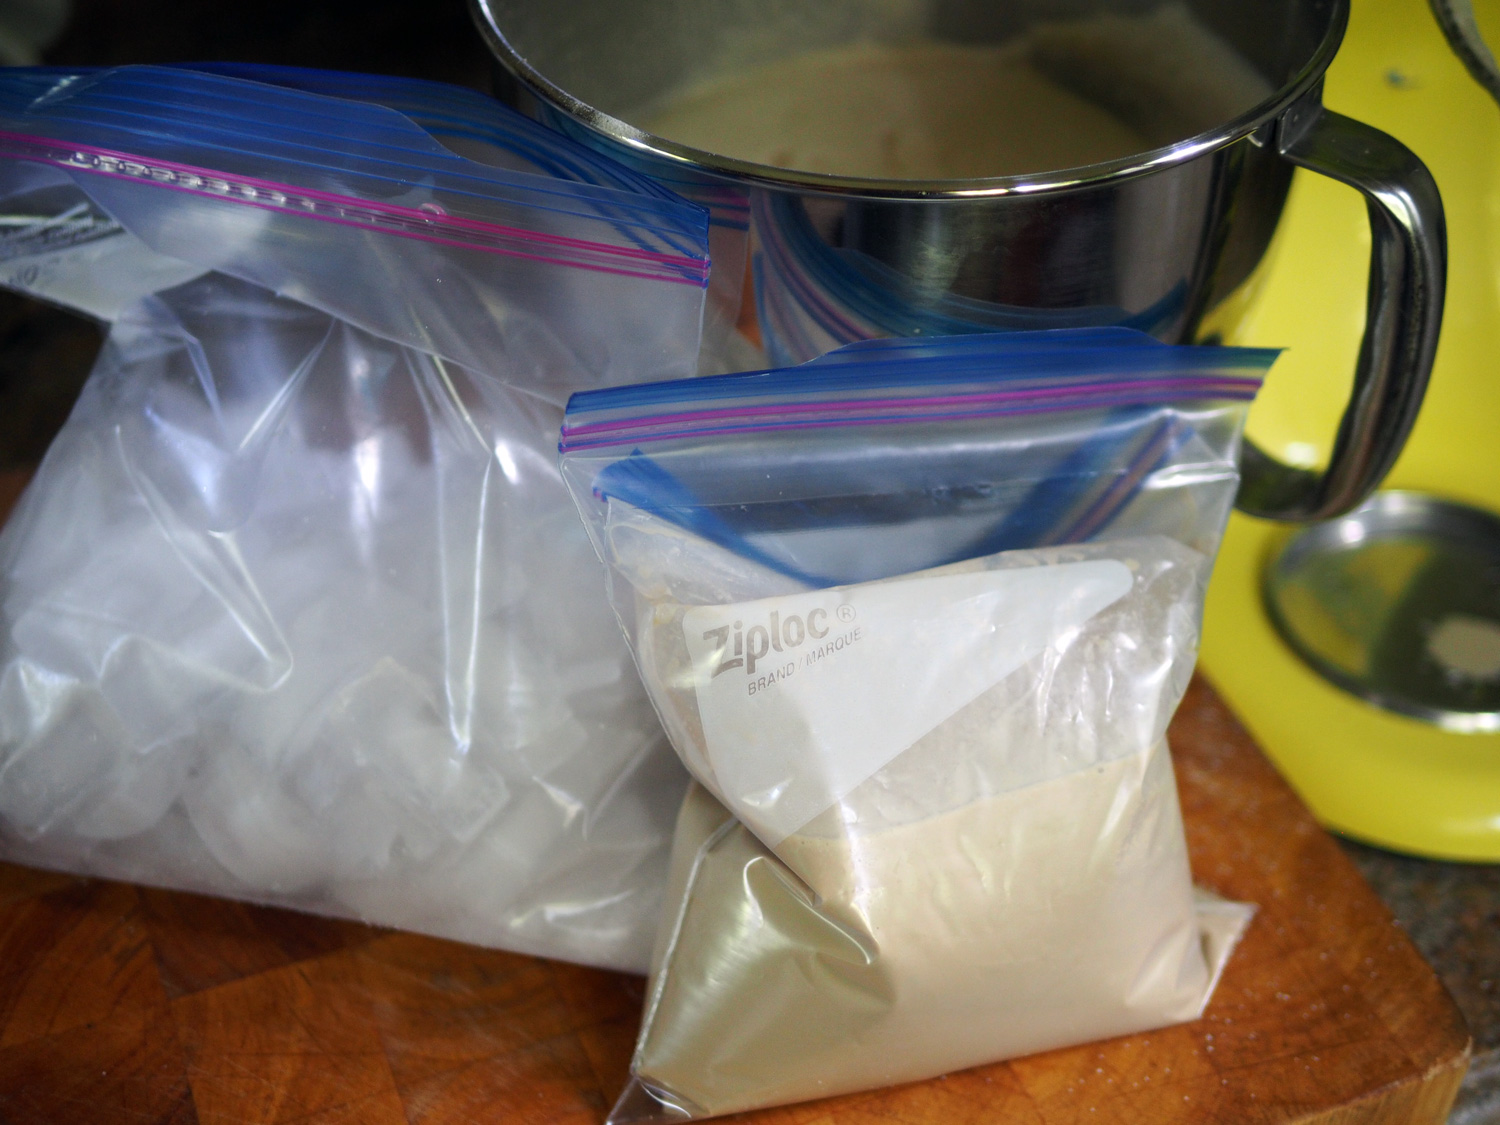
The first method I used was the plastic bag method. I poured the liquid in a quart plastic bag, and doubled the bag to prevent leakage. Then placed that bag into a gallon plastic bag with 4 T coarse salt and 4 cups of ice cubes.  Sealed and vigorously shook it for 10 minutes. This was a work out for sure. I never knew how long 10 minutes lasted until my arms screamed out, "Is it ice cream, YET?" Once thickened, I poured the semi soft ice cream into a container and placed in the freezer to allow it to harden more. 

ice.cream.bags.jpg

That version seemed tiring, so I was thrilled that the other method was much less strenuous. 

The Lazy, Just Freeze It Method:
I continued to whisk the mixture until it thickened.  Then I place it in a glass loaf pan with plastic wrap covering the surface to prevent freezer burn. Then surrounded by ice and placed in the freezer. My arms thanked me.  However, I forgot to continue to mix it every 1/2 hour or so as was suggested, but it seemed to freeze up just fine.  So this is truly the lazy way, all benefits version.

Here are a few videos for you to watch.

Ice Cream in a Bag

Ice Cream without Machine

Freeze and Whisk Method

In the end, everyone seemed to love both versions. So you pick. 

  • Work out with benefits.

  • Or straight up benefits.

Either way, this ice cream will get you raring to go. Other huge benefit ...bringing joy to your loved ones.  I know it did mine.

JuanCarlos trying to eat with moderation.

JuanCarlos trying to eat with moderation.

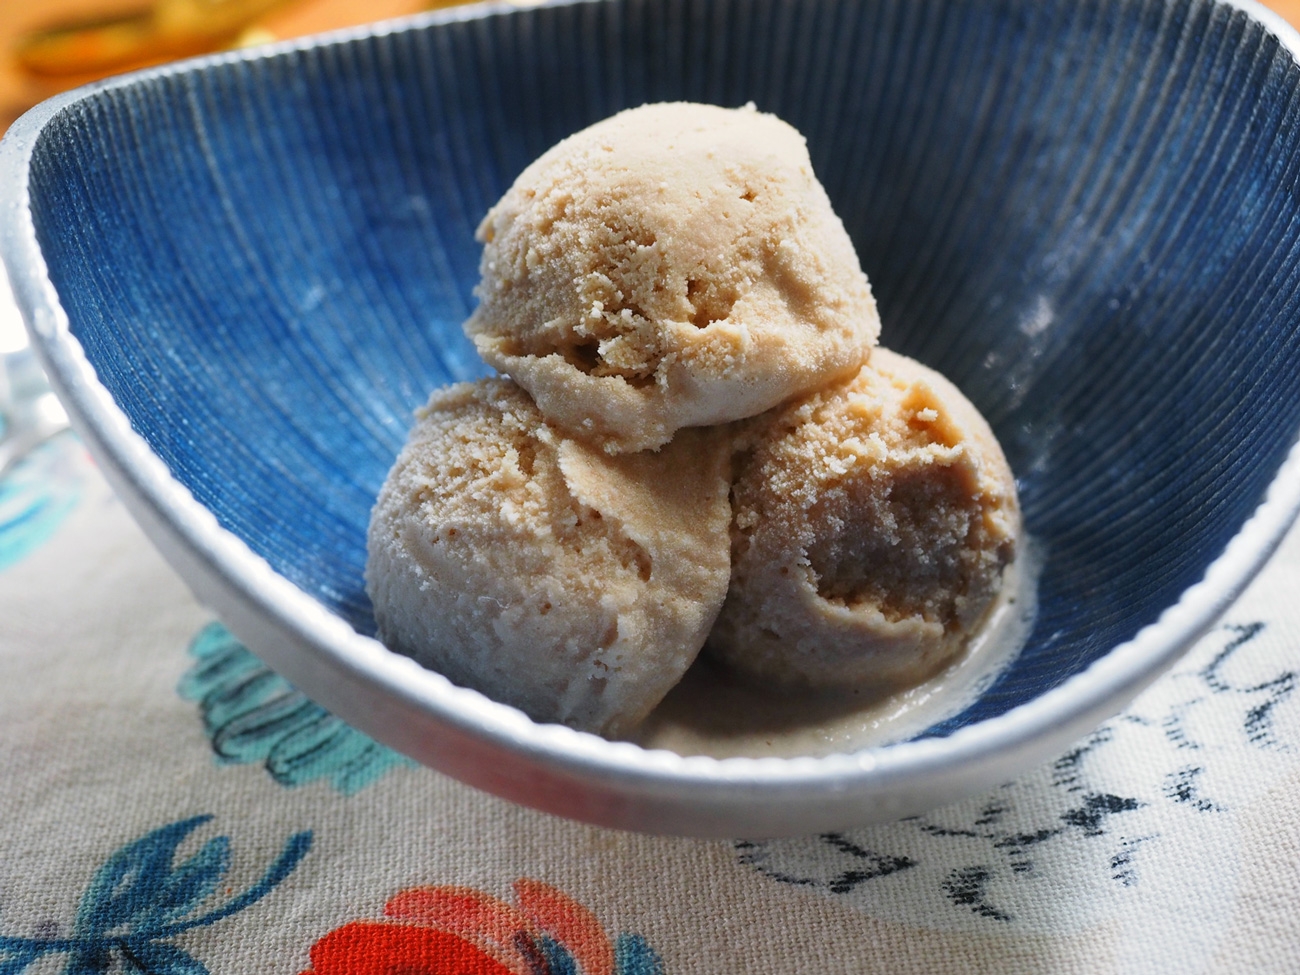
Espresso ice cream scoops

Espresso ice cream scoops

My handsome husband enjoying a bowl of espresso ice cream with his other latest favorite, red wine from Châteauneuf-du-Pape.

My handsome husband enjoying a bowl of espresso ice cream with his other latest favorite, red wine from Châteauneuf-du-Pape.

Happy 4th, and summertime fun!


Asparagus - Loved 3 Ways

3asparagus.final3.jpg

Asparagus. The tall green trees of the vegetable forest. They are cousins to broccoli; the shorter, fuller shrub like relative. But trees, all the same. I love these tall beauties all on their own, just as much as when mixed in with other vegetables. I love asparagus grilled, or sautéd, roasted or steamed.  It's safe to declare that I simply love them.  

I guess all that love started a want.  How can I include these more often but with flair.  That's when I began flirting with ways to enhance these long, earthy stalks. A simple addition of one or two extra items is all that was needed. Once I did, they went from average vegetable side dish, to a 'stand out, move over' dish. It doesn't take much to make them shine brighter.  Here are three ways, but I don't need to tell you that there are countless others. 
On tap today:

  1. Quail Eggs, Shallots

  2. Goat Cheese, Lemon Zest

  3. Chorizo & Caramelized Onions

Long, tall, green. Like cypress trees swaying in the wind.

Long, tall, green. Like cypress trees swaying in the wind.

Asparagus, chorizo, caramelized onions, goat cheese, lemon, shallot, quail eggs.

Asparagus, chorizo, caramelized onions, goat cheese, lemon, shallot, quail eggs.

The first time asparagus arrived at my enhancement clinic, I made hard boiled eggs, quartered them, steamed the asparagus, scattered some thinly sliced shallot then drizzled the entire dish with balsamic vinaigrette and served them as an appetizer.  My latest upgrade;  swap the big ole chicken egg for their diminutive cohorts, the quail egg, I must admit I loved it even more.  The quail eggs are petite and deliver a more delicate touch.

Asparagus with Hard Boiled Eggs & Balsamic Vinaigrette

When cooking the quail eggs, drop them in boiling water for only 2 minutes, then into a bowl of cold water, and peel. This amount of cook time and cold water shocking provides soft yolk perfection.

When cooking the quail eggs, drop them in boiling water for only 2 minutes, then into a bowl of cold water, and peel. This amount of cook time and cold water shocking provides soft yolk perfection.

The next time asparagus showed up for some freshening up, I grilled them, let them cool slightly then crumbled goat cheese along their bristled tops, let it rain lemon zest and drizzled a red wine, lemon shallot vinaigrette.

Asparagus with Goat Cheese & red wine, Lemon shallot Vinaigrette

It's truly as simple as adding goat cheese, lemon zest and drizzling with a red wine shallot vinaigrette. This ain't brain surgery, I know but it does taste good to the brain, the taste buds and the belly.

It's truly as simple as adding goat cheese, lemon zest and drizzling with a red wine shallot vinaigrette. This ain't brain surgery, I know but it does taste good to the brain, the taste buds and the belly.

The third time the asparagus knocked at the refresh clinic, they were seeking a bit more intensity. So a good helping of sautéd chorizo and caramelized onions with just a drizzle of oil, coarse salt and pepper fit their request.

Asparagus with chorizo & caramelized onions

Sauté chorizo and chop into small pieces, add caramelized onions and drizzle of oil.

Sauté chorizo and chop into small pieces, add caramelized onions and drizzle of oil.

3 approaches. 3 ingredients.

3 approaches. 3 ingredients.

asparagus.chorizo.cu copy.jpg
asparagus.eggs.final.jpg
asparagus.goat.cu.jpg

In all these versions, I opted to oven roasted the asparagus. I preferred this method over steaming for this round.. You can prepare them to your liking. These are just three simple stories to tall tales of a stalky green vegetable. Of course, there are more tales to tell...

Asparagus in quiche.  Or salads. 
Use creamy sour cream mustard dressing or a blue cheese dressing
Asparagus tart
Grilled asparagus tossed with pasta

3 ways? Oh dear asparagus, stop by the enhancement clinic any day of the week, there are an eternity ways...

 
DP-stirredwlove-ID1.jpg