Yup, it’s that time of year. Nature is doing her thing. Leaves are turning those awesome vibrant hues. Acorns and pinecones are dropping like bombs. Squirrels are busy squirreling away treats. And us mere mortals are coming to terms with the summer really being over. But there’s always a silver lining.
Autumn brings a crisp freshness to our world. A cleansing of nature as leaves fall and regenerate new buds. And the opportunity to wear those chunky sweaters breathes new life into our fashion repertoire. The change of season also ushers in the occasion to freshen up your decor. In my house, beauty is brought inside.
Cue the Fall Themed Centerpiece.
Sure, you can create a floral arrangement, upright and traditional. Or, you can climb outside the box (or that large vase) and go horizontal. I don’t mean wrestling around with your significant other in the fallen leaves. Although, that doesn’t sound like a bad idea at all. I mean, take your florals and fashion them into a landscape that meanders through a forest-like scene. One that creates several visual points of interest.
The best part of this type of centerpiece is that you can design it with whatever you have, and do it inexpensively. I grabbed yellow and crimson mums (from my favorite floral spot Dahlia NYC) to mimic the colors of the leaves, plus some eucalyptus leaves. All the other items I grabbed from our garden (rosed hued hydrangea, pine cones) or around the house. The entire arrangement cost me $20.
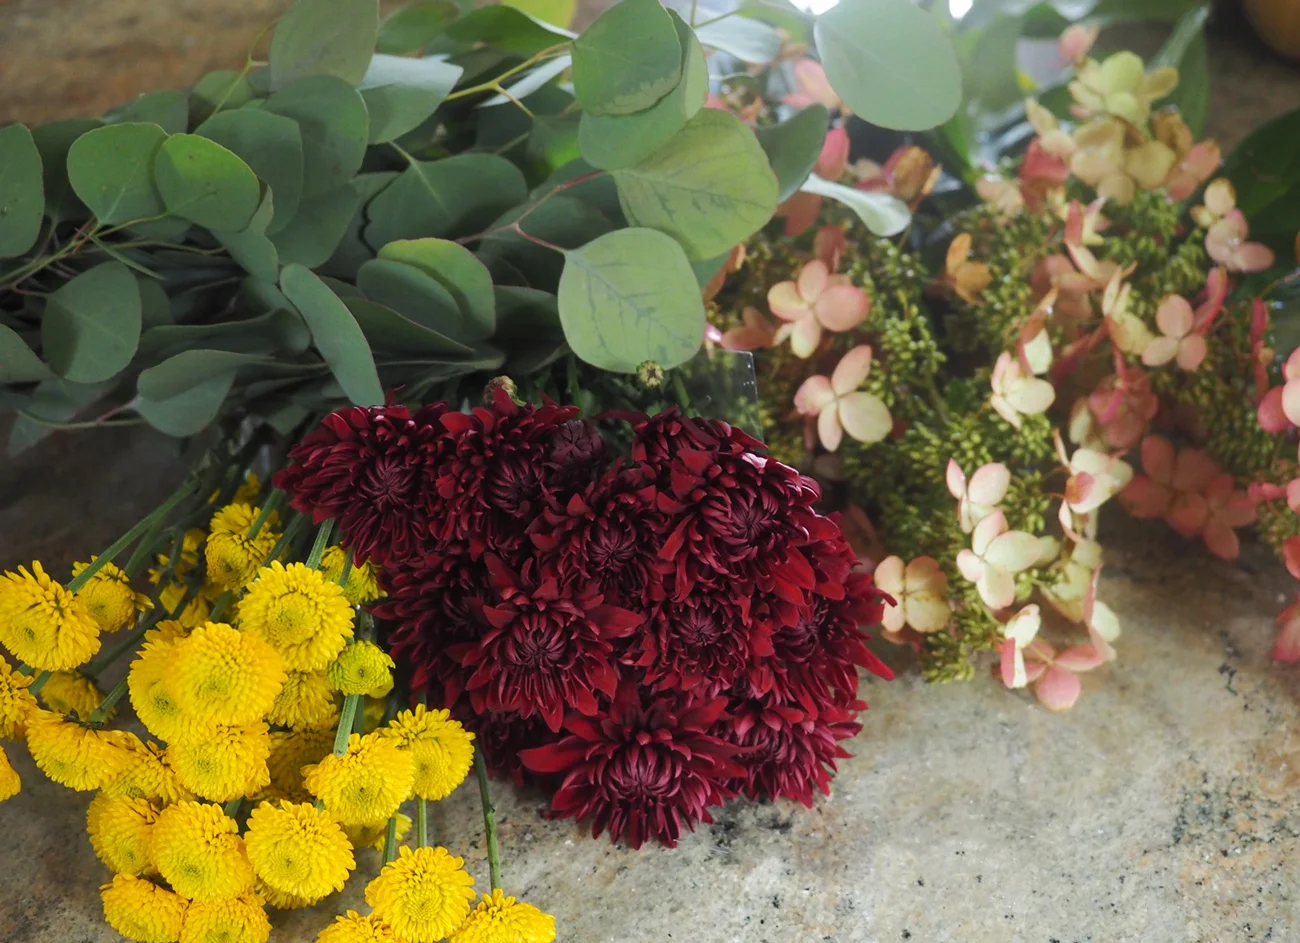
Burst of yellow pom pom mums, crimson mums, eucalyptus leaves and hydrangea are the stars.

Long wooden trays or boards are perfect. But you can use a ceramic platter or whatever else suits your fancy.
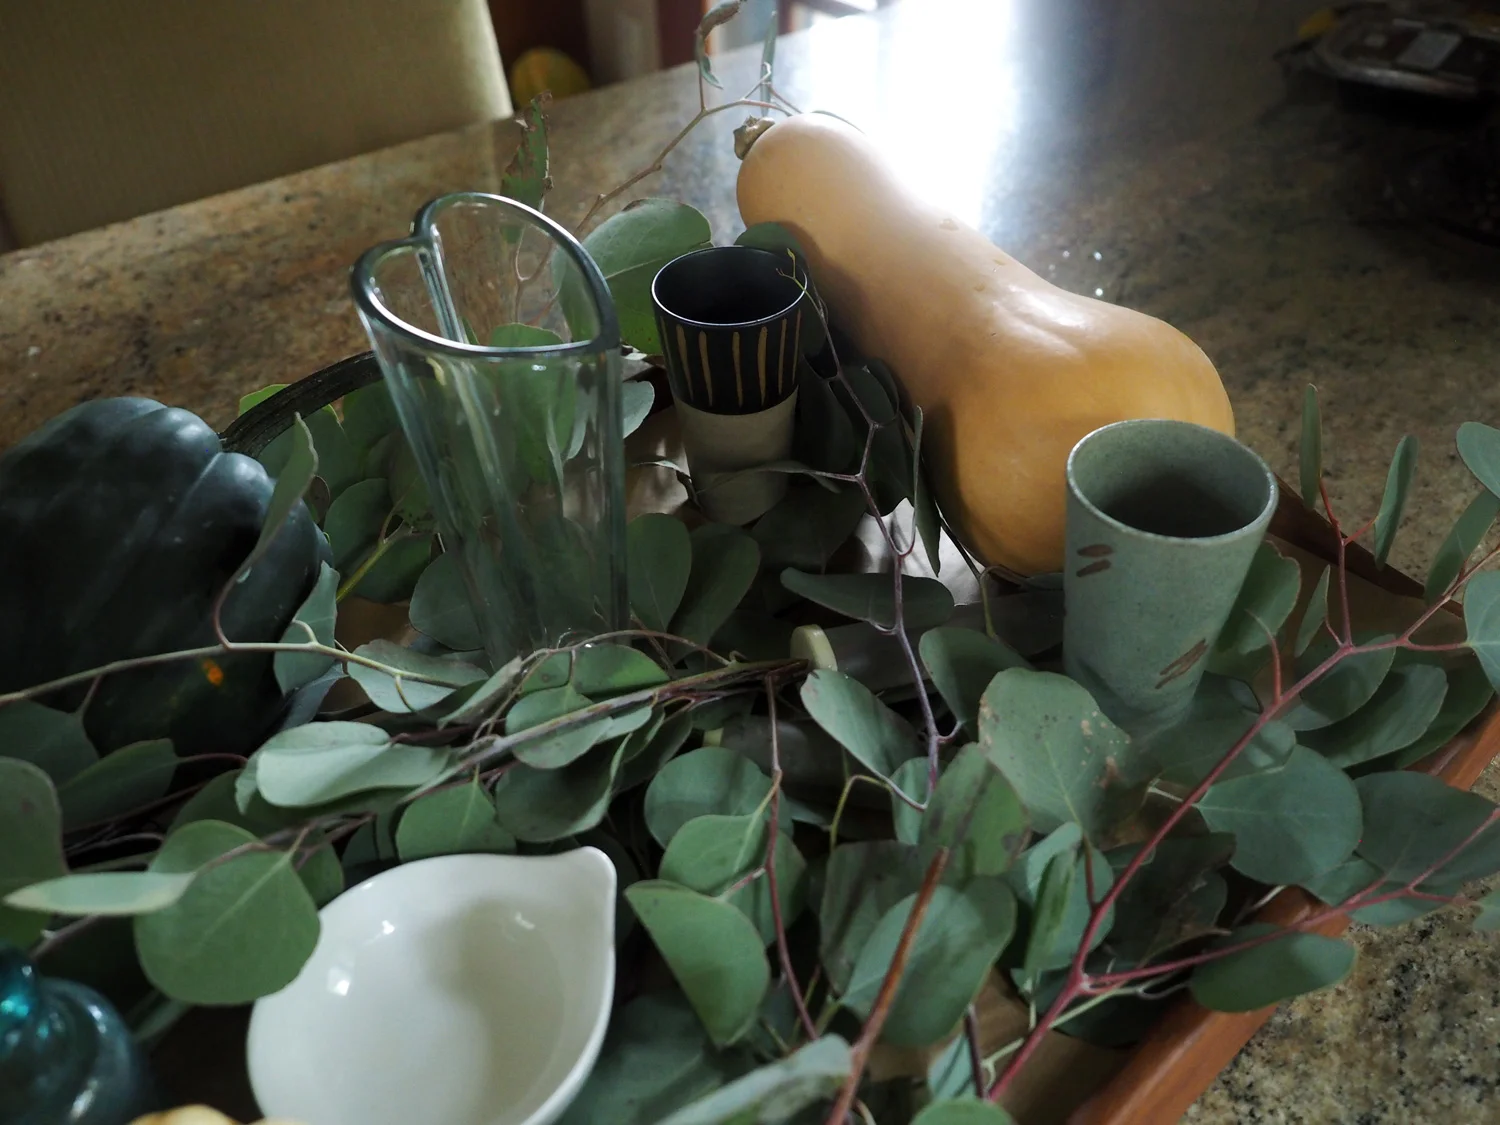
Going horizontal meant finding a main ‘vessel’ that would serve as the base since I was ditching the usual tall, large vase. I searched for something a tad out of the ordinary. A few choices popped up, including a long ceramic platter, but I settled on a wooden tray for a few reasons. One, it was the largest and I felt I needed the space. Two, it’s easy to carry since it is a tray. Three, I like the feeling of the earthiness of the wood. But use whatever you have. Oval, or round, rectangle or square. It doesn’t make a difference. The only important aspect of this kind of arrangement is to go low and long. Landscape, not portrait. I then gathered up some small vases, cups, shallow bowls, pumpkins and water phials (tubes with rubber caps to hold water for single stems).

The helpers to this arrangement. It’s key to gather up your tools.
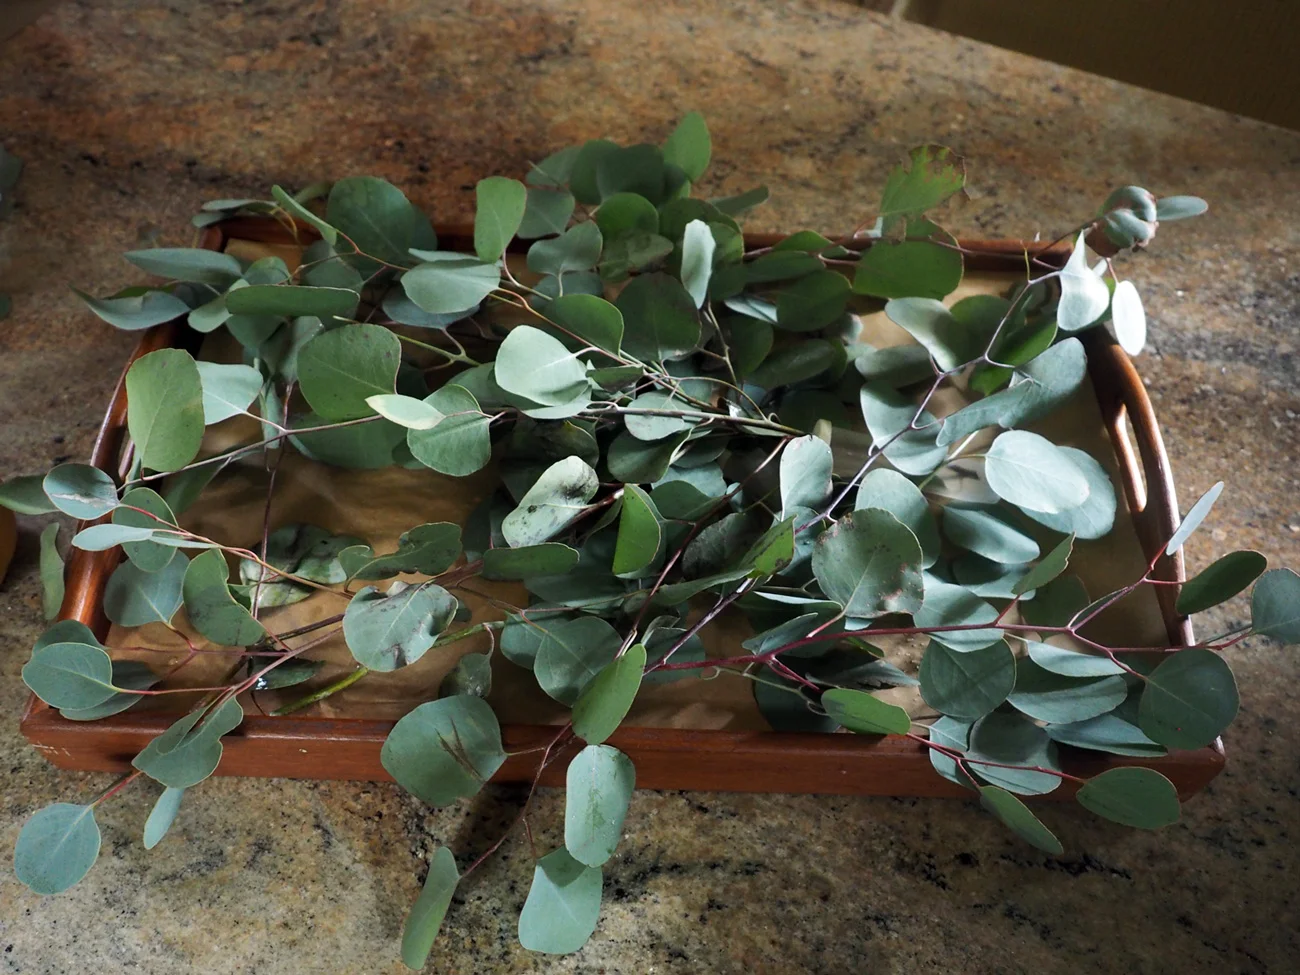
Next, I lined the tray with parchment paper to protect the wood. And moved onto laying the groundwork… literally. Instead of using the eucalyptus leaves in a large spray like I usually love doing (Eucalyptus Burst), I spread them down to create a bed, as if it were a forest and the leaves fell to the ground.

I love this wooden tray, so it was important to me that I make sure it was protected.
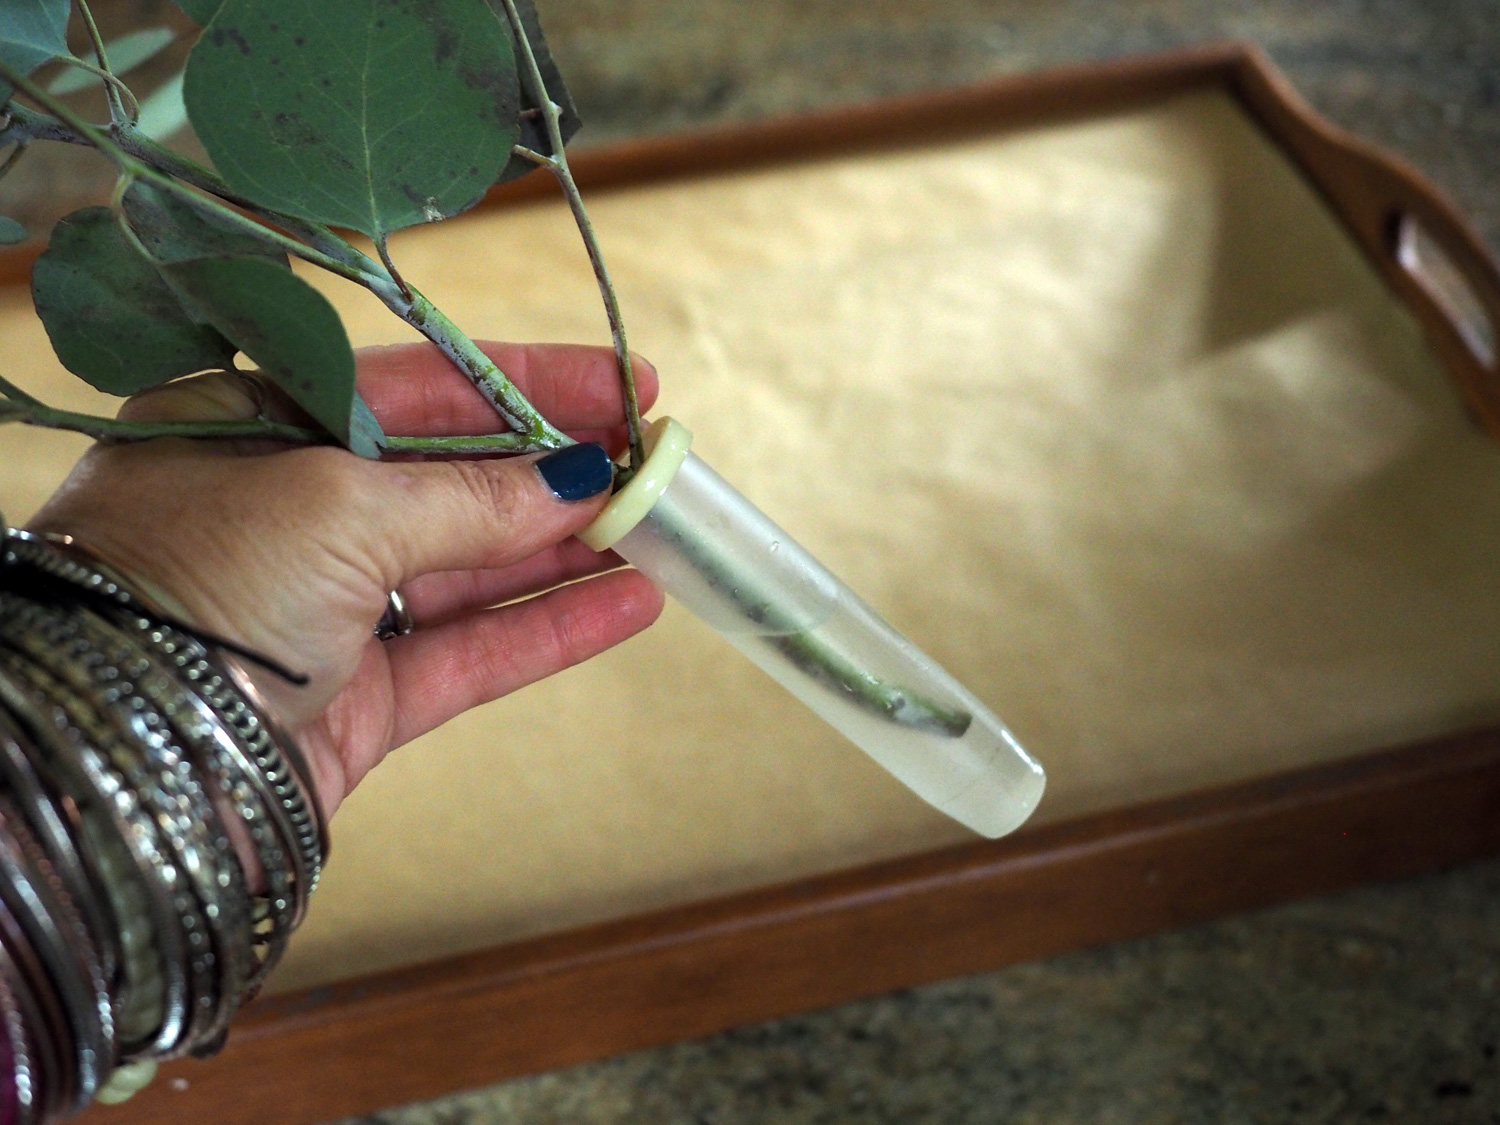
Since these stems will be lying down, do not fill the water phials to the top, as then the water will slip out.
Fill the tray, leaving spaces, or making spaces for the vases.
From there, I nestled vessels of differing heights to hold the flowers. All the while, visualizing how to spread out the color.

I loved how the color of this sake cup blended right in.

Slightly taller, heart-shaped glass vase seemed appropriate and perfect to give some height to this horizontal piece.
Then I added the pumpkins and squash to the scene.

Yellowy, green pumpkin added a nice pop of color amongst the green leaves.
Filling the space with a butternut squash adds to the bounty.
It was then time to fill the vases with flowers. I started by cutting the stems of the crimson mums short so they could fill up the shallow bowl.


I continued to fill in and see what looked good and worked in each vase, thinking about spreading the color around the arrangement, as well as adding contrasting colors next to each other.

See how both the yellow pumpkin and the crimson mums are accentuated by being placed next to one another?

I noticed that there was a corner that seemed empty, so I added another shallow bowl for an additional burst of color. You see, you don’t have to have it all planned out exactly. You can add, subtract, modify as you go.
The idea is to create something that feels right to you. Move things around until it pleases your eye and your heart.

I stepped back to inspect landscape and its little scenes within itself. I decided to tuck in the last two hydrangea flowers and have them cozy themselves into the eucalyptus base, as if they might had fallen down. Plus, it created more depth and visual interest.
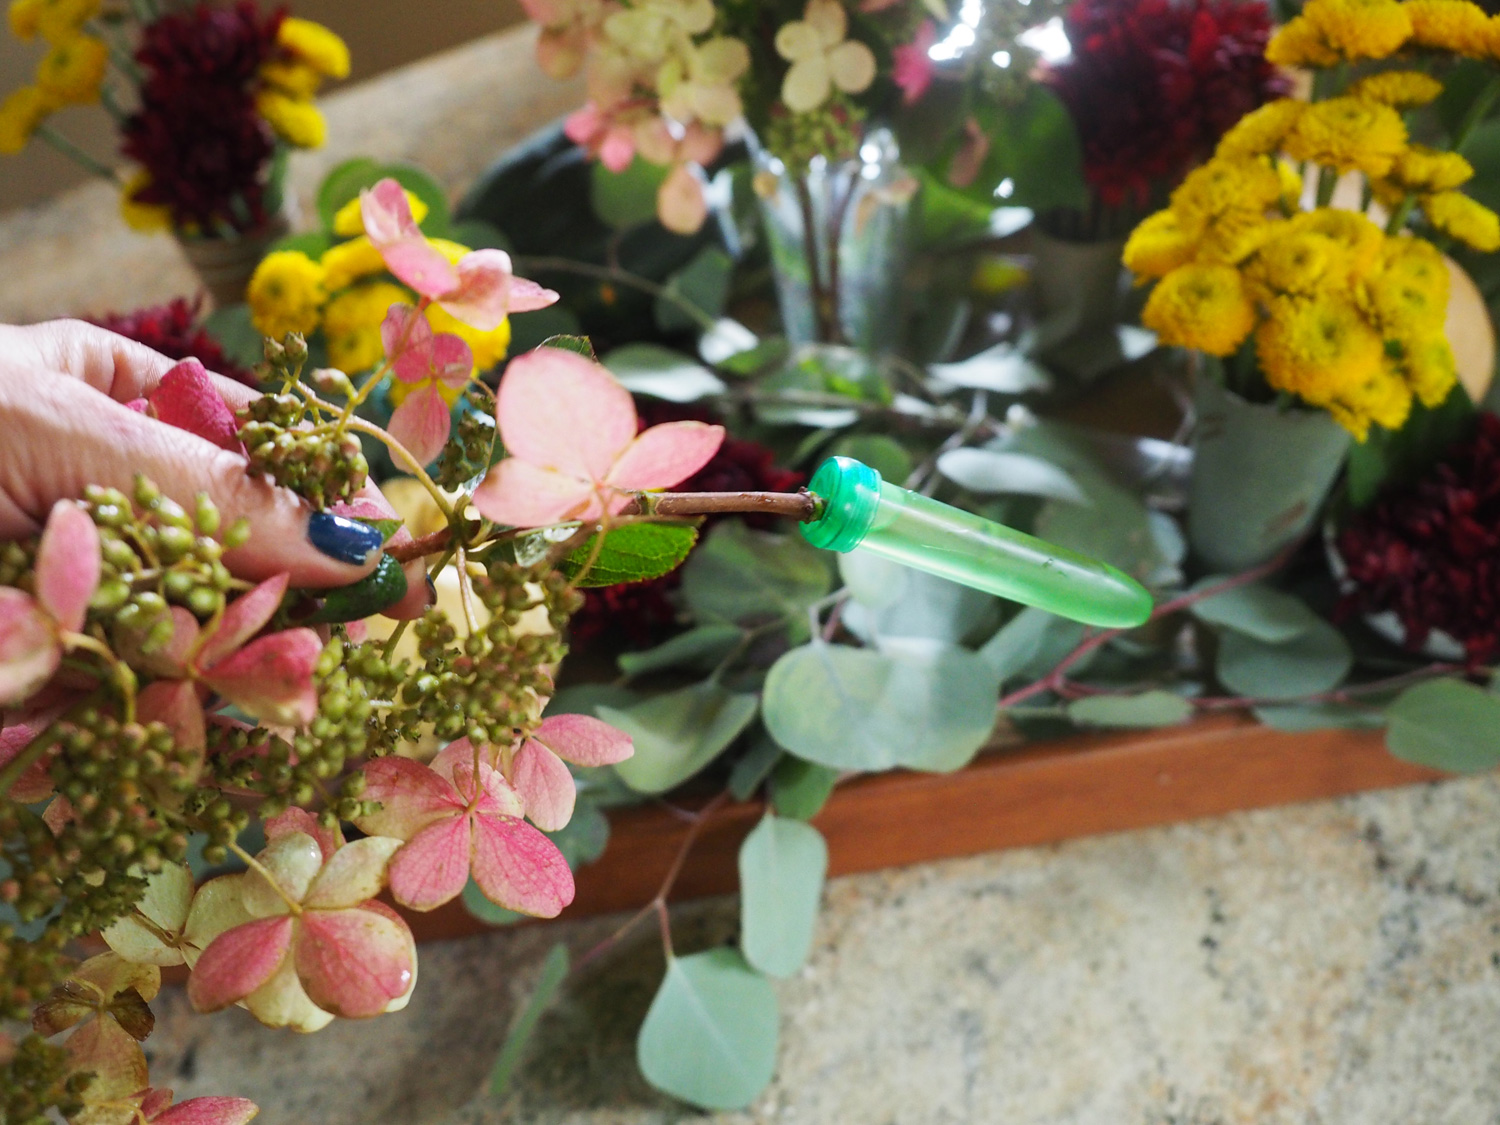
Use the water phial to hydrate the hydrangea. Then tuck it in wherever feels right.
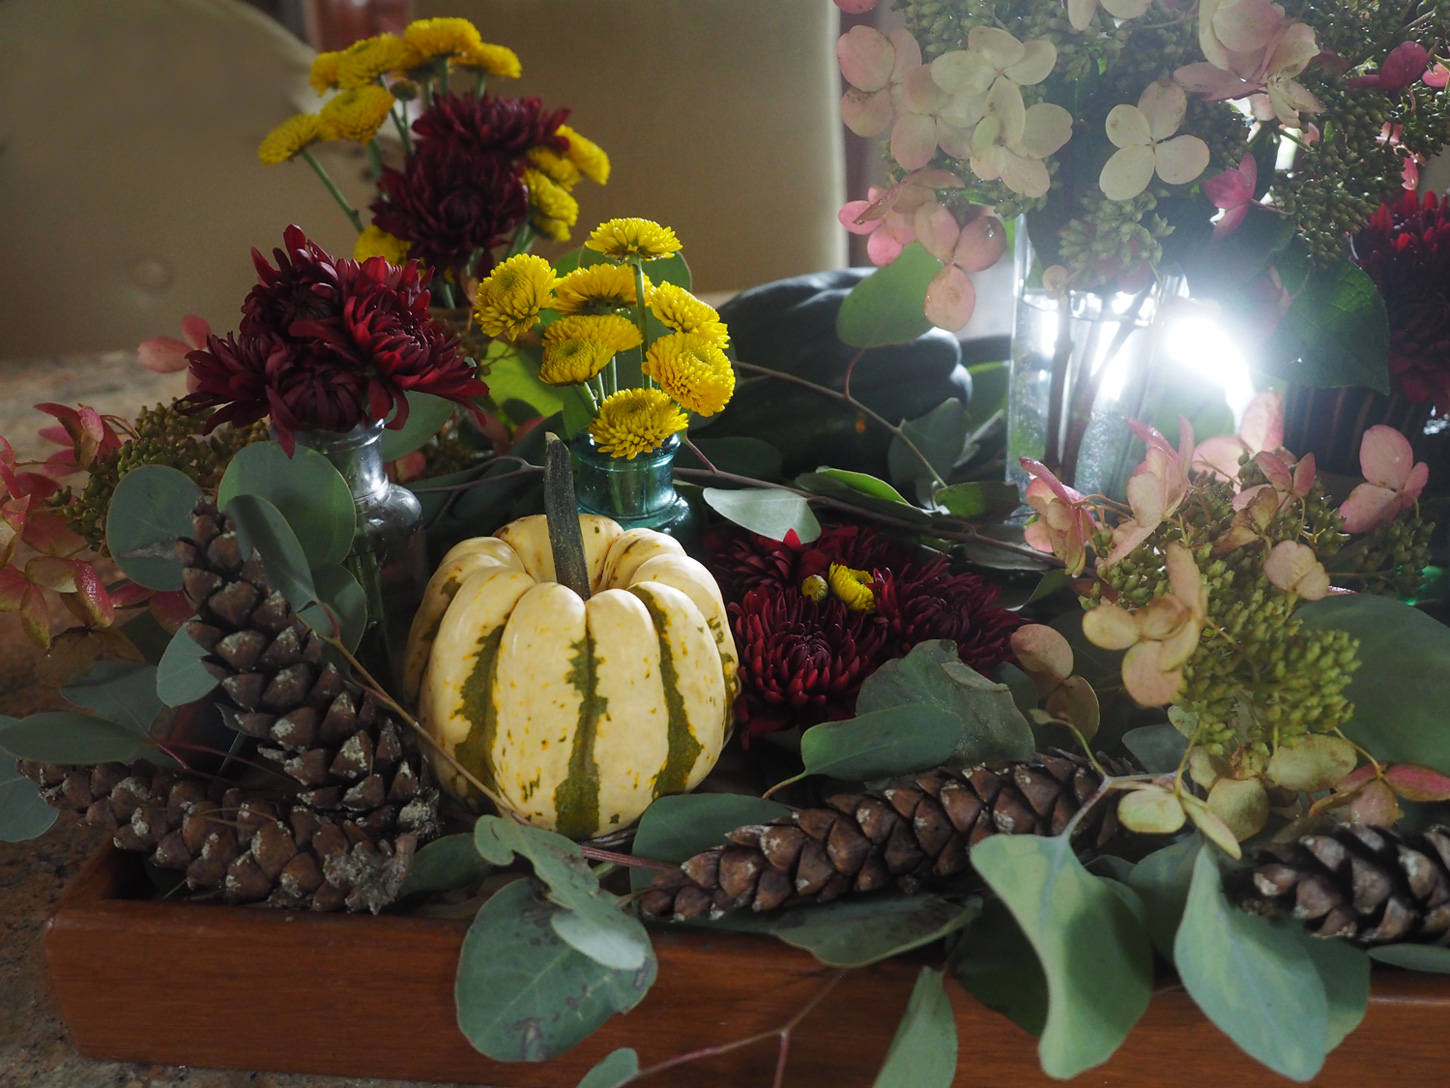
The final touch was to slip a few pinecones right up front.

I think it turned out pretty cool. Loads of color. Little pockets of visual charm in every corner. Highs and lows, Pops of bright yellow contrasted by deep crimson hues. Abundance and bounty.

What I really enjoyed about this arrangement was that it had tiny vignettes within the main piece. Different points of interest within one big floral display.


Lots of love everywhere.
A bounty of autumn.

Use what you have. But most importantly, use your imagination and heart.
Let the leaves fall where they may. And may they fall beautifully, spreading the love across your autumn table.